- 84 -
PS-8810
DIGITAL SIGNAL PROCESSOR
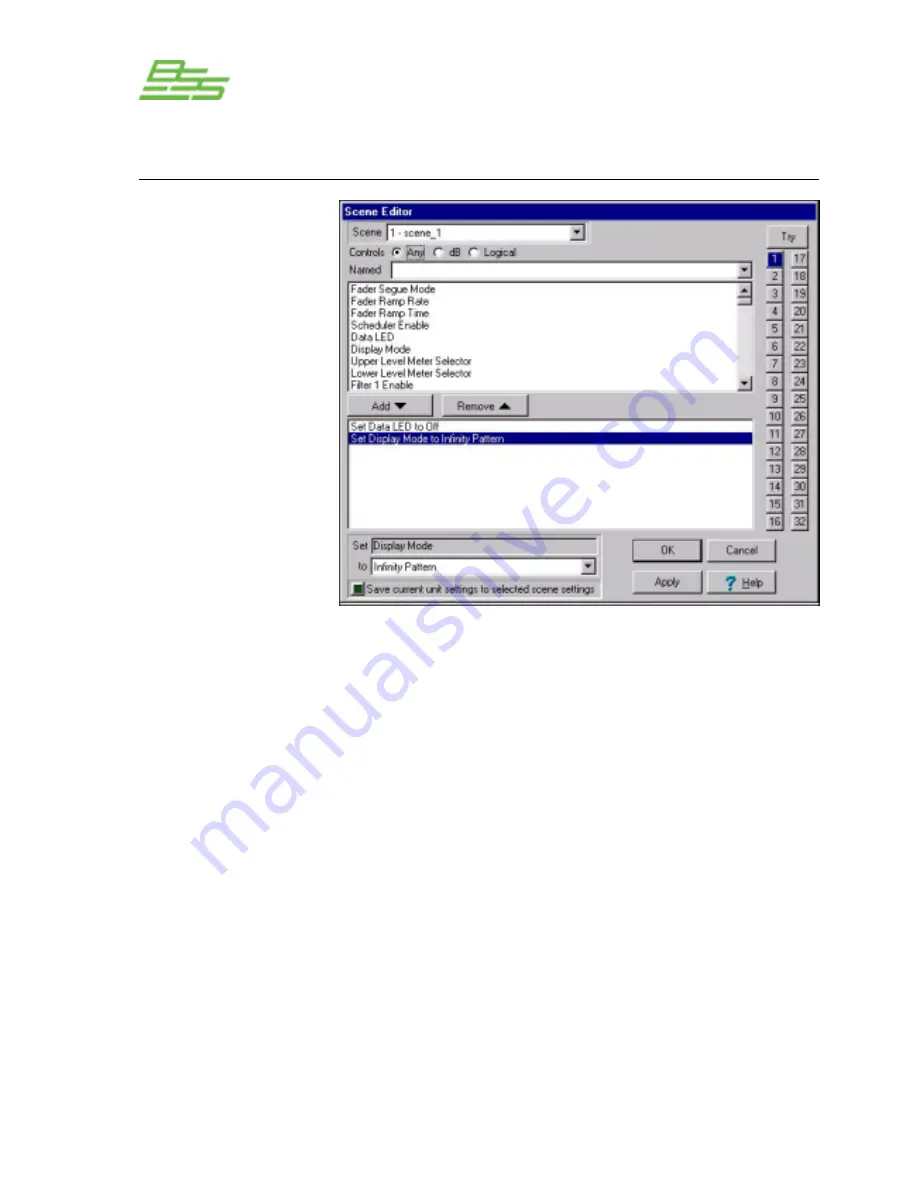
Select the Scene to be edited in the ‘Scene’ box at top, or click on
one of the 32 buttons located at the right of the screen.
The ‘Controls’ selector allows the type of parameters to be chosen
to be narrowed down by selecting either ‘dB’ or ‘Logical’.
Use the ‘Named’ box to type in all, or part of, the name of the
control you wish to add to the Scene. The selection of available
parameters will change as you type, if the selection is incorrect
delete all the text and start again to bring back the complete listing.
The ‘Add’ and ‘Remove’ buttons allow you to choose which
parameters are to be included in the Scene.
Select one of the parameters in the bottom box and its settings will
become available to change.
The “Save current unit settings to selected scene settings” enables
the chosen parameters to have their settings taken from the actual
settings for those parameters that are set in the PS-8810. This
solves the problem of having to set up those controls to manually
reflect the values found in the PS-8810.
The ‘Try’ button allows the Scene to be simulated to ensure that the
settings are those that are desired.
Scenes
b
c
1
2
Scene Editor
e
f
g
d
3
4
5
6
h
7
Содержание Prosys PS-8810
Страница 1: ...PS 8810 Digital Signal Processor Connect here first User Manual ...
Страница 12: ... 12 PS 8810 DIGITAL SIGNAL PROCESSOR ...
Страница 16: ... 16 PS 8810 DIGITAL SIGNAL PROCESSOR Controls Connectors Indicators ...
Страница 88: ... 88 PS 8810 DIGITAL SIGNAL PROCESSOR CobraNet ...
Страница 96: ... 96 PS 8810 DIGITAL SIGNAL PROCESSOR External Control ...
Страница 102: ... 102 PS 8810 DIGITAL SIGNAL PROCESSOR PS8810 IR Code Format ...
Страница 111: ... 111 PS 8810 DIGITAL SIGNAL PROCESSOR Reference Section ...
Страница 116: ... 116 PS 8810 DIGITAL SIGNAL PROCESSOR 19 0 Block Diagram ...
Страница 120: ... 120 PS 8810 DIGITAL SIGNAL PROCESSOR 21 0 User Notes ...
Страница 121: ... 121 PS 8810 DIGITAL SIGNAL PROCESSOR User Notes ...


