IMPORTANT
DO NOT touch the print head. Touching the
print head may cause permanent damage and
may void the print head's warranty.
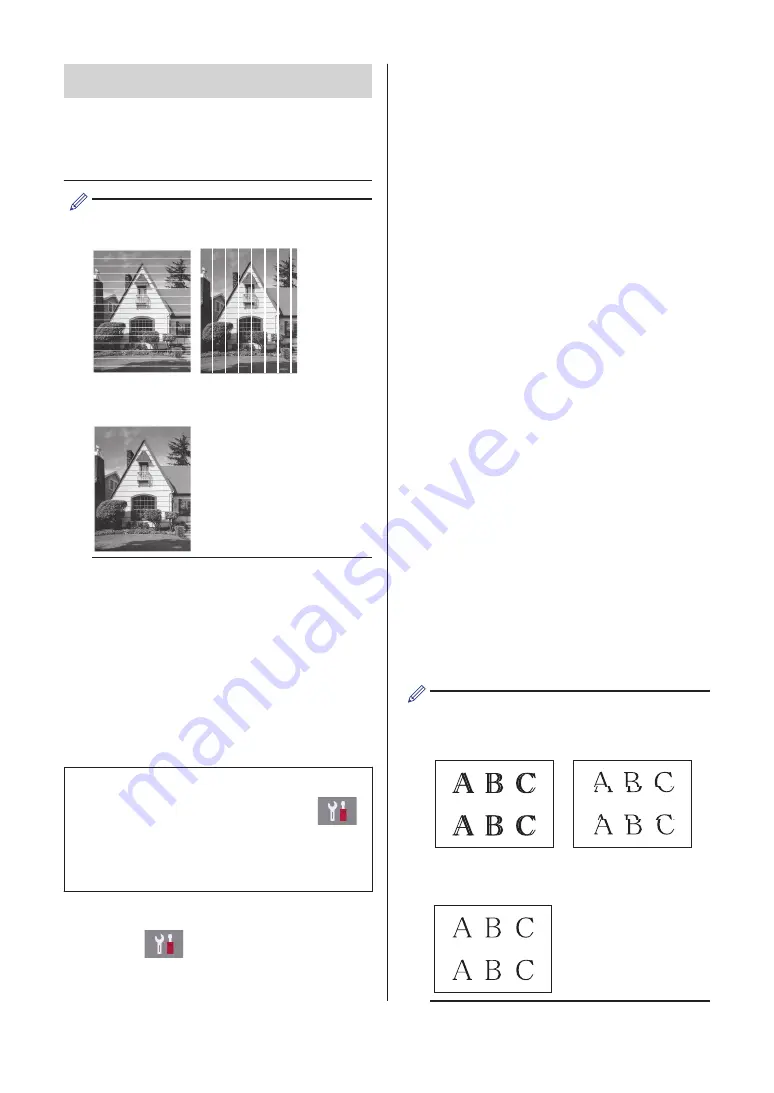
When a print head nozzle is clogged, the
printed sample looks like this.
After the print head nozzle is cleaned, the
lines are gone.
Check the Print
Alignment from Your
Brother Machine
If your printed text becomes blurred or images
become faded after transporting the machine,
adjust the print alignment.
Before adjusting the print alignment, make
a print quality check first by pressing
[Settings]
>
[Maintenance]
>
[Improve Print Quality]
>
[Check
Print Quality]
.
1
Press
[Settings]
>
[Maintenance]
>
[Improve Print
Quality]
>
[Alignment]
.
2
Press
[Next]
.
3
Press
[Yes]
after a confirmation
message if a print quality check has
been completed appears on the LCD.
4
Press
[Auto]
or
[Manual]
.
• If you select the
[Auto]
mode, the
print alignment is automatically
adjusted by scanning the alignment
check sheet.
• If you select the
[Manual]
mode,
you need to input information printed
on the alignment check sheet
manually.
5
Select the paper size to print the
alignment check sheet on.
• If you selected the
[Manual]
mode,
select either
[Basic alignment]
or
[Advanced alignment]
in the
following step.
6
Load specified size paper in the tray,
and then press
[Start]
.
The machine prints the alignment check
sheet.
7
Follow the instructions on the LCD.
When the print alignment is not adjusted
correctly, text looks blurry or crooked, like
this.
After the print alignment is adjusted
correctly, text looks like this.
18


