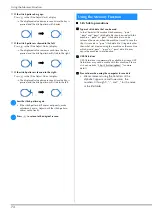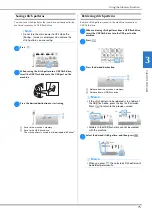
Embroidering Preparation
84
b
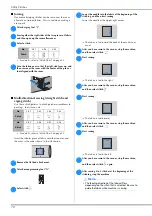
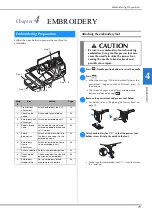
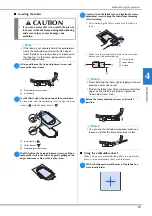
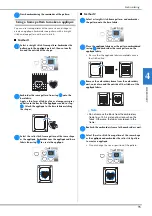
Place the embroidery sheet on the inner frame.
c
Line the mark on the fabric up with the base line on the
embroidery sheet.
d
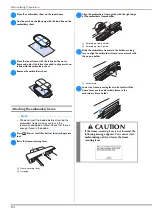
Place the inner frame with the fabric on the outer
frame and adjust the fabric if needed to align marks on
fabric with the embroidery sheet.
e
Remove the embroidery sheet.
Attaching the embroidery frame
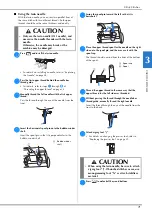
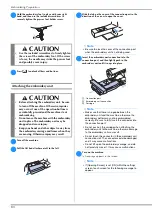
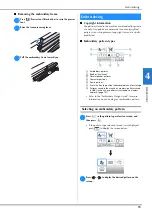
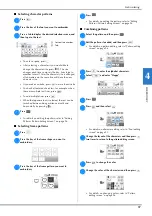
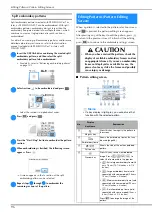
a
Press
(Presser foot lifter button) to raise the presser
foot.
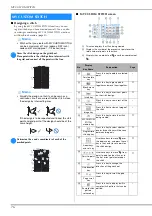
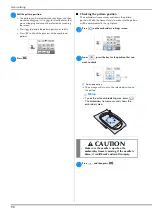
b
Raise the frame-securing lever.
1
Frame-securing lever
2
Carriage
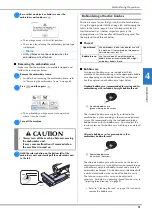
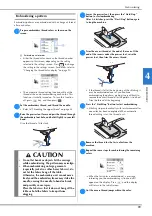
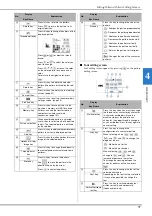
c
Align the embroidery frame guide with the right edge
of the embroidery frame holder.
1
Embroidery frame holder
2
Embroidery frame guide
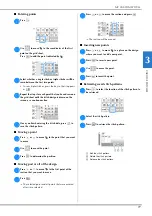
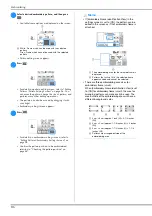
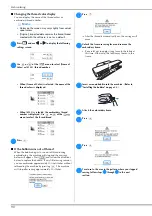
d
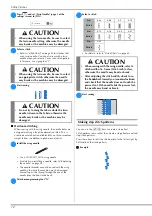
Slide the embroidery frame into the holder, making
sure to align the embroidery frame’s arrow mark with
the one on holder.
1
Arrow mark
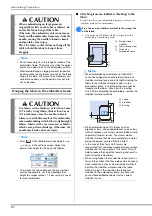
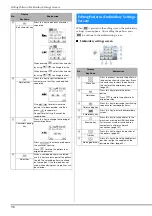
e
Lower the frame-securing lever to be level with the
frame to secure the embroidery frame in the
embroidery frame holder.
Note
• Wind and insert the bobbin before attaching the
embroidery frame making sure to use the
recommended bobbin thread. Check that there is
enough thread in the bobbin.
CAUTION
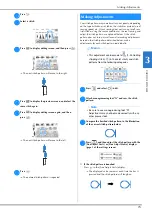
• If the frame-securing lever is not lowered, the
following message appears. You cannot start
embroidering until you lower the frame-
securing lever.
Содержание 888-G30
Страница 2: ......
Страница 80: ...MY CUSTOM STITCH 78 ...
Страница 121: ......
Страница 122: ......
Страница 123: ......

