21
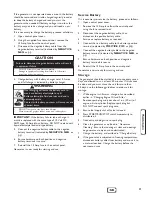
Service Battery
If it is necessary to service the battery, proceed as follows:
1.
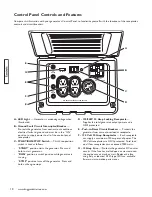
Open control panel cover.
2.
Remove the 15 Amp fuse from the control panel
using the fuse removal tool.
3.
Disconnect the negative battery cable, then
disconnect the positive battery cable.
4.
Service or replace battery as required.
5.
Connect the red battery cable to the battery positive
terminal (indicated by POSITIVE, POS, or (+)).
6.
Connect the negative battery cable to the negative
battery terminal (indicated by NEGATIVE, NEG, or
(-)).
7.
Ensure hardware on both positive and negative
battery terminals is secure.
8.
Reinstall the 15 Amp fuse in the control panel.
Generator is now ready for starting and use.
Storage
The generator should be started at least once every seven
days and allowed to run at least 30 minutes. If this cannot
be done and you must store the unit for more than
30 days, use the following guidelines to prepare it for
storage:
1.
While engine is still warm, change oil as described
earlier in “Changing Engine Oil and Filter”.
2.
Remove spark plug and pour about 1 oz. (30 ml) of
engine oil into cylinder. Replace spark plug but
DO NOT connect spark plug wire.
3.
Ensure fuel supply shut off valve is closed.
4.
Press START/RUN/STOP switch momentarily to
distribute oil.
5.
Connect spark plug wire to spark plug.
6.
Clean the generator as outlined in “Generator
Cleaning”. Ensure that cooling air slots and openings
on generator are open and unobstructed.
7.
Charge the battery, as described in “Charge Battery”.
8.
If the generator is subjected to freezing temperatures,
disconnect battery cables from battery and move it to
a warmer location. Charge the battery before the
next season’s use.
If the generator is not operated once a month, the battery
should be removed and trickle charged regularly in order
to keep the battery charged and ready to start the
generator when needed. If battery voltage is too low, the
battery may not take a charge and you will need a new
battery.
If it is necessary to charge the battery, proceed as follows:
1.
Open control panel cover.
2.
Using the supplied fuse removal tool, remove the
15 Amp fuse from the control panel.
3.
Disconnect the negative battery cable from the
negative battery terminal (indicated by NEGATIVE,
NEG, or (-).
4.
Charge battery with battery charger set at 2 Amps
until full charge is indicated by battery charger.
IMPORTANT: If the battery fails to take a charge, it
must be replaced with the same type of 12 Volt DC,
AGM type, 33 Amp-Hour, battery. DO NOT replace with
liquid electrolyte lead-acid type battery.
5.
Connect the negative battery cable to the negative
battery terminal (indicated by NEGATIVE, NEG, or
(-)).
6.
Ensure hardware on both positive and negative
battery terminals is secure.
7.
Reinstall the 15 Amp fuse in the control panel.
Generator is now ready for starting and use.
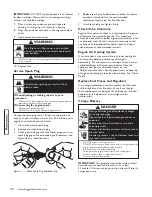
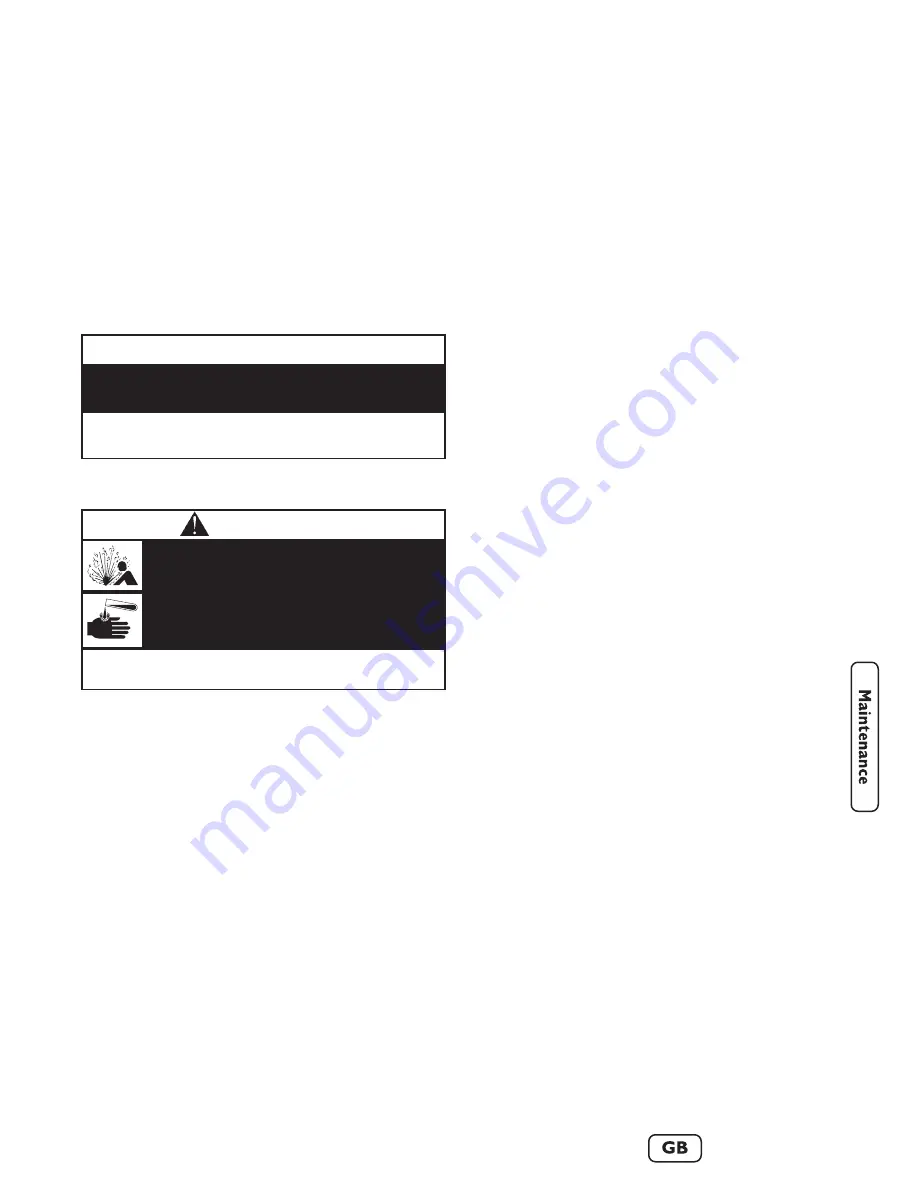
CAUTION
•
DO NOT attempt to jump start the battery.
•
Damage to equipment resulting from failure to follow this
instruction will void warranty.
Failure to disconnect negative battery cable will result
in equipment failure.
•
DO NOT charge at a rate more than 2 Amps.
•
Wear protective goggles, rubber apron, and rubber gloves.
Overcharging will cause the battery case to
crack and battery electrolyte to spill.
Battery electrolyte fluid contains acid and is
extremely acidic.
Contact with battery contents will cause severe
chemical burns.
WARNING
Содержание 40248
Страница 29: ...This page reserved ...
Страница 57: ...Esta página está reservada ...

