3. PRE-ASSEMBLY
4. ATTACHING PUMP TO BASE & FILTER
Hooking up the filter and motor to the base will vary based on
the style of pump you have. Please note that steps 4A, 4B, or
4C will help you determine the style of pump and proper
hook-up to the base.
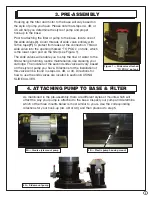
Prior to attaching the filter or pump to the base, locate one of
the slide valves
(I)
. Cover threads of slide valve entirely with
Teflon tape
(F)
to protect from leaks at the connection. Thread
slide valve into the opening marked “TO POOL” on tank, which
is the lower open port on the filter (see Figure 1).
The slide valves will enable you to stop the flow of water to the
filter when performing routine maintenance, like cleaning your
cartridge. The location of the second slide valve will vary based
on the style of pump you have. Directions for the installation of
this valve will be found in steps 4A, 4B, or 4C. Directions for
how to use the slide valves are located in section 6 USING
SLIDE VALVES.
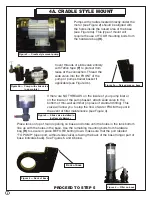
As mentioned in the pre-assembly, there are different styles of mounts which will
affect the way your pump is attached to the base. Inspect your pump and determine
which of the three mounts below is most similar to yours. Use the corresponding
directions for your hook-up (4A, 4B or 4C) and then proceed to step 5.
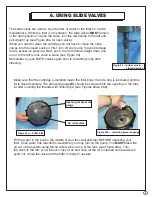
Figure 1 — Slide valve attached
“TO POOL” on tank
3
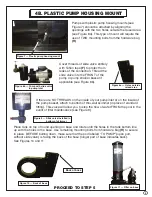
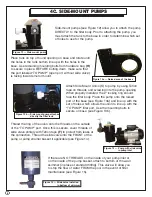
4A— Cradle style mount pump
4C— Side mount pump
4B — Plastic pump housing mount

