BioNomadix Logger™ User Guide
Page 4 of 28
WWW.BIOPAC.COM
8.30.2018
The Logger battery is integrated internally and is not user replaceable. For battery replacement, contact BIOPAC.
To store the Logger for long periods of time, fully charge the battery using the AC charger and power off the Logger
to improve long-term battery performance.
Logger Interface and Button Controls
The various Logger options, such as pairing with BioNomadix Transmitters, starting/stopping recordings, setting
audible alarms, adding markers, recording voice memos are controlled via selectable onscreen menus and accessed
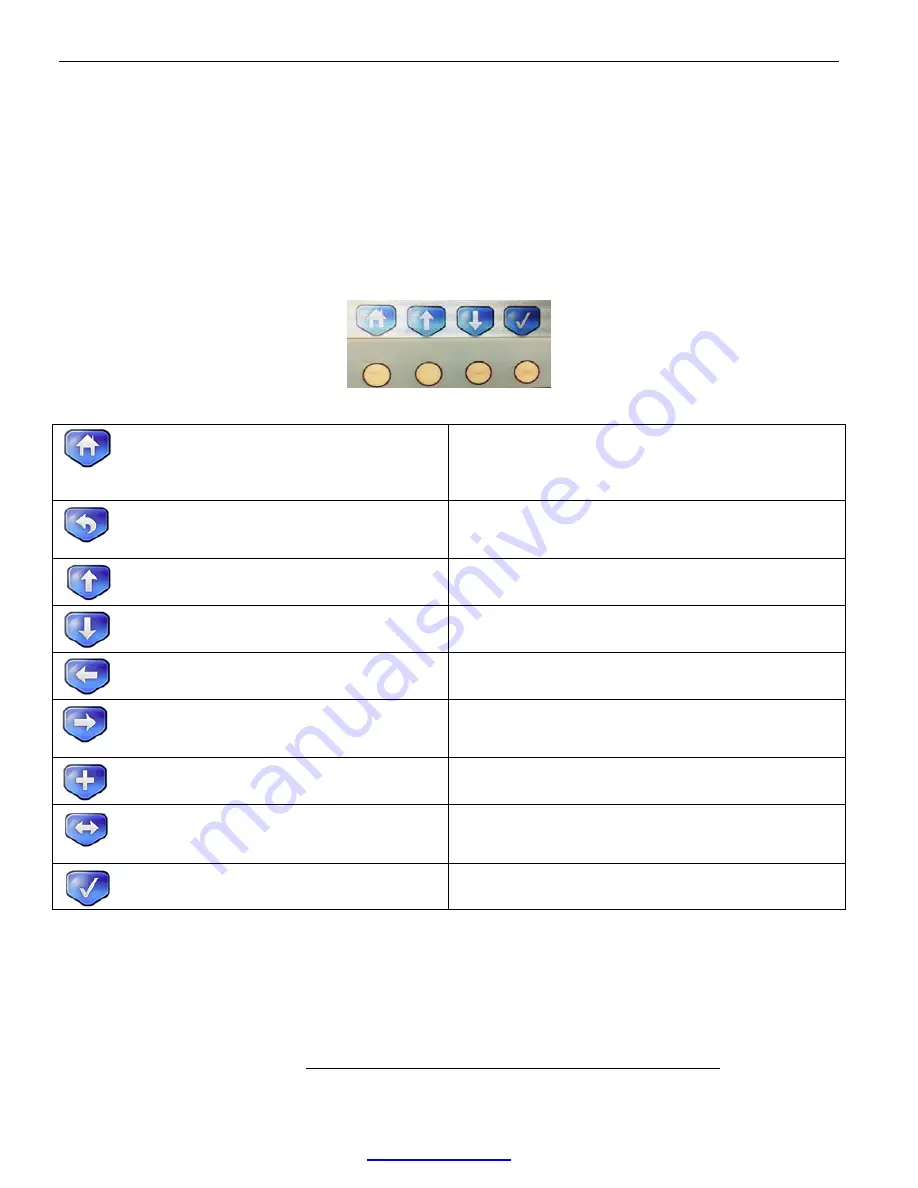
via the four control buttons on the face of the unit. The screen icons and functions assigned to the physical buttons
will vary slightly depending on which Logger menu is active. The Logger LCD screen is not a touchscreen, but the
four-button interface is very simple and the menus designed to be intuitive and easily navigable. The Main Screen
navigation button icons consist of (in order) Home, up-navigation, down-navigation, and “select.” (checkmark)
Button Icons
Home Button – aligns with left button in Main Screen
only. Holding down for two seconds brings up an Options
menu for setting the display to maximum brightness,
restoring factory defaults or powering off.
Back button. Navigates back to previous menu screen.
Aligns with first (left) button in all screens except the
Main Screen.
Navigation arrow for moving up the selected menu
screen. Aligns with second button.
Navigation arrow for moving down the selected menu
screen. Aligns with third button.
Navigation arrow for moving left for horizontal selections.
Aligns with second button in Date & Time screens.
Navigation arrow for moving right for horizontal
selections. Aligns with third button in Date & Time
screens.
Advances number selections, such as those found in the
Date & Time screens. Aligns with fourth button.
Selection button for toggling through available options.
Found in the Data Setup, Configuration and paired
transmitter menus. Aligns with fourth button.
Select button. Accepts selected menu item or advances
to next screen menu. Aligns with fourth button.
NOTE:
During live data acquisition, the button icon status changes to allow for addition of event markers and
recorded audio notes into the session. See “Placing Event Markers” and “Audio Notes” see page 15 for details.
Charging and Powering on the Logger
Charge the Logger by connecting the micro USB B connector end of the charging cable to the Logger output port (on
top edge of unit) and connect the USB A end to the AC wall charger (included). Then power on the Logger by
holding down the leftmost button on the Logger’s front panel for a few seconds. The Logger welcome screen will
appear, followed by the Main Menu. Use the AC wall charger to charge the Logger, not a USB port.
When fully charged, the green battery icon in the upper right of the Main Menu screen will indicate “100%.”


