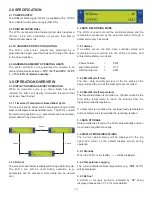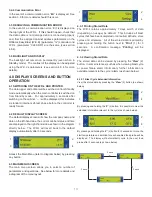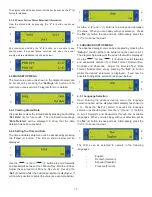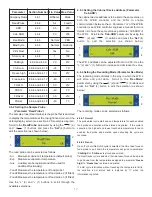
9
MAINTENANCE
The cabinets are fully automatic in operation. Cleaning and
loading thermal paper is the only maintenance required.
Read the following topics.
Exterior Cleaning
The exterior of the cabinet is stainless steel and if cared for
correctly will keep is ‘as new’ finish for many years. Normal
day to day cleaning should be carried out with a soft cloth
and soapy water. Always wipe the cabinet vertically in the
same direction as the grain in the stainless steel. While
stainless steel is a very strong and robust material, the
smooth finish can be spoiled by wiping against the grain.
Never use abrasive materials or cleaners, or chemical
cleaners, as they can damage the surface and cause
corrosion. Occasionally, the exterior should be polished with
a good stainless steel polish to protect the surface.
Do not use abrasive cleaners, chemicals or scouring pads
on the control panel. Clean the control panel only with a soft
damp cloth. Avoid excess water on the control panel, and
other areas where electrical components are fitted.
Interior Cleaning
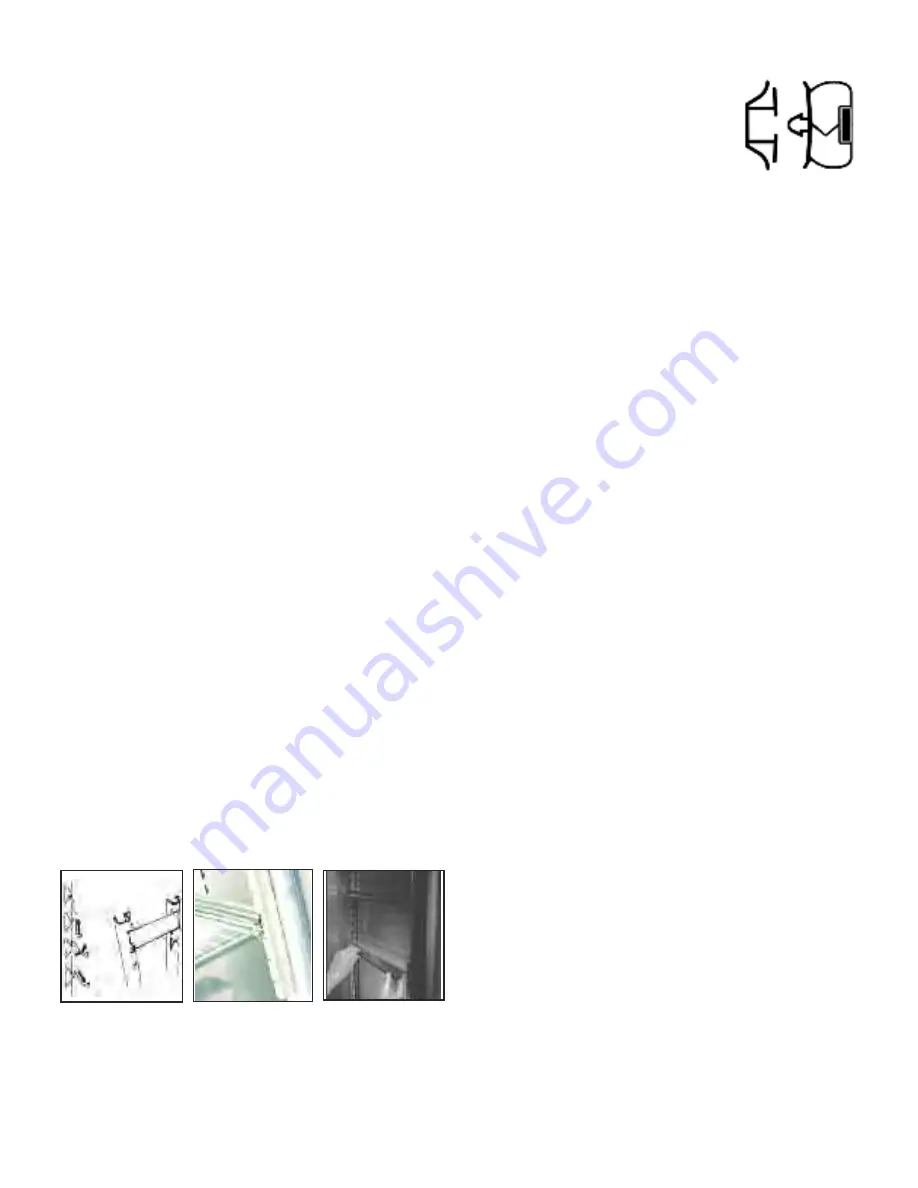
The racking can be removed for easy cleaning (
see Figure
2
). This should be done on a regular basis with warm water
and a soft cloth, dry thoroughly afterwards. To remove the
racking and shelf supports follow this procedure:
First remove shelves, then supports by gripping firmly at the
center and lifting slightly. Turn shelf support towards cabinet
interior by pushing at the center as you twist support through
90°. The shelf support will be released. (
Note:
the supports
are designed to be anti-tilt and some resistance may be
experienced at first. This will be overcome with practice).
When all shelves have been removed, remove the racking
by lifting up and over the nylon retaining blocks.
Door Gasket
Clean the gasket weekly with warm soapy
water and a soft cloth taking care not to
damage it.
DO NOT
use a sharp knife to
clean or scrape the gasket. Regularly
check the gasket for any damage.
Damage can be caused by striking the
gasket with a sharp object such as the corner of a tray.
Damaged gaskets do not seal correctly and can increase the
amount of electricity consumed, seriously affecting the
efficiency and performance of the cabinet.
Damaged gaskets are easily replaced. To fit a new gasket -
simply pull out the old gasket and push the new gasket into
the channel (gasket retainer) at the center and work along
the gasket pushing it into the channel, continue in the same
way on the other three sides, pushing the corners in last.
Condenser Cleaning
The condenser, which is part of the refrigeration unit, is
located in the unit compartment and requires cleaning
approximately 4 times per year or when the LED indicates.
To clean the condenser,
disconnect main power supply
before starting,
then brush the fins vertically with a stiff
brush (taking care not to damage the fins or push dirt / dust
further into the condenser coil) and vacuum the dirt / dust
away.
Remember to reconnect main power supply when
finished.
TECHNICAL SERVICE &
REPLACEMENT PARTS
Beverage-Air strives to provide excellent customer service
along with quality equipment. To help us better assist you, a
serial number and / or model number must be provided when
contacting the technical service or parts department. The
data plate is located inside the reach-in cabinet on the right
side wall. Roll-in blast chiller data plates are placed on the
exterior of the back panel that supports the controller. All
serial numbers are recorded and kept indefinitely.
Содержание Williams WBC110
Страница 12: ...12 by OPERATING ENGINEERS MANUAL for WILLIAMS DATA LOGGER W D L with PRINTER MODULE...
Страница 19: ...19 by PARTS LISTS WIRING DIAGRAMS and CONTROLLER SET UP for REACH IN and ROLL IN BLAST CHILLERS...
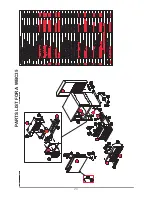
Страница 20: ...20 PARTS LIST FOR A WBC35...
Страница 21: ...21 PARTS LIST FOR A WBC60...
Страница 22: ...22 PARTS LIST FOR A WBC75...
Страница 23: ...23 PARTS LIST FOR A WBC110...
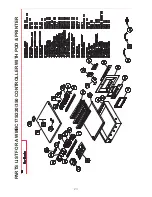
Страница 24: ...24 PARTS LIST FOR A WMBC175 220 350 CONTROLLER WITH POD PRINTER...
Страница 25: ...25 PARTS LIST FOR A WMBC175 220 350 PANEL LAYOUT...
Страница 26: ...26 PARTS LIST FOR A WMBC175 220 350 EQUIPMENT...
Страница 27: ...27 PARTS LIST FOR A WMBC175 220 350 POD EQUIPMENT...
Страница 28: ...28 PARTS LIST FOR A WMBC175 220 350 PANEL LAYOUT...
Страница 29: ...29 PARTS LIST FOR A WMBC350 EQUIPMENT...
Страница 30: ...30 PARTS LIST FOR A WMBC480 660 PANEL LAYOUT...
Страница 31: ...31 PARTS LIST FOR A WMBC480 660 CONTROL PANEL WITH PRINTER POD...
Страница 32: ...32 PARTS LIST FOR A WMBC480 EQUIPMENT LAYOUT...
Страница 33: ...33 PARTS LIST FOR A WMBC660 EQUIPMENT LAYOUT...
Страница 34: ...34 PARTS LIST FOR A WMBC480 660 POD EQUIPMENT...
Страница 35: ...35 PARTS LIST FOR A WMBC480 660 PANEL LAYOUT...
Страница 49: ...49...
Страница 50: ...50...
Страница 51: ...51...


