16
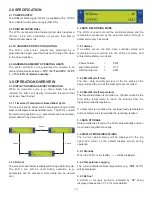
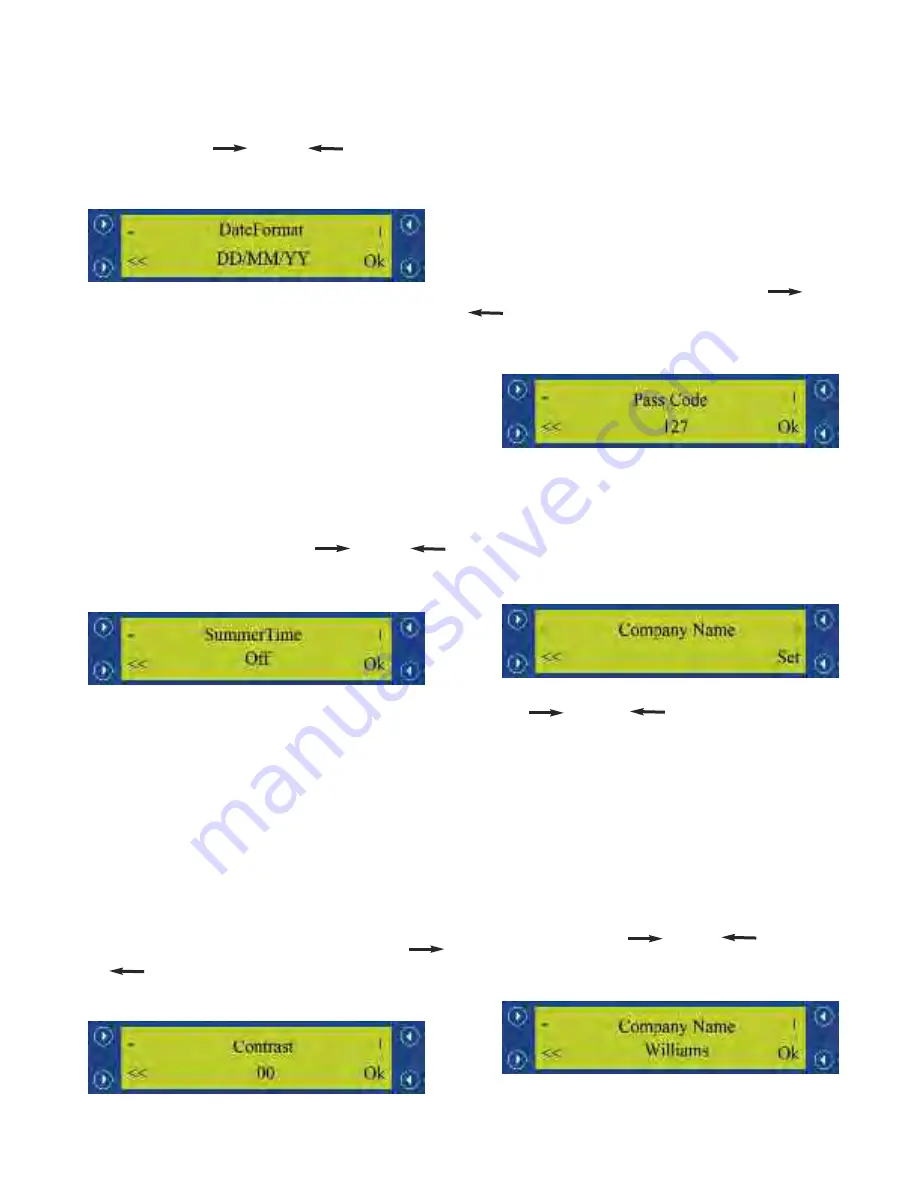
4.5.2 Date Format Selection
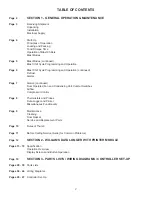
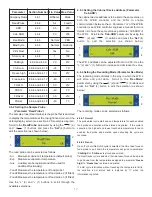
The date format can be changed to suit European or
American layout formats. Whilst in the Advanced Setup
Menu (see section 4.5), scroll to the
‘DateFormat’
parameter by using the ‘
‘ (2) and ‘
‘ (1) buttons and
press the
‘Set’
(4) button to adjust the selection. The screen
shown below will be displayed.
The W.D.L can be selected to operate in the following date
formats:
-
DD/MM/YY
-
MM/DD/YY
Use the
‘+’
(2) and
‘-’
(1) buttons to scroll through the
available selections.
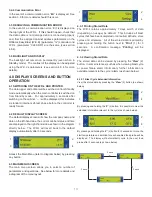
4.5.3 Summertime Enabling / Disabling
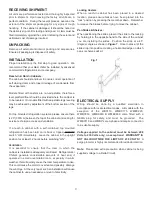
The ‘Summertime’ mode is used for daylight savings. Whilst
in the Advanced Setup Menu (see section 4.5), scroll to the
‘Summertime’
parameter by using the ‘
‘ (2) and ‘
‘
(1) buttons and press the
‘Set’
(4) button to adjust the
selection (as shown below).
The W.D.L can be set to daylight savings enabled / disabled
as follows:
-
On (+1 hour to the set time)
-
Off (Time remains unadjusted)
Use the
‘+’
(2) and
‘-’
(1) buttons to scroll through the
available selections.
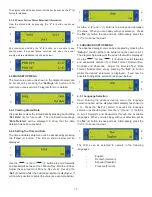
4.5.4 Setting the Display Contrast
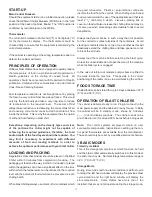
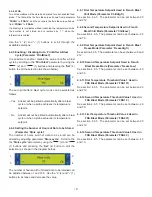
The contrast can be adjusted to make the screen more / less
visible. Whilst in the Advanced Setup Menu (see section
4.5), scroll to the
‘Contrast’
parameter by using the ‘
‘
(2) and ‘
‘ (1) buttons and press the
‘Set’
(4) button to
adjust the selection (as shown below).
The contrast can be set between 0 and 50. The greater the
value, the more ‘clouded’ the display will appear. Use the
‘+’
(2) and
‘-’
(1) buttons to increase / decrease the value.
4.6 ENGINEERING PARAMETERS
The engineering parameters are used to control much of the
W.D.L’s
temperature
logging
and
other
advanced
functionalities.
Should
these
parameters
require
modification, it should only be undertaken by an engineer as
the behaviour of the W.D.L can be greatly affected.
Whilst in the Advanced Setup Menu (see section 4.5), scroll
to the
‘Pass Code’
parameter by using the ‘
‘ (2) and
‘
‘ (1) buttons and press the
‘Set’
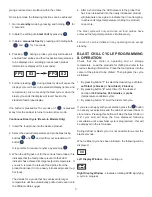
(4) button. A pass code
will be required to access the engineering parameters (as
shown below).
The pass code to enter the engineering parameters is
‘127’
.
Use the
‘+’
(2) and
‘-’
(1) buttons to increase and decrease
the value and press
‘Ok’
(4) to confirm the selection.
The screen shown below will be displayed to confirm that you
have successfully entered the pass code and are now in the
engineering parameters.
Use the ‘
‘ (2) and ‘
‘ (1) buttons to scroll forwards
and backwards between the avilable parameters (see page
17 for more details).
4.6.1 Setting the Company Name (Parameter ‘Company
name’)
The company name can be adjusted accordingly to change
the company name that will be displayed in the top left-hand
of the Defauly Display screen (see section 4.2 for example di-
agram). Whilst in the engineering parameters (see section
4.6 for eaxmple diagram), scroll to the
‘Company name’
parameter by using the ‘
‘ (2) and ‘
‘ (1) buttons and
press the
‘Set’
(4) button to edit the selection (as shown
below).
Use the
‘+’
(2) and
‘-’
(1) buttons to scroll through the
available selections.
1
2
3
4
1
2
3
4
1
2
3
4
1
2
3
4
1
2
3
4
1
2
3
4
Содержание Williams WBC110
Страница 12: ...12 by OPERATING ENGINEERS MANUAL for WILLIAMS DATA LOGGER W D L with PRINTER MODULE...
Страница 19: ...19 by PARTS LISTS WIRING DIAGRAMS and CONTROLLER SET UP for REACH IN and ROLL IN BLAST CHILLERS...
Страница 20: ...20 PARTS LIST FOR A WBC35...
Страница 21: ...21 PARTS LIST FOR A WBC60...
Страница 22: ...22 PARTS LIST FOR A WBC75...
Страница 23: ...23 PARTS LIST FOR A WBC110...
Страница 24: ...24 PARTS LIST FOR A WMBC175 220 350 CONTROLLER WITH POD PRINTER...
Страница 25: ...25 PARTS LIST FOR A WMBC175 220 350 PANEL LAYOUT...
Страница 26: ...26 PARTS LIST FOR A WMBC175 220 350 EQUIPMENT...
Страница 27: ...27 PARTS LIST FOR A WMBC175 220 350 POD EQUIPMENT...
Страница 28: ...28 PARTS LIST FOR A WMBC175 220 350 PANEL LAYOUT...
Страница 29: ...29 PARTS LIST FOR A WMBC350 EQUIPMENT...
Страница 30: ...30 PARTS LIST FOR A WMBC480 660 PANEL LAYOUT...
Страница 31: ...31 PARTS LIST FOR A WMBC480 660 CONTROL PANEL WITH PRINTER POD...
Страница 32: ...32 PARTS LIST FOR A WMBC480 EQUIPMENT LAYOUT...
Страница 33: ...33 PARTS LIST FOR A WMBC660 EQUIPMENT LAYOUT...
Страница 34: ...34 PARTS LIST FOR A WMBC480 660 POD EQUIPMENT...
Страница 35: ...35 PARTS LIST FOR A WMBC480 660 PANEL LAYOUT...
Страница 49: ...49...
Страница 50: ...50...
Страница 51: ...51...

