17
[PRODUCT NAME]
[DOCUMENT TYPE]
Initial Power On
Each system's input voltage is specified in the Specifications chapter.
The power cords should be standard 3-wire AC power cords including a safety ground and
rated for 15A or higher.
1. Plug in the first power cable.
2. Plug in the second power cable.
3. Wait for the System Status LED to turn green.
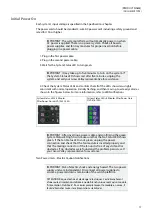
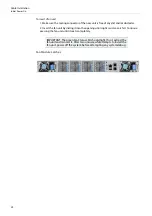
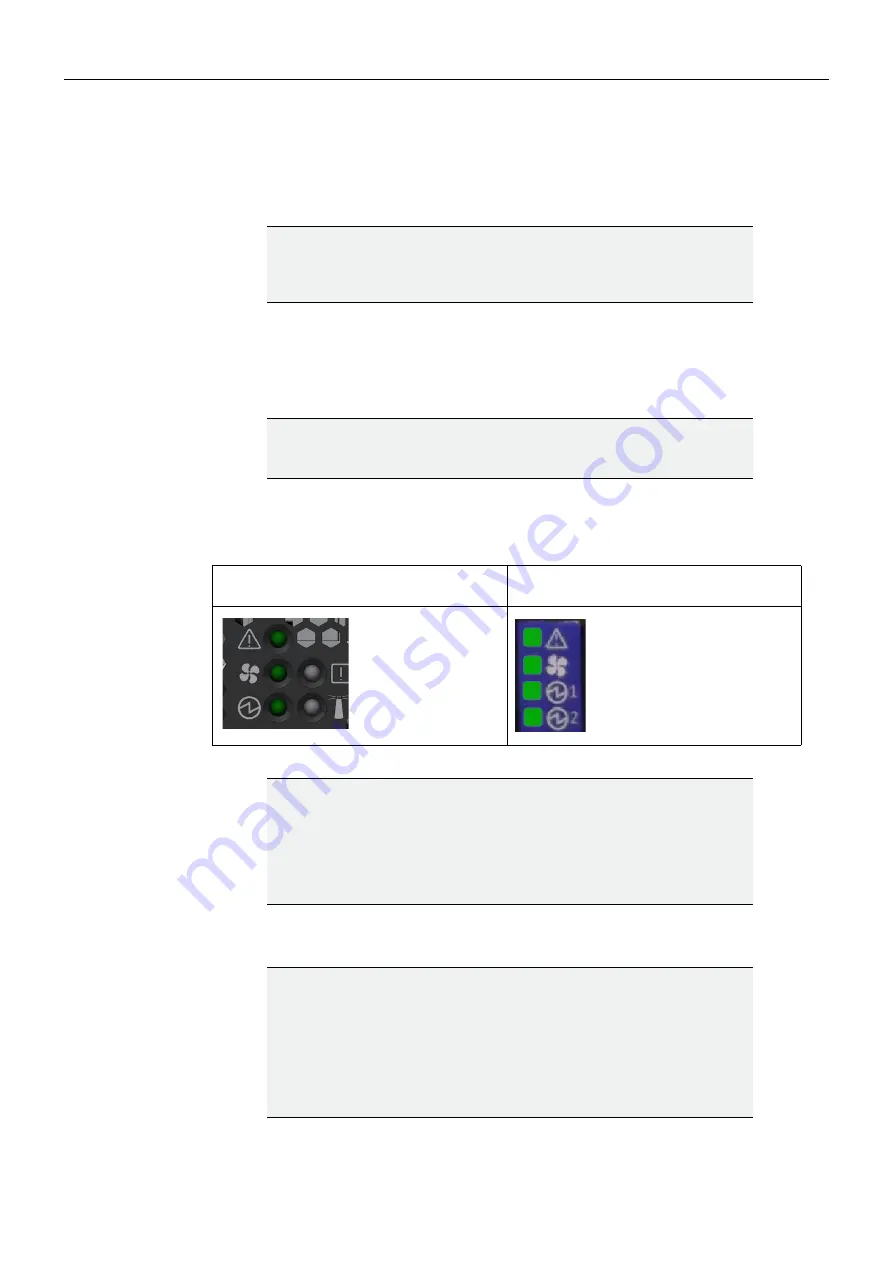
4. Check the System Status LEDs and confirm that all of the LEDs show status lights
consistent with normal operation (initially flashing, and then moving to a steady color) as
shown in the figures below. For more information, refer to LED Notifications.
Two Power Inlets - Electric Caution Notifications:
IMPORTANT: The system platform will automatically power on when
AC power is applied. There is no power system. Check all boards,
power supplies, and fan tray modules for proper insertion before
plugging in a power cable.
IMPORTANT: It may take up to five minutes to turn on the system. If
the System Status LED shows red after five minutes, unplug the
system and call your Grass Valley representative for assistance.
System Status LEDs 5 Minutes
After Power On in GVF-1032-100G
System Status LEDs 5 Minutes After Power On in
GVF-516-100G
IMPORTANT: After inserting a power cable and confirming the green
System Status LED light is on, make sure that the Fan Status LED shows
green. If the Fan Status LED is not green, unplug the power
connection and check that the fan module is inserted properly and
that the mating connector of the fan unit is free of any dirt and/or
obstacles. If no obstacles were found and the problem persists, call
your Grass Valley representative for assistance
IMPORTANT: Risk of electric shock and energy hazard. The two power
supply units are independent. Disconnect all power supplies to
ensure a powered down state inside of the switch platform.
ATTENTION Risque de choc et de danger e'lectriques. Le de'branchment
d'une seule alimentation stabilise'e ne de'branch uniquement qu'un module
"Alimentation Stabilise'e". Pour isoler completement le module en cause, Il
faut de'brancher toutes les alimentations stabilise'es
Содержание grass valley GV FABRIC
Страница 6: ...vi Notices ...
Страница 20: ...14 Installation 19 System Mounting Options ...
Страница 40: ...34 Software Management Upgrading Software ...


