User’s Manual
13/73
Ver. [E.1.1]
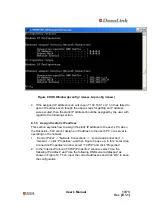
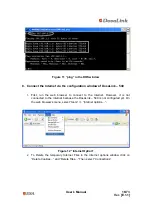
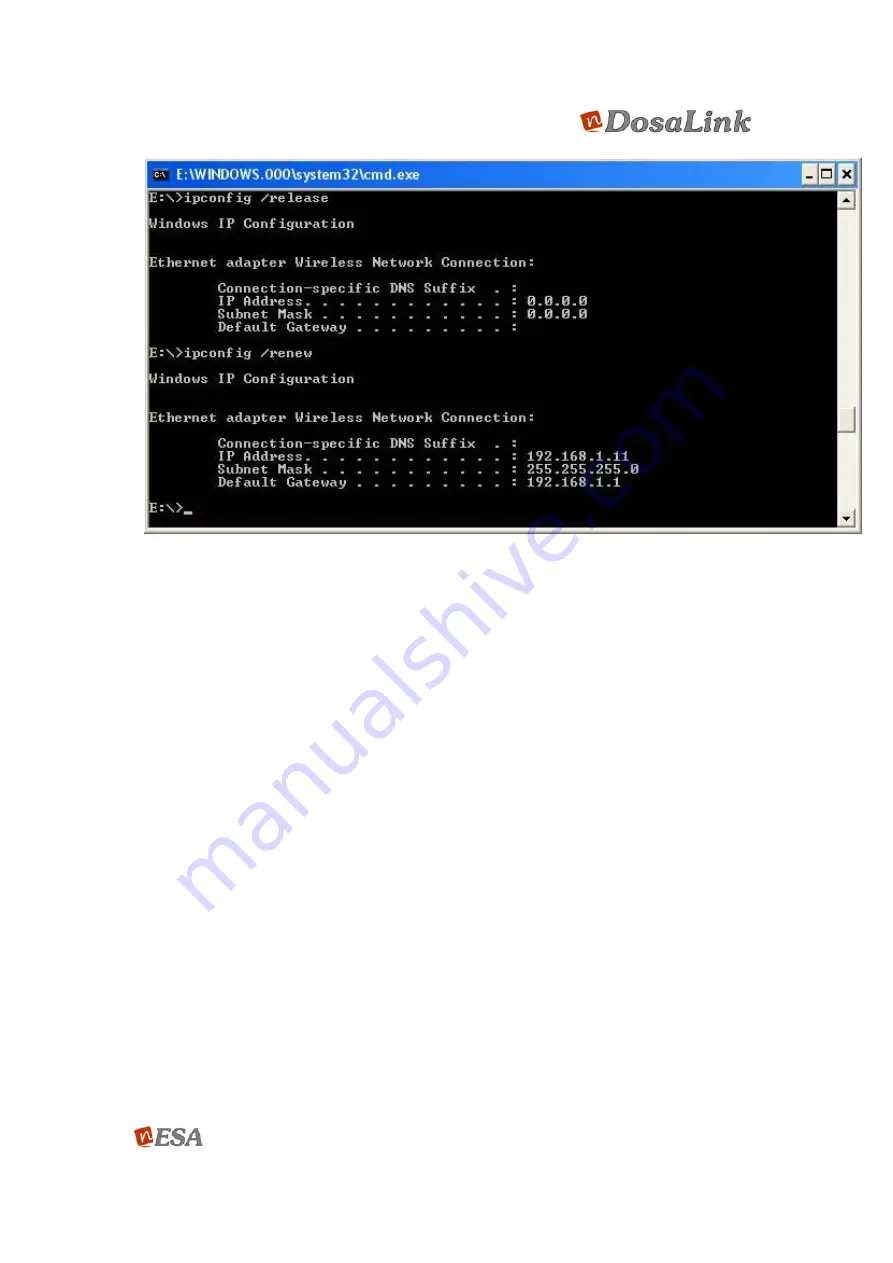
Figure 8 DOS WIndow (ipconfig / release & ipconfig /renew)
4. If the assigned IP address is an outscope of “192.168.1.xxx” or it has failed to
get an IP address even though the above steps for getting an IP address
were excuted, then the static IP address should be assigned by the user with
regard to the following section.
6.1.3. Assign the static IP address
This section explains how to assign the static IP address to the user’s PC when
the DosaLink – 540 cannot assign an IP address to the user’s PC or a server is
operating on the network.
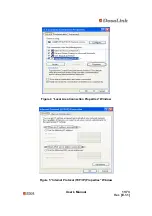
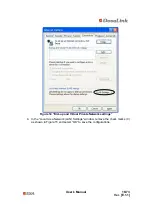
1. “Control Panel” -> “Network Connections” -> “Local Area Connection” ->
“General” -> click “Properties”, and then Figure 9 pops up. In this “Local Area
Connection Properties” window, select “TCP/IP” and click “Properties”.
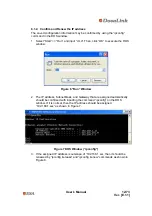
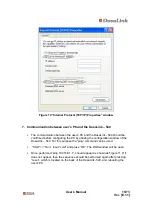
2. In the “Internet Protocol (TCP/IP) Properties” window, select “Use the
following IP address” and “Use the following DNS server addresses” as
shown in Figure 10. Then, input the correct addresses and click “OK” to save
the configuration.


