4. Connections
How to select an input via the menu structure
1. Press on the thumb wheel or press
ENTER
on the RCU to activate the menus.
The main menu will be displayed on the screen. (menu 4-12)
2. Turn the thumb wheel or use the up or down arrow keys to select
Input selection
.
The input selection menu will be displayed. (menu 4-13)
3. Turn the thumb wheel or use the up or down arrow keys to select the corresponding input (Video or S-Video or Component).
4. Press the thumb wheel or press
ENTER
on the RCU.
Solaris LC40
Select input
Image settings
Audio settings
PiP settings
Compact PC Control
Advanced settings
Standby
Back
Menu 4-12
Select input
1. Video
2. RGB
3. S-Video
4. HD-SDI/DVI/Audio/RGB
5. SDI
6. RGB
7. DVI
8. Compact PC
Configure input 2
Back
Menu 4-13
Loop through connection for Video
The composite video input (V
in
) is connected in loop through with the V
out
. This signal can be used to connect to the next device.
4.2.7
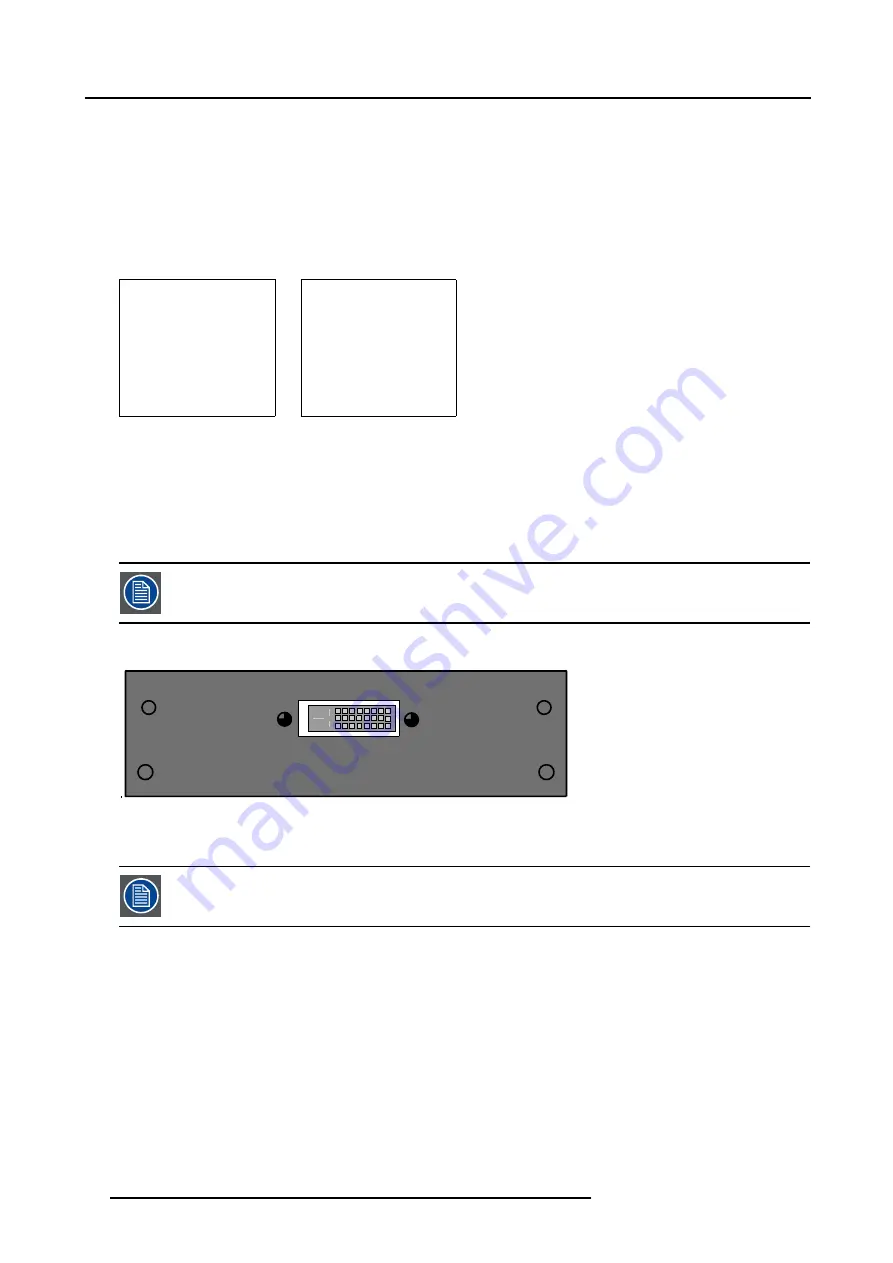
DVI input module (optional)
This input slot is NOT hot-pluggable. Make sure the system is switched off before inserting or removing an
input module!
Specifications
DVI
Image 4-7
As this module has the same specifications as the standard DVI input, Digital Visual Interface (DVI) input, page 14 for the further
specifications.
The optional input is automatically detected by the system and correctly filled out in the menu structure.
How to select with the RCU.
1. Press
4
on the RCU
20
R5976672 SOLARIS LC40 01042004
Содержание R9004120
Страница 1: ...MEDIA EVENTS SOLARIS LC40 R9004120 Events R9004125 Media OWNERS MANUAL 01042004 R5976672 03 ...
Страница 4: ......
Страница 13: ...2 Packaging and Dimensions Bottom view 107 Image 2 3 Bottom view R5976672 SOLARIS LC40 01042004 9 ...
Страница 14: ...2 Packaging and Dimensions 10 R5976672 SOLARIS LC40 01042004 ...
Страница 32: ...4 Connections 28 R5976672 SOLARIS LC40 01042004 ...
Страница 40: ...5 Getting Started 36 R5976672 SOLARIS LC40 01042004 ...
Страница 46: ...7 Input Selection 42 R5976672 SOLARIS LC40 01042004 ...
Страница 58: ...8 Image Settings 54 R5976672 SOLARIS LC40 01042004 ...
Страница 62: ...9 Audio Settings 58 R5976672 SOLARIS LC40 01042004 ...
Страница 67: ...10 PiP Settings Image 10 4 Positioning PiP window R5976672 SOLARIS LC40 01042004 63 ...
Страница 68: ...10 PiP Settings 64 R5976672 SOLARIS LC40 01042004 ...
Страница 70: ...11 Compact PC Control 66 R5976672 SOLARIS LC40 01042004 ...
Страница 98: ...B Optional Mounting Equipment A Image B 10 A B Image B 11 94 R5976672 SOLARIS LC40 01042004 ...
Страница 100: ...C Specifications 96 R5976672 SOLARIS LC40 01042004 ...
Страница 102: ...Glossary 98 R5976672 SOLARIS LC40 01042004 ...


