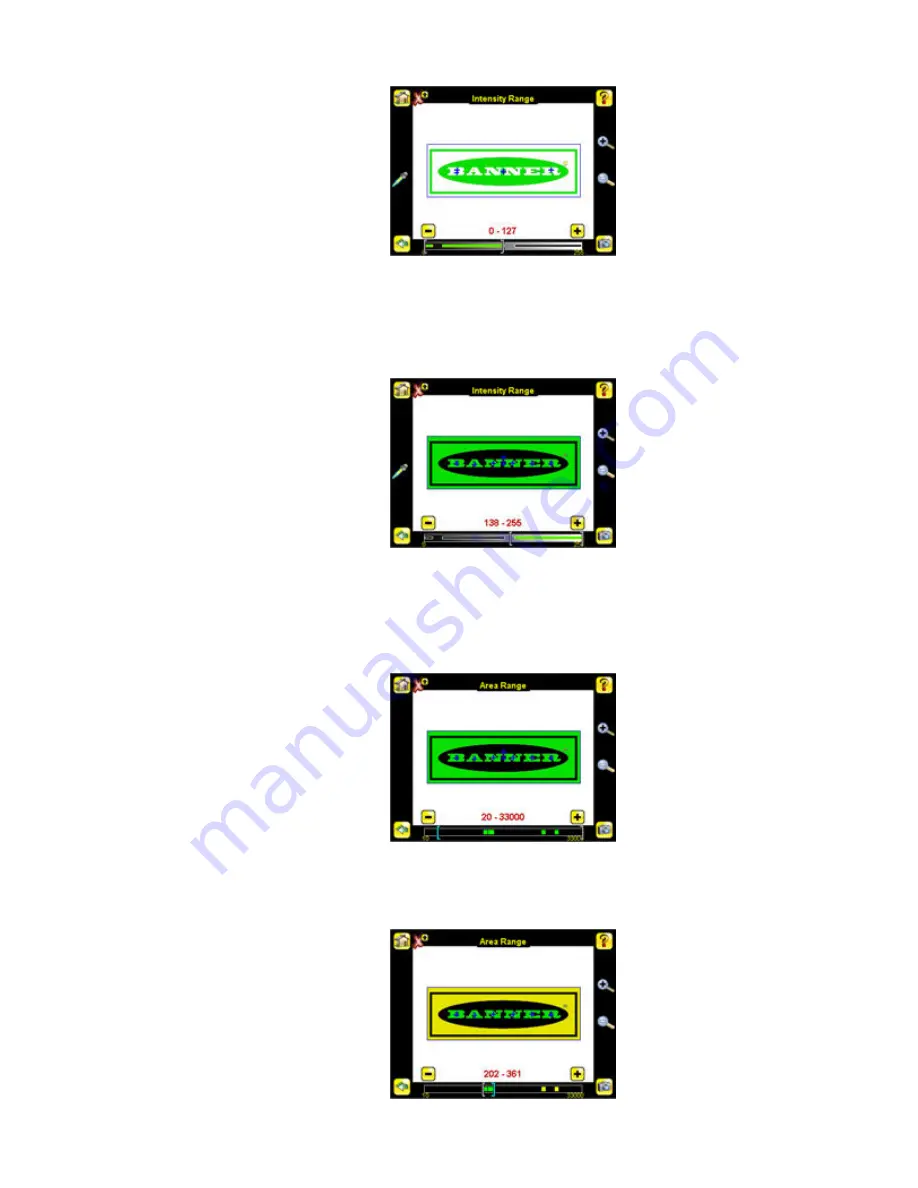
2. Click on the eye-dropper icon on the left of the screen, and then click anywhere in one of the white letters. Now any white
area will be highlighted in green. Use the slider bar at the bottom of the display to fine tune the selection. As the slider bar
is moved, green highlighted areas indicate objects the sensor finds and counts. The objects colored yellow are found, but
filtered out (that is, not counted) because the objects fall outside of the Area Range.
• Adjust the Area Range. The Area Range is used to set the size limits of a feature of interest. Use the slider bar at the bottom of
the display to select the range. Areas are measured by counting pixels. For example, a rectangular feature that is 100 pixels
wide by 200 pixels tall will have an area of roughly 20,000 pixels.
1. Go to Main Menu > Inspection , and click the Area Range option.
2. Move the slider at the bottom of the screen to the to the desired area range. In the Demo example, the Area Range is
adjusted so that each letter is identified as a found object (indicated by the green highlight and the blue +).
iVu Series Image Sensor
46
www.bannerengineering.com - tel: 763-544-3164
Rev. E


