18
•
Operation
1. Start the GenePix Pro software and click the Report tab.
2. Click the Functional Checkout link.
3. Follow the Functional Checkout procedure.
GenePix Pro automatically logs hardware performance into the Hardware
Diagnostics Report every two hours during operation.
Installing Additional Filters
Your GenePix Autoloader 4200AL scanner comes with one standard filter for each
installed laser. The standard filters are not accessible by the user. You can install
additional filters in any of the twelve remaining filter positions. The installation
process involves two steps:
1. Install the filters in the scanner;
2. Record the information for the new filters in GenePix Pro.
1. Install the filter(s) in the scanner
Turn off power to the instrument before opening the filter wheel compartment.
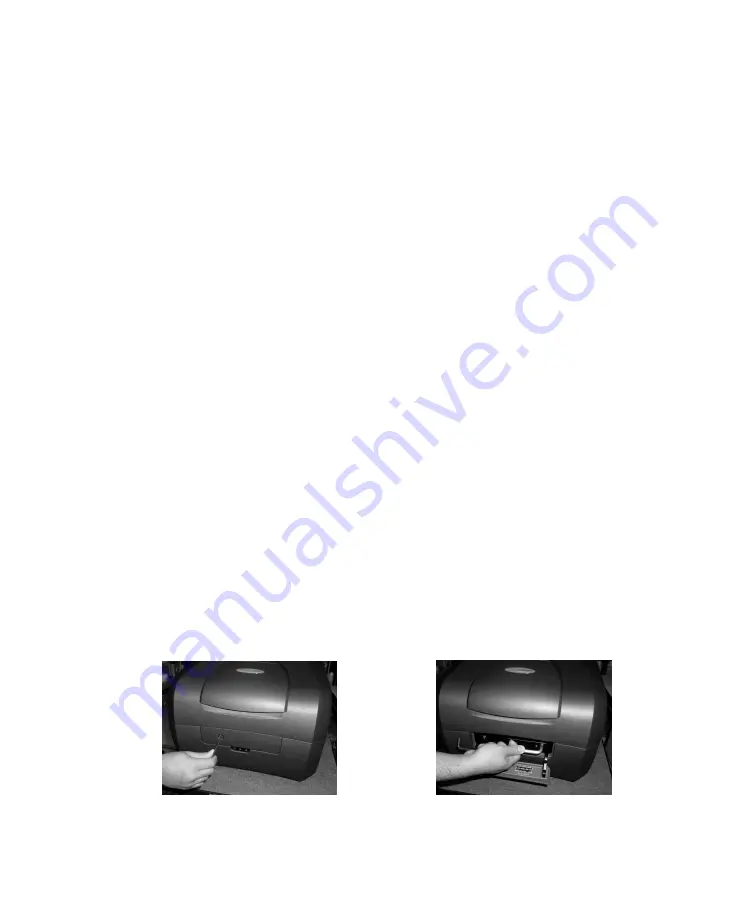
1. Use a 5/32” hex wrench (provided with the optional filter kit) to access the
filter wheel compartment on the front of the scanner (Figure 1). Turn the
hex wrench counterclockwise to release the filter door latch. Pull the
handle to remove the filter cartridge (Figure 2).
Figure 2.
Opening the filter compartment.
Figure 3.
Removing the filter cartridge.
GenePix 4200AL User’s Guide, Copyright 2005 Axon Instruments / Molecular Devices Corp.


