MANO882 Series Mini ITX Board
28
Hardware Installation
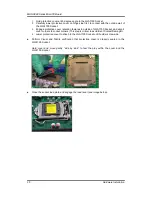
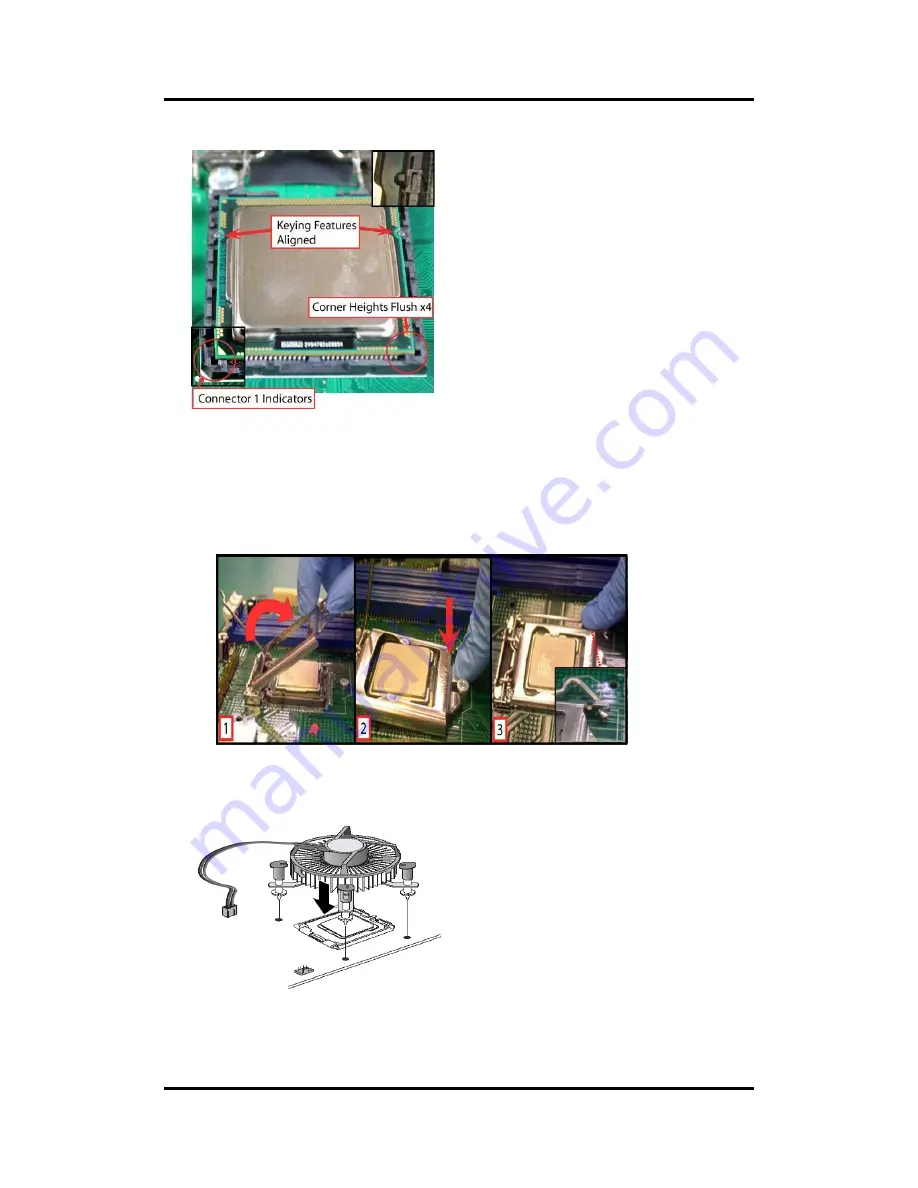
Verify that package is within the socket body and properly connected to orientation keys.
Close the socket (see image below):
1. Gently lower the load plate.
2. Make sure load plate's front edge slides under the shoulder screw cap as the lever is
lowered.
3. Latch the lever under the top plate's corner tab, being cautious not to damage the
motherboard with the tip of the lever.
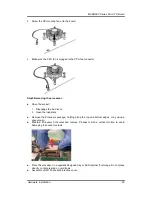
Step4 Fan heatsink handling:
1.
Orientate the CPU cooling fan to fixing holes on the board.
Содержание MANO882 series
Страница 6: ...vi iAMT Settings 83 iAMT Web Console 86 ...
Страница 10: ...MANO882 Series Mini ITX Board 4 Introduction This page is intentionally left blank ...
Страница 12: ...MANO882 Series Mini ITX Board 6 Board and Pin Assignments Bottom View I O Bracket ...
Страница 13: ...MANO882 Series Mini ITX Board Board and Pin Assignments 7 2 2 Board Layout Top View I O Bracket ...
Страница 30: ...MANO882 Series Mini ITX Board 24 Board and Pin Assignments This page is intentionally left blank ...
Страница 38: ...MANO882 Series Mini ITX Board 32 Hardware Installation This page is intentionally left blank ...
Страница 41: ...MANO882 Series Mini ITX Board Hardware Description 35 ...
Страница 43: ...MANO882 Series Mini ITX Board Hardware Description 37 ...
Страница 44: ...MANO882 Series Mini ITX Board 38 Hardware Description ...
Страница 46: ...MANO882 Series Mini ITX Board 40 Hardware Description This page is intentionally left blank ...
Страница 74: ...MANO882 Series Mini ITX Board 68 AMI BIOS Setup Utility This page is intentionally left blank ...


