MANO882 Series Mini ITX Board
Hardware Installation
27
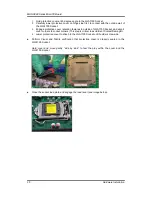
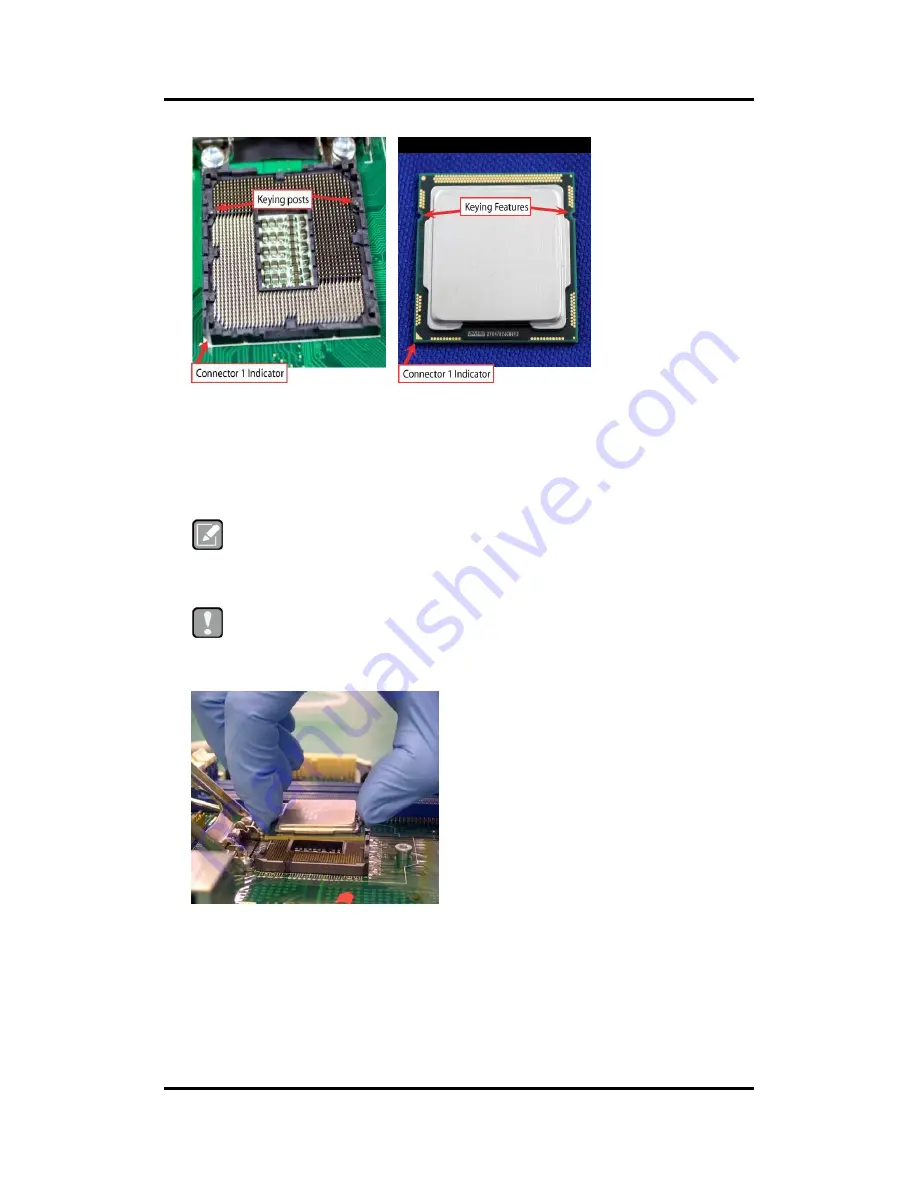
Grasp the processor with thumb and index finger along the top and bottom edges. (Do not
touch the orientation notches.) The socket will have cutouts for your fingers to fit into (see
image below).
Carefully place the processor into the socket body vertically (see image below).
Note
Tilting or roughly shifting it into place can damage socket contacts.
Caution
Do not use a vacuum pen for installation.
Содержание MANO882 series
Страница 6: ...vi iAMT Settings 83 iAMT Web Console 86 ...
Страница 10: ...MANO882 Series Mini ITX Board 4 Introduction This page is intentionally left blank ...
Страница 12: ...MANO882 Series Mini ITX Board 6 Board and Pin Assignments Bottom View I O Bracket ...
Страница 13: ...MANO882 Series Mini ITX Board Board and Pin Assignments 7 2 2 Board Layout Top View I O Bracket ...
Страница 30: ...MANO882 Series Mini ITX Board 24 Board and Pin Assignments This page is intentionally left blank ...
Страница 38: ...MANO882 Series Mini ITX Board 32 Hardware Installation This page is intentionally left blank ...
Страница 41: ...MANO882 Series Mini ITX Board Hardware Description 35 ...
Страница 43: ...MANO882 Series Mini ITX Board Hardware Description 37 ...
Страница 44: ...MANO882 Series Mini ITX Board 38 Hardware Description ...
Страница 46: ...MANO882 Series Mini ITX Board 40 Hardware Description This page is intentionally left blank ...
Страница 74: ...MANO882 Series Mini ITX Board 68 AMI BIOS Setup Utility This page is intentionally left blank ...


