MANO882 Series Mini ITX Board
26
Hardware Installation
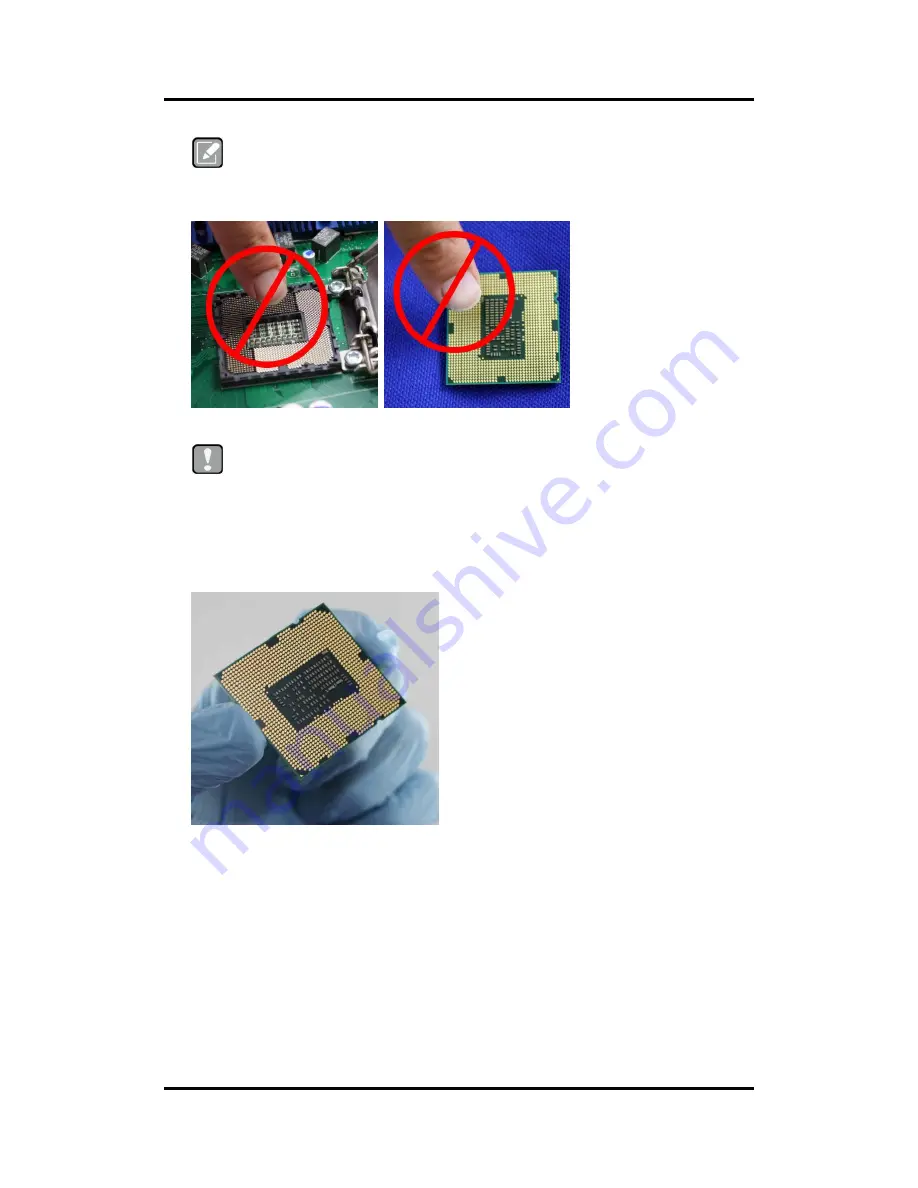
Note
Vertical removal is NOT recommended, as it requires higher force and can lead to
socket contact damage.
Caution
Never touch fragile socket contacts to avoid damage and do not touch processor
sensitive contacts at any time during installation.
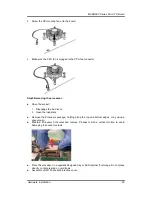
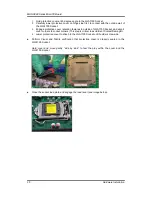
Step3 Processor installation:
Lift processor package from shipping media by grasping the substrate edges.
Scan the processor package gold pads for any presence of foreign material. If necessary,
the gold pads can be wiped clean with a soft lint-free cloth and isopropyl alcohol.
Locate connection 1 indicator on the processor which aligns with connection 1 indicator
chamfer on the socket, and notice processor keying features that line up with posts along
socket walls.
Содержание MANO882 series
Страница 6: ...vi iAMT Settings 83 iAMT Web Console 86 ...
Страница 10: ...MANO882 Series Mini ITX Board 4 Introduction This page is intentionally left blank ...
Страница 12: ...MANO882 Series Mini ITX Board 6 Board and Pin Assignments Bottom View I O Bracket ...
Страница 13: ...MANO882 Series Mini ITX Board Board and Pin Assignments 7 2 2 Board Layout Top View I O Bracket ...
Страница 30: ...MANO882 Series Mini ITX Board 24 Board and Pin Assignments This page is intentionally left blank ...
Страница 38: ...MANO882 Series Mini ITX Board 32 Hardware Installation This page is intentionally left blank ...
Страница 41: ...MANO882 Series Mini ITX Board Hardware Description 35 ...
Страница 43: ...MANO882 Series Mini ITX Board Hardware Description 37 ...
Страница 44: ...MANO882 Series Mini ITX Board 38 Hardware Description ...
Страница 46: ...MANO882 Series Mini ITX Board 40 Hardware Description This page is intentionally left blank ...
Страница 74: ...MANO882 Series Mini ITX Board 68 AMI BIOS Setup Utility This page is intentionally left blank ...

