8
AVTECH Inc.
Installation
TemPageR 3E
Configuration And Setup Screens
Alert Methods
The TemPageR 3E unit can send alert notifications via email and email-to-SMS using anonymous SMTP
relay and/or SNMP Traps. The TemPageR 3E unit is fully SNMP compliant and can be accessed by any
application that can issue a SNMP Get request. Other monitoring applications can therefore be used to
perform SNMP Get requests and receive SNMP Traps.
Email alert notifications are configured in the TemPageR 3E web interface on the ‘Email’ tab of the
‘Settings’ screen. Email alert notifications from the TemPageR 3E unit are sent using SMTP relay. Be
sure the mail server being used is configured to allow this type of connection.
If the TemPageR 3E unit is discovered although has a ‘169.xxx.xxx.xxx’ IP address, the TemPageR
3E unit may not have been connected properly or DHCP assignment may currently be getting
blocked. In either case, follow the instructions listed in the ‘Static-Only Networks’ subsection above.
NOTE: If the instructions provided do not allow configuration of the TemPageR 3E unit, please initiate a Live Chat technical
support request on AVTECH.com or send an email support request to [email protected].
Step 4:
Connect Included Sensors
And Accessories
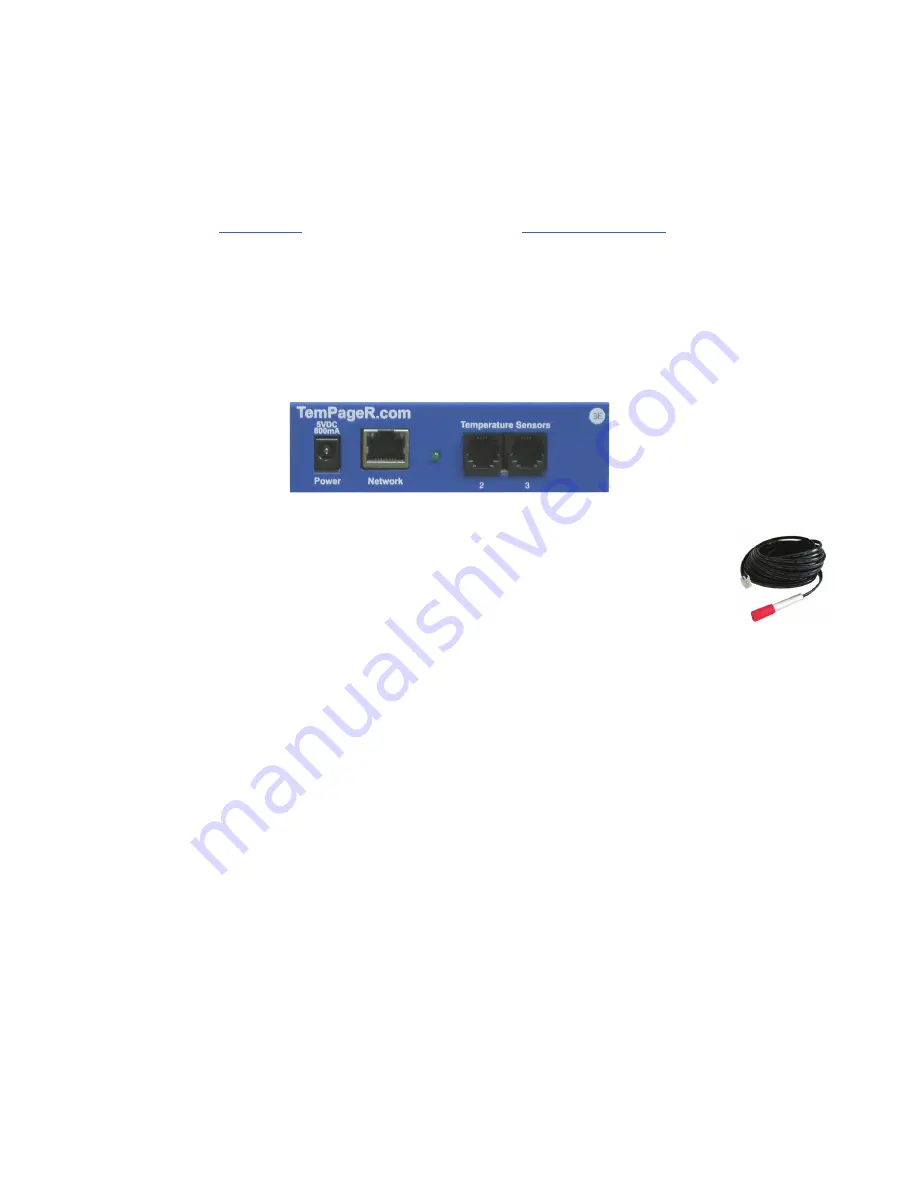
The graphics below identify the connection channels of the TemPageR 3E ID box that are visible on the
front panel. Use these to connect the appropriate sensors and accessories.
A
E
Front View (TemPageR 3E ID Box)
A.
Digital Temperature Sensor
—
Connect the included AVTECH Digital
Temperature Sensor to one of the Temperature Sensor Channels shown above
(A.). The Digital Temperature Sensor provides a real-time digital temperature
reading at the location of the temperature probe. Position the sensor in the desired
location, running the sensor cable back to the TemPageR 3E ID box. DO NOT
remove the red plastic cap from the tip of the sensor.
Step 5:
Check TemPageR 3E Firmware Version
Open the AVTECH Device Discovery Utility and click the ‘Search’ button. When the TemPageR 3E
unit is located, select it and click the ‘Web’ button. If you are unable to locate your TemPageR 3E
unit because UDP broadcast packets are blocked on your network, simply type the IP address of the
TemPageR 3E unit in the location bar of a web browser.
NOTE: If the ‘Status’ screen does not load sensor data, be sure that a proxy or Microsoft ISA (Internet Security and
Acceleration) server is not blocking traffic to or from the TemPageR 3E unit.
After the ‘Status’ screen has loaded and is fully displayed, click the ‘TemPageR 3E vX.X.X’ link in the
top right hand corner. If the pop-up that loads says a more current version is available, then follow the
instructions in the ‘Upgrading Firmware’ section of the ‘Advanced Topics’ chapter of this manual.


