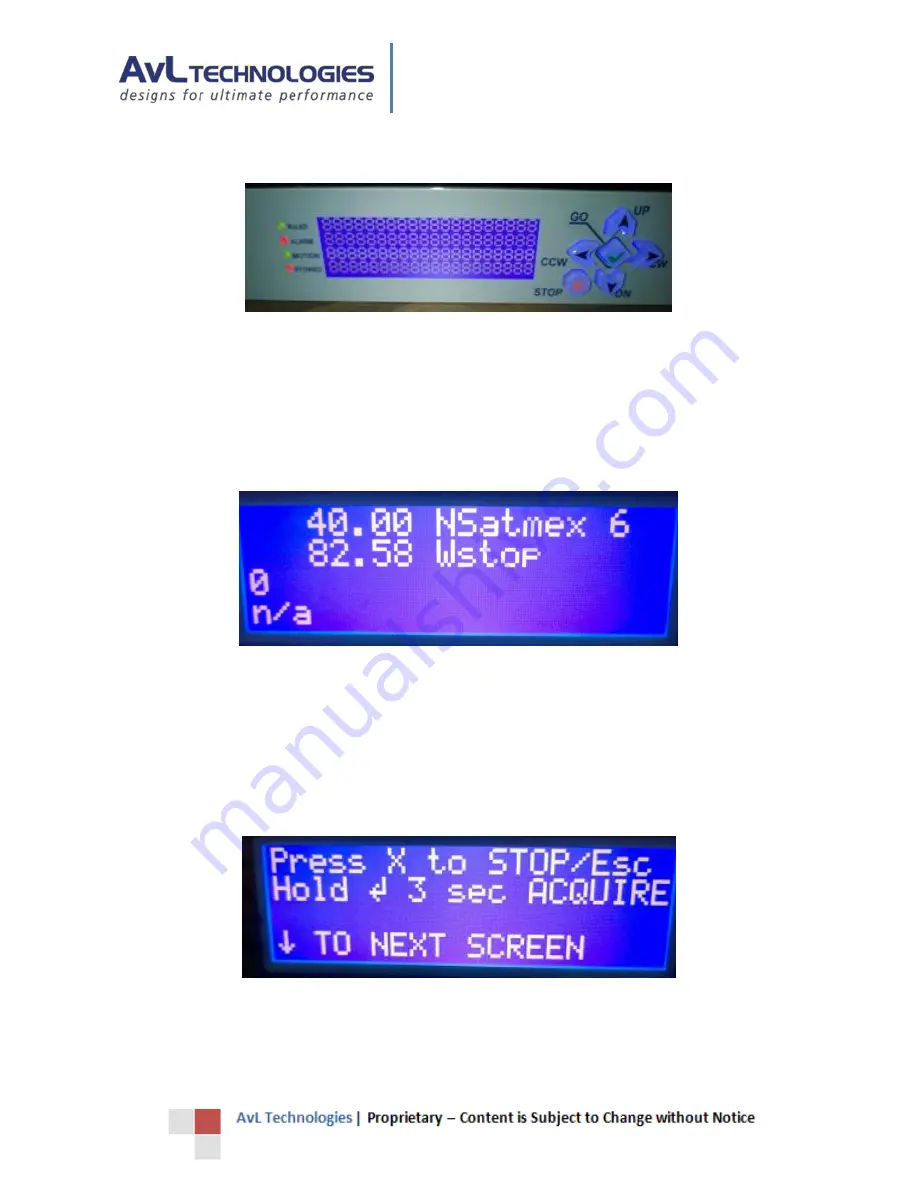
AAQ Controller Interface Panel (CIP)
14
3.4.1.
LCD Test Screen
Figure 12 - CIP LCD Test Screen
Upon application launch, the test screen is shown for approximately 4 seconds. The LCD Test Screen should
illuminate all 4 LEDs and also show the number ‘8’ in every LCD cell. After the Test Screen times out, the next screen
will automatically be displayed. If any RackCtlLabelx or RackCtlFieldx configuration parameters are assigned non-
blank values, then the screen shown after the LCD Test Screen will be the Custom Screen; otherwise, the next screen
shown will be the Prompt 1 Screen.
3.4.2.
Custom Screen
Figure 13 - CIP Custom Screen
The Custom Screen above is just an example of the data that can be displayed as any AAQ Variables (Sensor Outputs)
can be shown with user created prompt strings. To see how to create a custom screen, see section 3.3 of this
document. The short and/or long command response message can also be shown. If the Custom Screen is being
used, the down arrow will navigate to the Prompt 1 Screen.
↓
3.4.3.
Prompt 1 Screen
Figure 14 - CIP Prompt Screen 1
The Prompt 1 Screen gives instructions on how to invoke the “stop” and “acquire” commands. The down arrow will
navigate to the Prompt 2 Screen.
↓


