AAQ Controller Interface Panel (CIP)
23
3.4.25.
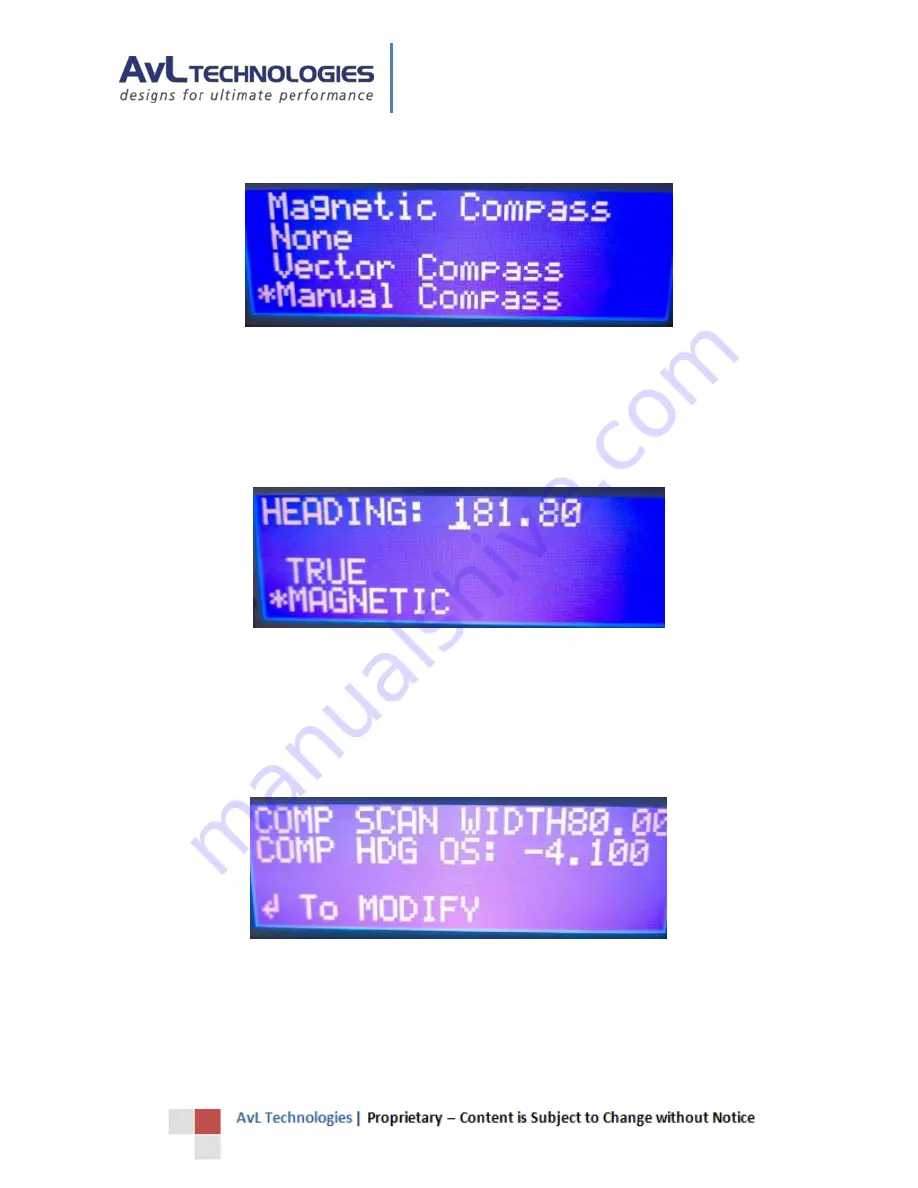
Compass Selection Screen
Figure 37 - CIP Compass Selection Screen
Use the up and down keys to move the asterisk. Once the asterisk is beside the desired compass type, press the stop
AND go keys simultaneously to save the new compass heading type. To cancel the edit session and exit the screen,
press the stop key 3 times, this returns to the Compass Heading Prompt Screen (Figure 32). (If the saved value is for
Manual Compass, the Manual Compass Screen will be shown.)
3.4.26.
Manual Compass Screen
Figure 38 - CIP Manual Compass Screen
Use the left, right, up, and down keys to edit values and use the go key to select the next configuration item. To
cancel the edit session and exit the screen, press the stop key 3 times. To save the new values and exit the screen,
while holding the stop key press the go key.
XXX↓
3.4.27.
Scan Width Prompt Screen
Figure 39 - CIP Scan Width Prompt Screen
The Scan Width Prompt Screen displays the compass scan width and compass heading offset. From the Scan Width
Prompt Screen, press the go button to navigate to the Set Scan Width and Offset Screen (Figure 43), or press the
down button to navigate to the Versions Prompt Screen. Note that from any of the Extended Technical User
Prompt
Screens, return to the Limited User Screens can be obtained by pressing the stop key eight (8) times.
√


