Powering Up and Configuring the System
56
Installing VENUE Plug-Ins
To install plug-ins on your S6L system, you must transfer plug-in licenses to your plug-ins iLok, copy the S6L plug-ins installer
to a USB drive, and then install the plug-ins on the S6L control surface using the USB drive containing the plug-ins installer.
Transferring Plug-In Licenses
After activating your software, transfer plug-in licenses to the S6L plug-ins iLok.
Do not transfer the Live Sound Production Toolkit
license to the plug-ins iLok
. The Live Sound Production Toolkit license (only needed for Pro Tools 2018.7 or earlier) must reside
on the Pro Tools iLok.
Beginning with Pro Tools 2018.9, the functionality provided by the Live Sound Production Toolkit is included in Pro Tools and is
automatically enabled whenever the Playback Engine is set to E6L. For maximum compatibility you should still transfer the Live
Sound Production Toolkit to your Pro Tools iLok to enable 64- and 128-channel Pro Tools AVB with Pro Tools 2018.7 or earlier.
To transfer plug-in licenses to the S6L plug-ins iLok:
1
Launch the iLok License Manager on your computer.
2
Insert the S6L plug-ins iLok into an available USB port on your computer.
3
In the dialog asking you to register the iLok to your account, select
Yes
to confirm. If this iLok
is already registered to your account, skip to the next step.
4
In the License Manager, select the licenses for the S6L plug-ins and drag them to the iLok.
5
Label this iLok so you can easily identify it as containing the licenses for your S6L system plug-ins (such as “S6L Plug-Ins”).
Copying the Plug-Ins Installer to a USB Drive
To copy the plug-ins installer to a USB drive:
1
Make sure there is enough free space on your USB drive to accommodate all the software.
2
Format your USB drive to the exFAT, FAT32 or NTFS file system using Disk Utility (Mac) or Windows Disk Management
(Windows).
3
If you have not done so already, download the “S6L Plug-Ins Installer” file from the
My Products and Subscription
section of
your Avid account to your computer.
4
Unzip the S6L plug-ins installer file by doing the following, depending on your computer platform:
Mac
Double-click the ZIP file containing the software to unzip it.
Windows
Right-click the ZIP file containing the software, select
Extract All...
from the pop-up menu, and in the ensuing dialog
click
Extract
.
5
In the unzipped file, locate the “AAX Plug-Ins” folder.
6
Copy the entire “AAX Plug-Ins” folder to the top (root) level of the USB drive.
For Waves plug-ins (if any) see the Waves SoundGrid for VENUE.pdf from Waves (also available in your Avid account).
Wait until you activate and install Pro Tools to transfer the Live Sound Production Toolkit license.
Do not transfer the Live Sound Production Toolkit license to the S6L plug-in iLok
.
Do not use the VENUE System Restore USB Drive to store software or any other data.
Be sure to copy the AAX Plug-Ins folder itself, not the individual plug-ins inside the AAX Plug-Ins folder. If the S6L system
does not find the plug-ins during installation, check your USB drive to make sure you have properly copied the AAX
Plug-Ins folder to your USB drive.
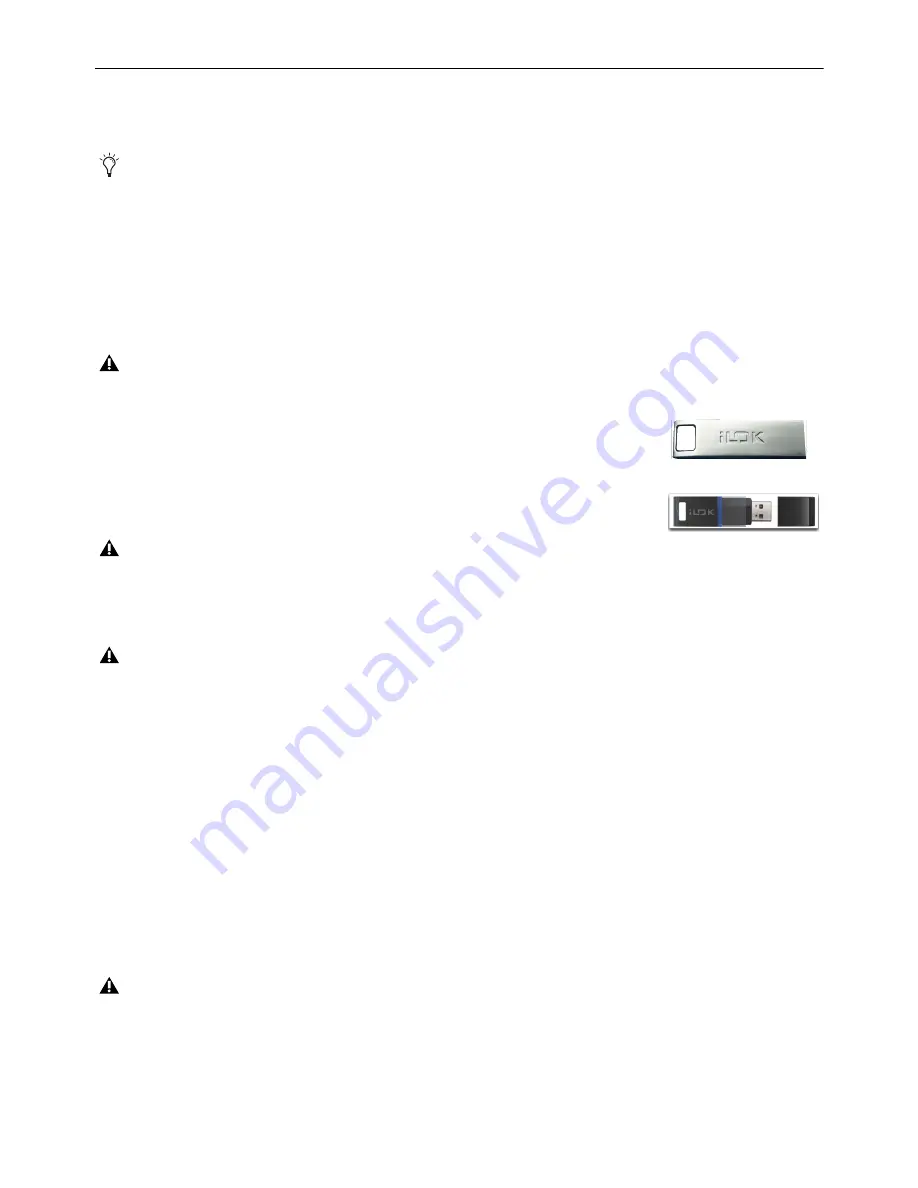
iLok 3rd generation
iLok 2nd generation
Содержание VENUE Local 16
Страница 1: ...Avid VENUE S6L Installation Guide...
Страница 8: ...Part I First Time Setup...
Страница 17: ...Part II Software Installation...
Страница 33: ...Part III Network Connections...
Страница 46: ...Part IV Completing the Installation...
Страница 63: ...Part V Reference...


