A V G 9 Free © 2 0 1 0 C opyright A V G T ec hnologies C Z, s .r.o. A ll rights res erved.
1 1 4
o
Define file types for scanning
- further you should decide whether you
want to have scanned:
Ø
All file types
with the possibility of defining exceptions from scanning
by providing a list of comma separated file extensions that should not
be scanned
Ø
Selected file types
- you can specify that you want to scan only
files that are possibly infectable (
files that cannot get infected will
not be scanned, for instance some plain text files, or some other
non-executable files
), including media files (
video, audio files - if you
leave this box unchecked, it will reduce the scanning time even
more, because these files are often quite large and are not too likely
to be infected by a virus
). Again, you can specify by extensions
which files are those that should always be scanned.
Ø
Optionally, you can decide you want to
Scan files without extension
- this option is on by default, and it is recommended that you keep it
so unless you have a real reason to change it. Files with no extension
are rather suspicious and should be scanned at all times.
·
Scan process priority
- you can use the slider to change the scanning
process priority. By default, the priority is set to medium level (
Automatic scan
) that optimizes the scanning process speed and the use of system resources.
Alternatively, you can run the scanning process slower which means the
system resources load will be minimized (
useful when you need to work on the
computer but you do not care so much how long the scanning takes
), or
faster with increased system resources requirements (
e.g. when the computer
is temporarily unattended
).
·
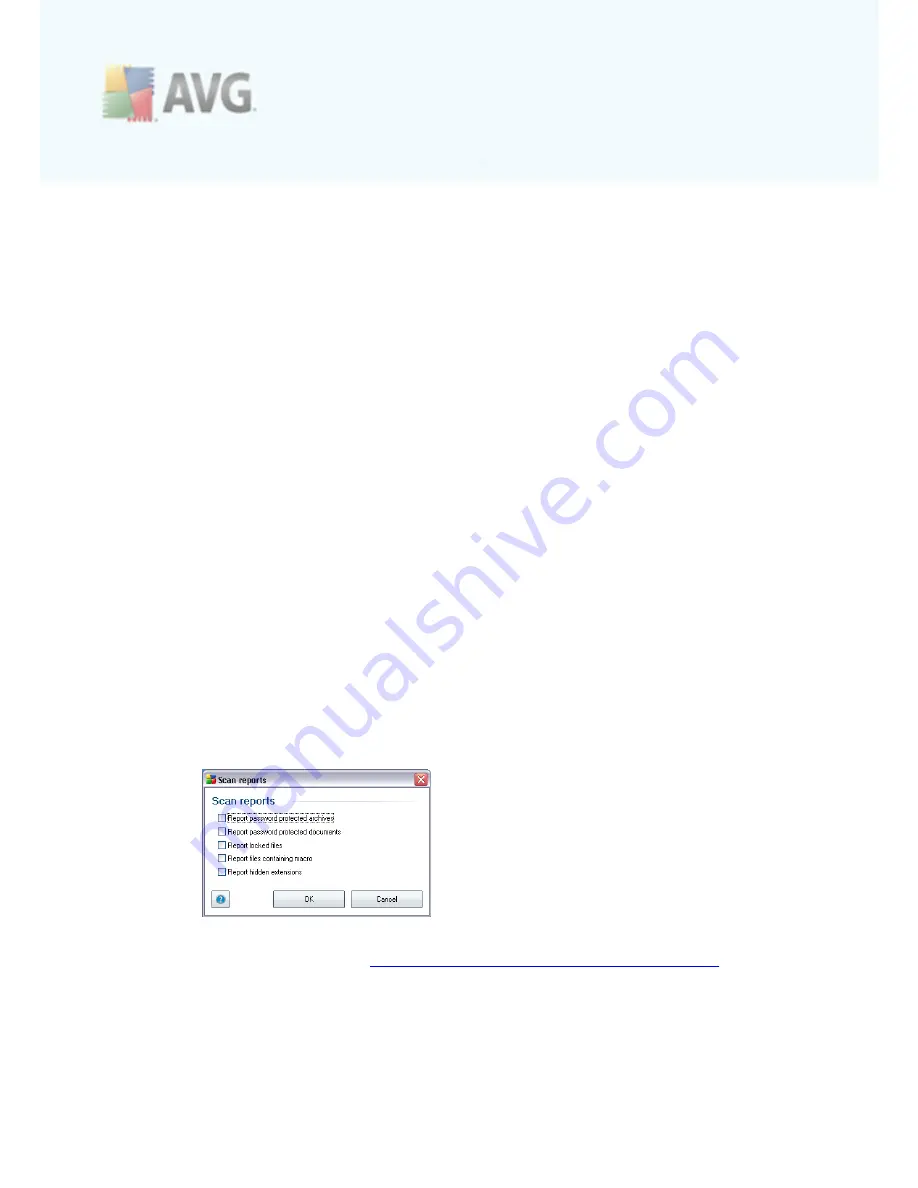
Set additional scan reports
- the link opens a new
Scan reports
dialog
where you can select what types of possible findings should be reported:
Warning:
These scan settings are identical to the parameters of a newly defined
scan - as described in the chapter
AVG Scanning / Scan scheduling/ How to Scan
.
Should you decide to change the default configuration of the
Scan the whole
computer
you can then save your new setting as the default configuration to be
used for all further scans of the whole computer.


