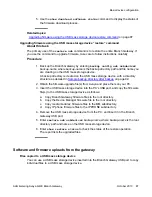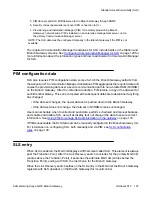
5. If the new Branch Gateway firmware version is below 26.x.y, you must replace it
with firmware version 26.x.y or higher, in order to enable the restore option.
To do so:
a. Download the Branch Gateway firmware from the Avaya support Website
(
b. Download the Branch Gateway firmware from the FTP/TFTP server to the new
Branch Gateway.
Assuming that Bank A holds the older firmware version, enter
copy ftp
sw_imageA
filename ip
, where
filename
is the full path and file name of the
firmware file, and
ip
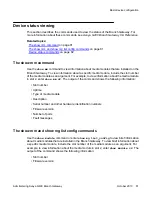
is the IP address of the FTP server. Alternatively, enter
copy tftp sw_imageA
filename ip
if you are downloading from a TFTP
server.
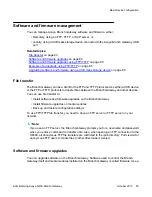
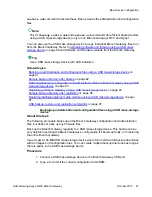
6. If the new Branch Gateway firmware version is 26.x.y or above, add a Branch
Gateway firmware to the USB mass-storage device, as follows:
a. From the Avaya support Website, download to your PC the same version of
Branch Gateway firmware as was running in the faulty Branch Gateway.
b. Insert the USB mass-storage device into the PC’s USB port.
c. Copy the Branch Gateway firmware file to the root backup directory in the USB
mass-storage device.
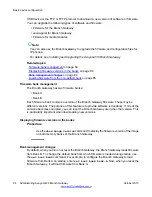
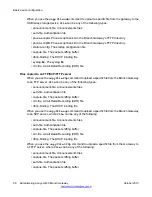
7. Add the firmware files of the media modules to the USB mass-storage device, as
follows:
a. From the Avaya support Website, download to your PC the firmware files of the
media modules installed in the gateway.
For each media module, download all firmware corresponding to the various
hardware vintage/suffix versions available for that module. If you are not sure
which media modules you have, you can download the firmware files of all
media modules. The restore operation uses only the files needed.
b. Insert the USB mass-storage device into the PC’s USB port.
c. Copy the firmware files from the PC to the MM subdirectory in the USB mass-
storage device.
Do not change the firmware file names.
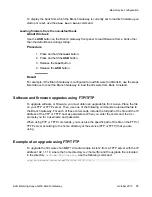
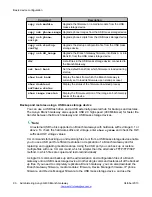
8. You can optionally add the firmware files of the IP phones to the USB mass-storage
device, as follows:
a. From the Avaya support Website, download to your PC the firmware files
(booter and application) of up to two supported IP phones, as well as the
1
or
2
file.
b. Insert the USB mass-storage device into the PC’s USB port.
c. Copy the IP phone files from the PC to the USB mass-storage device.
1
46xxupgrade.txt
2
46xxupgrade.scr
Basic device configuration
94 Administering Avaya G430 Branch Gateway
October 2013
Содержание G430
Страница 1: ...Administering Avaya G430 Branch Gateway Release 6 3 03 603228 Issue 5 October 2013 ...
Страница 12: ...12 Administering Avaya G430 Branch Gateway October 2013 ...
Страница 214: ...Ethernet ports 214 Administering Avaya G430 Branch Gateway October 2013 Comments infodev avaya com ...
Страница 232: ...System logging 232 Administering Avaya G430 Branch Gateway October 2013 Comments infodev avaya com ...
Страница 246: ...VoIP QoS 246 Administering Avaya G430 Branch Gateway October 2013 Comments infodev avaya com ...
Страница 250: ...Modems and the Branch Gateway 250 Administering Avaya G430 Branch Gateway October 2013 Comments infodev avaya com ...
Страница 302: ...Emergency Transfer Relay ETR 302 Administering Avaya G430 Branch Gateway October 2013 Comments infodev avaya com ...
Страница 556: ...IPSec VPN 556 Administering Avaya G430 Branch Gateway October 2013 Comments infodev avaya com ...
Страница 604: ...Policy based routing 604 Administering Avaya G430 Branch Gateway October 2013 Comments infodev avaya com ...
Страница 610: ...Synchronization 610 Administering Avaya G430 Branch Gateway October 2013 Comments infodev avaya com ...
Страница 668: ...Traps and MIBs 668 Administering Avaya G430 Branch Gateway October 2013 Comments infodev avaya com ...


