75
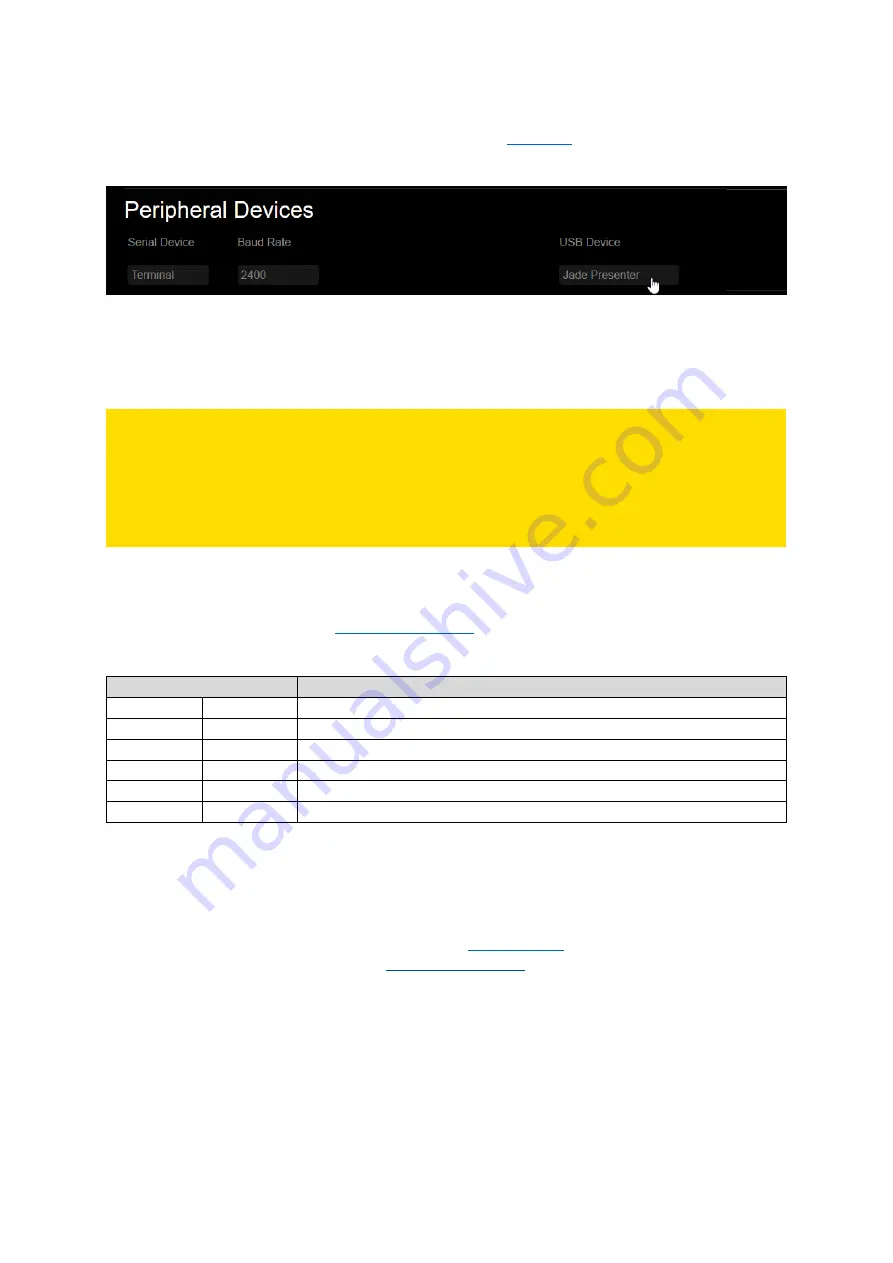
In the Web Interface, click on [ADVANCED SETTINGS] in the
and then on [PERIPHERAL
DEVICES]. The drop-down menu will open and the settings for the peripheral devices will appear.
Fig. 59:
Peripheral Devices settings in the Web Interface
Click the field below [USB Device], choose your presenter from the drop-down list and click [Apply
Settings].
PLEASE NOTE:
While the UHD Player shows its Web I
nterface, the presenter’s buttons as mentioned above are
without function. In this state, the presenter acts as a mouse device: The pointing stick in the
middle moves the mouse pointer and the button on the back-side executes a left-mouse-click.
Insert the data carrier into the player, or if it is already plugged in, toggle the display back into
playback mode using the keyboard shortcut [CTRL+F5] or [CTRL+S].
14.3.3.
KEYBOARD
Connect a keyboard to one of the
on the UHD Player’s right side. T
he following
functions can be activated by executing the corresponding keyboard shortcut.
Keyboard Shortcut
Function
Ctrl+F1
Ctrl+E
Toggle Auto EDID
Ctrl+F2
Ctrl+F
Set Resolution to 1920x1080p60
Ctrl+F3
Ctrl+U
Set Resolution to 3840x2160p60
Ctrl+F4
Ctrl+D
Toggle DHCP
Ctrl+F5
Ctrl+S
Toggle Settings / Playback
Ctrl+F12
Ctrl+R
Load Default Configuration (press for 5 Seconds for a factory reset)
The keyboard shortcuts are also listed in the p
layer’s Web I
nterf
ace on the “System” page
.
14.3.4.
MOUSE
The complete configuration of the UHD Player via the
Simply connect your mouse to one of the
on the UHD Player’s right side and
then remove the data carrier from the player (or press Ctrl+S if a keyboard is also attached), then the
Web Interface will appear.
You may browse through all functions, like you do when connecting to the p
layer’s
Web Interface via
your internet browser. An on-screen keyboard will open when text fields need to be edited.


