24
3. The next menu asks whether you wish to use DHCP to configure your network parameters
(IP address, subnet mask, gateway address, etc.). Unless you are familiar with networking
and related terminology, we recommend that you allow the use of DHCP. Choose ‘DHCP
enable’ unless you need to specify the network details manually. Please skip to step 11. If
you chose ‘Wireless’ and ‘DHCP enable’, please skip to step 6 in order to set up the wireless
connection details. If you chose ‘DHCP disable’ for either connection method, the next step is
to set up the IP address.
4. The manually specified IP address should be chosen to be compatible with the settings
in your router and must be a unique address on your network. If you are using DHCP for
some devices and static (manually configured) IP addresses for others, the IP address used
should fall outside the range that the router may allocate using DHCP. Typically, the first three
groups of digits will be the same for all devices on your network. To enter the IP address,
rotate the Tuning/Seek/Select control to set the value for each group of digits and then press
the control to enter the value and to move on to the next group. When the IP address has
been entered, the subnet mask should be entered. The subnet mask defines which parts of
the IP address are common across your network. For most small networks the subnet mask
will be 255.255.255.0 and this is entered in the same way.
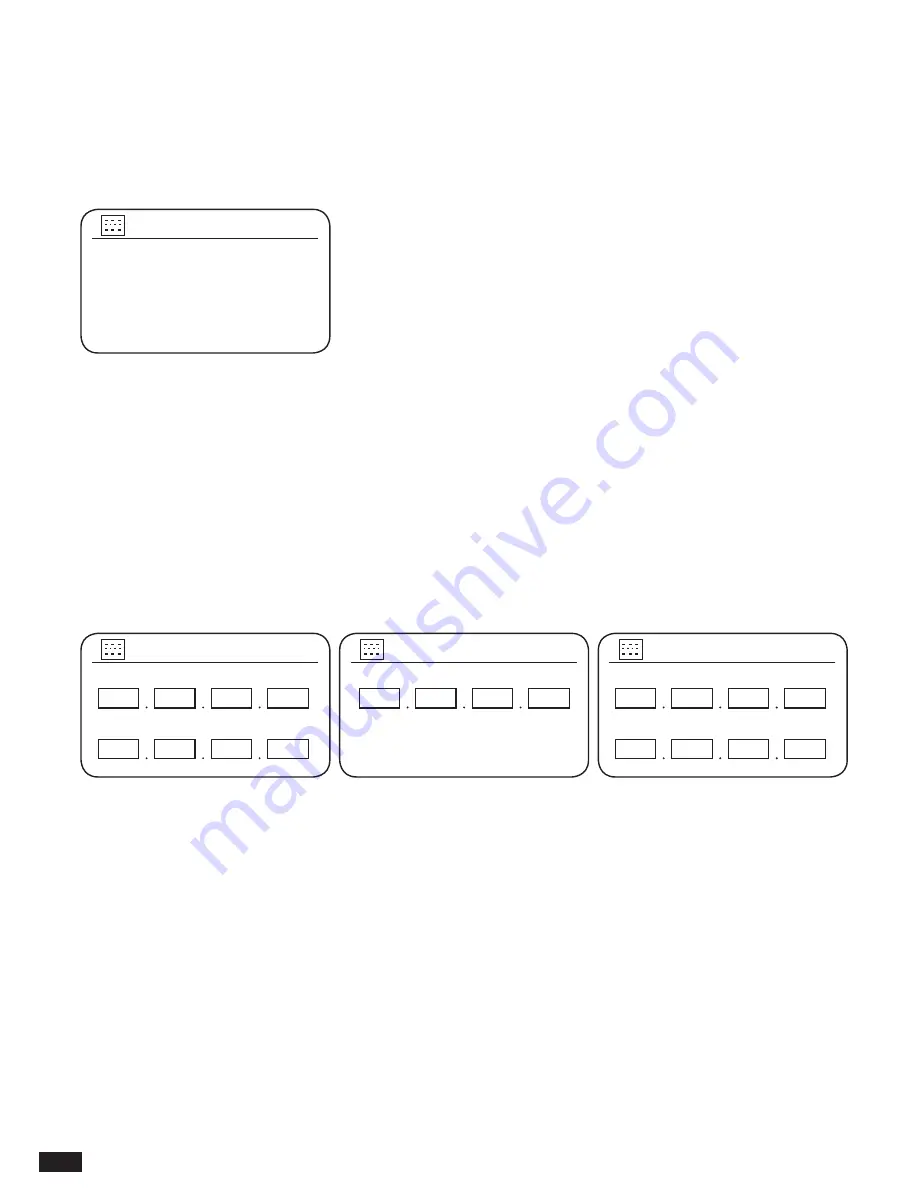
5. The Gateway address is normally the IP address of the router through which the sound
system connects to the Internet and is entered in the same way as the previous addresses.
6. In most installations the DNS settings (DNS = Domain Name Server) will be set to the
same IP address as your router. In this case the secondary DNS may be left at zero. To enter
the DNS address, rotate the Tuning/Seek/Select control to set the value for each group of
digits and then press the control to enter the value and to move on to the next group. Repeat
this until all eight groups of digits have been entered.
7. The next step is to set up the WiFi connection, starting with the name of the wireless
network (SSID) followed by the encryption options and password. To enter the SSID,
characters are selected and entered using the Tuning/Seek/Select control. As you rotate the
control, the radio scrolls through the available characters as well as the three controls on the
right. The character currently highlighted will be entered when you press the Tuning/Seek/
Select control. Do this as needed until the complete network name has been entered. The
DHCP enable
DHCP disable
DHCP
2/9
IP address
Subnet mask
IP settings
3/9
192
168
1
28
255
255
255
0
Gateway address
Gateway address
4/9
192
168
1
1
Primary DNS
Secondary DNS
IP settings
5/9
192
168
1
1
0
0
0
0
Содержание Shirudo
Страница 1: ...1 INSTRUCTION MANUAL shīrudo シールド NL DE FR UK ...
Страница 127: ...127 ...
Страница 128: ...128 Prime Europe B V Everdenberg 9a 4902 TT Oosterhout The Netherlands www audisse com 03 17 ...


