AT-OME-MS42
70
Solution Setup and Configuration Guide
12.
Continue fine-tuning the device selection by clicking the
Products
and
Model
drop-down lists. Once all fields
have been set to the proper values, the AT-OME-MS42 will populate the command fields with the proper values,
based on the selected device.
13.
Some devices may require that the command be sent multiple times before an acknowledge message is
sent back to the AT-OME-MS42. Refer to the User Manual for the display device for more information. If the
command must be repeated, continue with the following steps. Otherwise, skip to step 14.
NOTE:
If the manufacturer is not listed in the drop-down list, then select
Generic
. When Generic is
selected, the
Products
and
Model
drop-down lists will only list
Generic
.
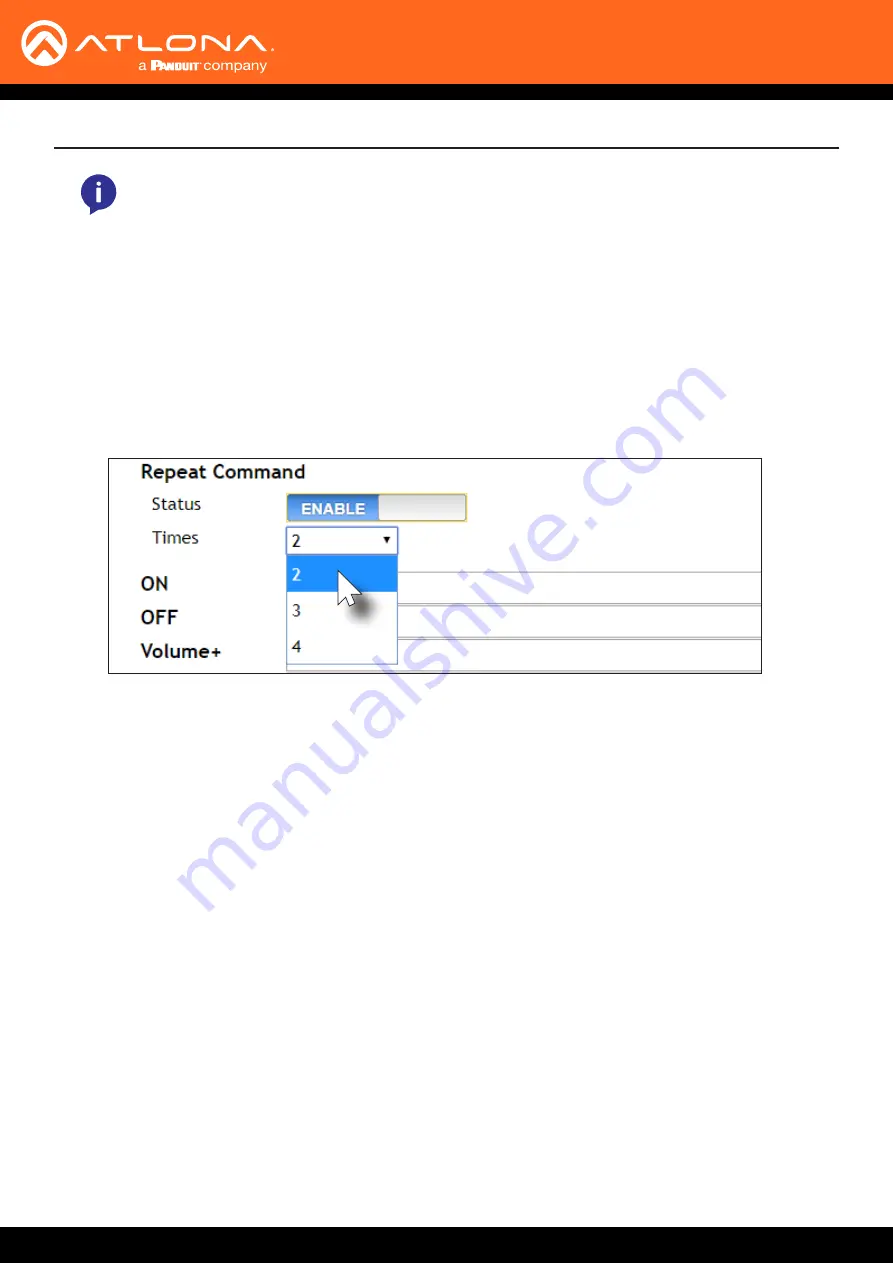
a. Under
Repeat Command
, click the
Status
toggle switch to the
ENABLE
position.
b.
Click the
Times
drop-down list and select the number of times which the command must be sent to the
device, before an acknowledge message is returned. The available values are 2, 3, and 4.
14. If
Generic
was selected as the manufacturer, in step 11, then manually enter the required strings for each
operation. Refer to the following for information on formatting command strings.
a.
Enter the hexadecimal command string is the correct field. An example
power-on
command for a display
might be:
\xBE\xEF\x03\x06\x00\xBA\xD2\x01\x00\x00\x60\x01\x00\x0D
This command would be entered under the
Set command
field, under
ON
. Consult the documentation for
the display for the correct command strings.
b. Make sure the command string is terminated correctly. In most cases, a CR (carriage return) should be
specified. In the example above, “\x0D” is the hexadecimal value for a carriage return.
HEX Command Strings
ASCII Command Strings
a.
Enter the ASCII command string is the correct field. An example
power-on
command for a display might be:
PWON
This command would be entered under the
Set command
field, under
ON
. Consult the documentation for
the display for the correct command strings.
15. Click the
Send
button to verify that each command works properly. If not, check the values entered for each
command.
16.
Click the
Save
button to commit all changes.


