3-18
Chapter 3: BIOS setup
Chapter 3
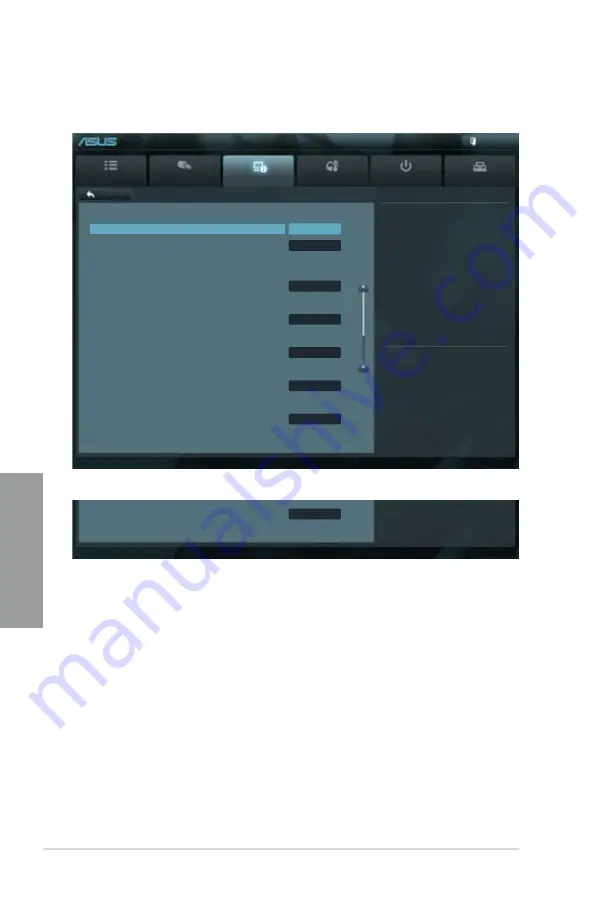
3.5.4
SATA Configuration
While entering Setup, the BIOS automatically detects the presence of SATA devices. The SATA
Port items show
Not Present
if no SATA device is installed to the corresponding SATA port.
SATA Mode [AHCI Mode]
Allows you to set the SATA configuration.
[Disabled]
Disables the SATA function.
[IDE Mode]
Set to [IDE Mode] when you want to use the Serial ATA hard disk drives as
Parallel ATA physical storage devices.
[AHCI Mode]
Set to [AHCI Mode] when you want the SATA hard disk drives to use the
AHCI (Advanced Host Controller Interface). The AHCI allows the onboard
storage driver to enable advanced Serial ATA features that increases
storage performance on random workloads by allowing the drive to
internally optimize the order of commands.
[RAID Mode]
Set to [RAID Mode] when you want to create a RAID configuration from the
SATA hard disk drives.
Serial-ATA Controller 0 [Enhanced]
This item appear only when you set the previous item to [IDE Mode]
Main
Ai Tweaker
Advanced
Monitor
Boot
Tool
Exit
(1) IDE Mode. (2) AHCI Mode. (3)
RAID Mode.
Back
Advanced\
SATA Configuration >
EFI BIOS Utility - Advanced Mode
→←
: Select Screen
↑↓
: Select Item
Enter: Select
+/-: Change Opt.
F1: General Help
F2: Previous Values
F5: Optimized Defaults
F10: Save ESC: Exit
F12: Print Screen
Scroll down to display the following items:
Version 2.00.1201. Copyright (C) 2010 American Megatrends, Inc.
SATA Configuration
SATA Mode
AHCI Mode
S.M.A.R.T. Status Check
Enabled
SATA 6G_1 (Gray)
Not Present
Hot Plug
Disabled
SATA 6G_2 (Gray)
Not Present
Hot Plug
Disabled
SATA 3G_3 (Blue)
ASUS CB-521 ATAPI
Hot Plug
Disabled
SATA 3G_4 (Blue)
Not Present
Hot Plug
Disabled
SATA 3G_5 (Blue)
Not Present
Hot Plug
Disabled
SATA 3G_6 (Blue)
Not Present
Hot Plug
Disabled
Содержание P8Z68-V PRO
Страница 1: ...Motherboard P8Z68 V PRO ...
Страница 50: ...2 32 Chapter 2 Hardware information Chapter 2 C B A 5 6 4 ...
Страница 52: ...2 34 Chapter 2 Hardware information Chapter 2 To uninstall the CPU heatsink and fan assembly 2 A B B A 1 ...
Страница 53: ...ASUS P8Z68 V PRO 2 35 Chapter 2 1 2 3 To remove a DIMM 2 3 4 DIMM installation B A ...
Страница 55: ...ASUS P8Z68 V PRO 2 37 Chapter 2 DO NOT overtighten the screws Doing so can damage the motherboard 3 ...
Страница 56: ...2 38 Chapter 2 Hardware information Chapter 2 2 3 6 ATX Power connection 1 2 OR OR ...
Страница 57: ...ASUS P8Z68 V PRO 2 39 Chapter 2 2 3 7 SATA device connection OR 2 OR 1 ...
Страница 106: ...3 40 Chapter 3 BIOS setup Chapter 3 ...
Страница 134: ...4 28 Chapter 4 Software support Chapter 4 ...


