6 - 6
6 - 6
6 - 6
6 - 6
6 - 6
C h a p t e r 6 : R A I D c o n f i g u r a t i o n
C h a p t e r 6 : R A I D c o n f i g u r a t i o n
C h a p t e r 6 : R A I D c o n f i g u r a t i o n
C h a p t e r 6 : R A I D c o n f i g u r a t i o n
C h a p t e r 6 : R A I D c o n f i g u r a t i o n
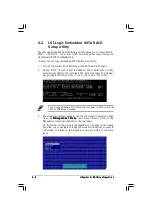
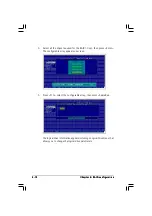
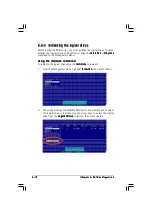
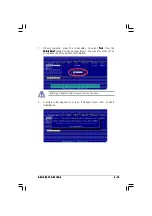
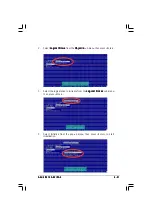
4.
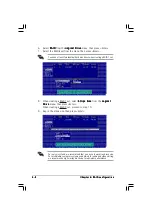
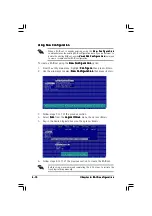
Select all the drives required for the RAID set, then press <Enter>.
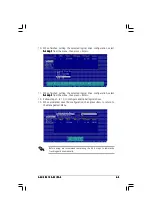
The configurable array appears on screen.
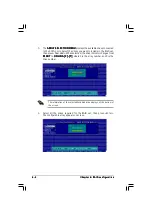
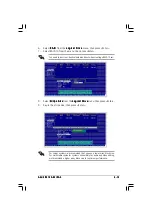
3.
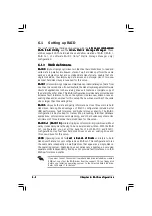
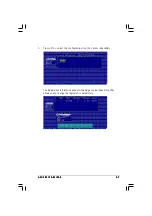
The ARRAY SELECTION MENU
ARRAY SELECTION MENU
ARRAY SELECTION MENU
ARRAY SELECTION MENU
ARRAY SELECTION MENU displays the available drives connected
to the SATA ports. Select the drives you want to include in the RAID set,
then press <SpaceBar>. When selected, the drive indicator changes from
R E A D Y
R E A D Y
R E A D Y
R E A D Y
R E A D Y to ONLIN A[X]-[Y]
ONLIN A[X]-[Y]
ONLIN A[X]-[Y]
ONLIN A[X]-[Y]
ONLIN A[X]-[Y], where X is the array number, and Y is the
drive number.
The information of the selected hard disk drive displays at the bottom of
the screen.

