

Providing the Astronomical Community with Premier
Products and Services
Astro-smart.com Copyright
© 2010-2049, All rights reserved
Oct 2020
Page 32
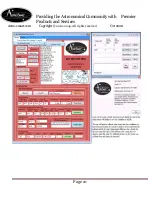
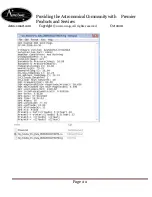
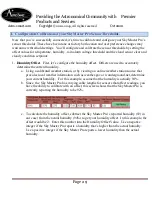
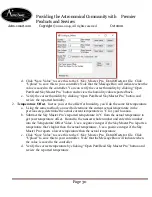
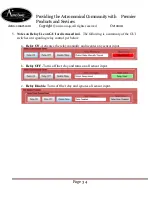
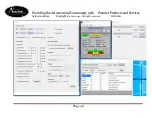
d.
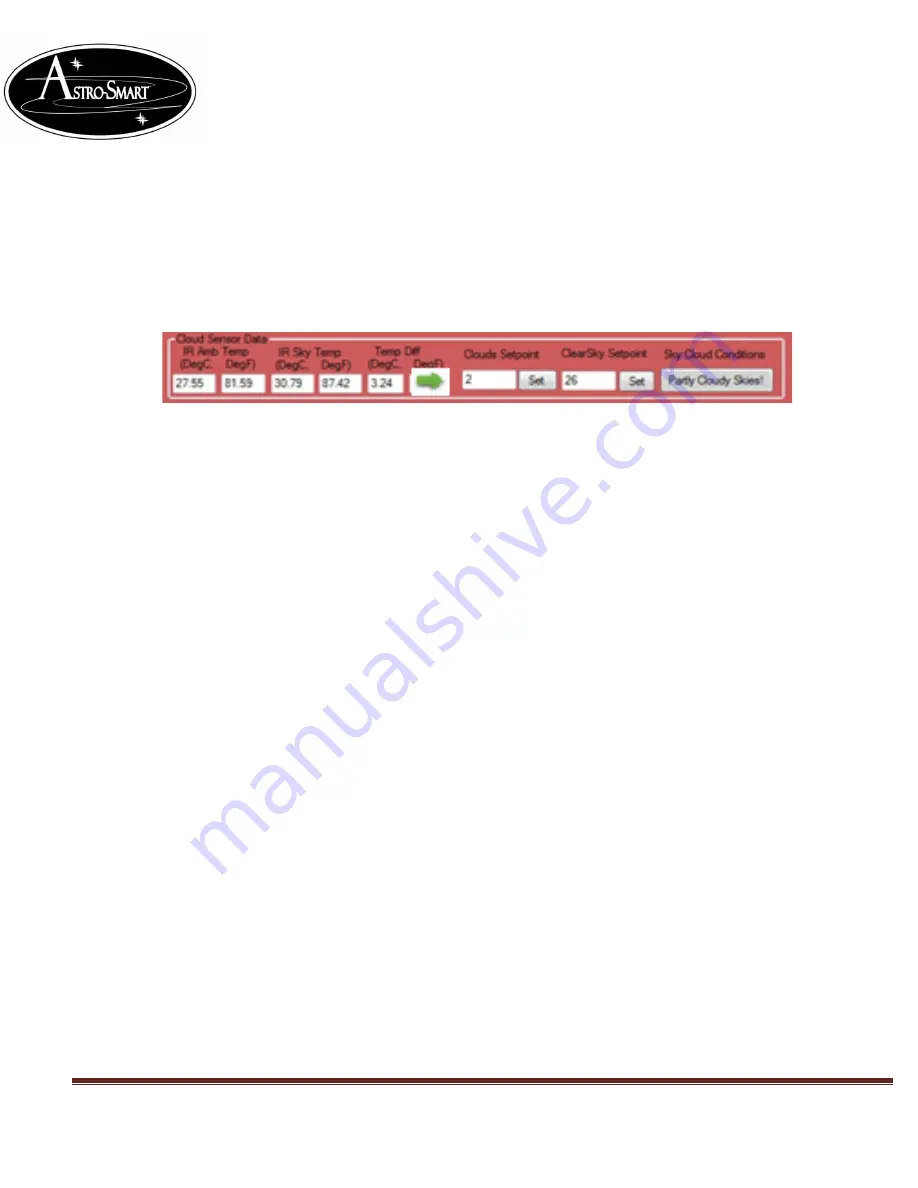
If cloudy night
, calibrate your Clouds Setpoint as per below. If it’s what you would
consider a really cloudy night meaning you can’t see through the clouds and see stars this
is a cloudy night to calibrate against. So, assuming it’s a cloudy night and the GUI reports
the following below, we use this data to set the Clouds Setpoint. Note the “Temp Diff”
value in °C reports 3.24 deg C and my current setpoint for clouds is 2. This means the
following.
i.
Anything 2 deg C and below if considered cloudy in the Temp Diff between IR sky
object and ambient temp reading will report “Cloudy Skys”.
ii.
Anything between 2 for Clouds setpoint and below 26 for Clear Skys setpoint will
report “Partly Cloudy Skys”.
iii.
Anything > than 26 degC for Temp Diff between IR sky and ambient temp will
report “Clear Skys”
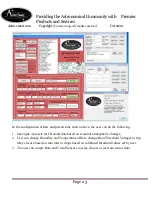
So, to set this threshold for this reading you consider cloudy skys, you want to
change the Clouds Setpoint to 3 or 4 in order to report “Cloudy Skys”. To do this
you just edit the text box for Clouds Setpoint and hit the set button. So, if your next
reading shows a temp delta of 4 and your setpoint for clouds was 3, you should see
a reporting of “Cloudy Skys”.
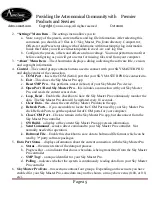
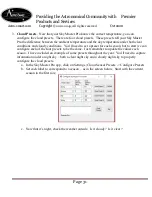
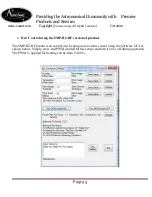
e.
If Clear night,
lets set the Clear Sky Setpoint keeping in mind a clear night has absolutely
no clouds, all stars are visible. As before conforming to the rules as described in c. above
observe and calculate the setpoint value using the “Temp Diff” value between IR sky and
ambient temperatures. Set the “
Clear
SetPoint Value” field. It’s often best to add 1 to the
Clear Setpoint value, and subtract 1 from the Cloudy SetPoint value. This helps account
for some variability in the sky conditions and allows your Sky Master Pro to more
accurately report partly cloudy conditions.
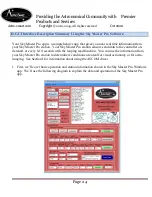
f.
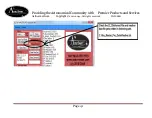
Click “Save Preset 1” to save these values to the C:\Sky_Master_Pro_Data\Presets.txt file
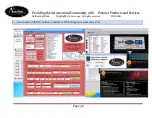
g.
Once you have both your Cloudy and Clear SetPoints configured and saved to the
Presets.txt file, you’ll need to save it to your Sky Master Pro controller.
h.
Click “Upload” to save this value in your Sky Master Pro controller.
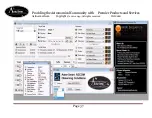
i.
Enter the same SetPoint values for the other three seasons. Save the Presets, and upload
them. The four seasons are there for your future reference. By leaving the set points for
each season, you can return to this screen and update your settings as the seasons change.
You need to click “upload” to actually force the preset to be loaded in your controller.
j.
Click “Exit”


