background image

7

VIRON™ QT 1000 robotic cleaner   

owner’s Manual

6

VIRON™ QT 1000 robotic cleaner   

owner’s Manual

Section 3.  Assembly

3.1 

Contents

The packaging should contain the following items:

•  Cleaner and floating cable

•  Control unit

•  Manual, Quick Start Guide, and Warranty Card

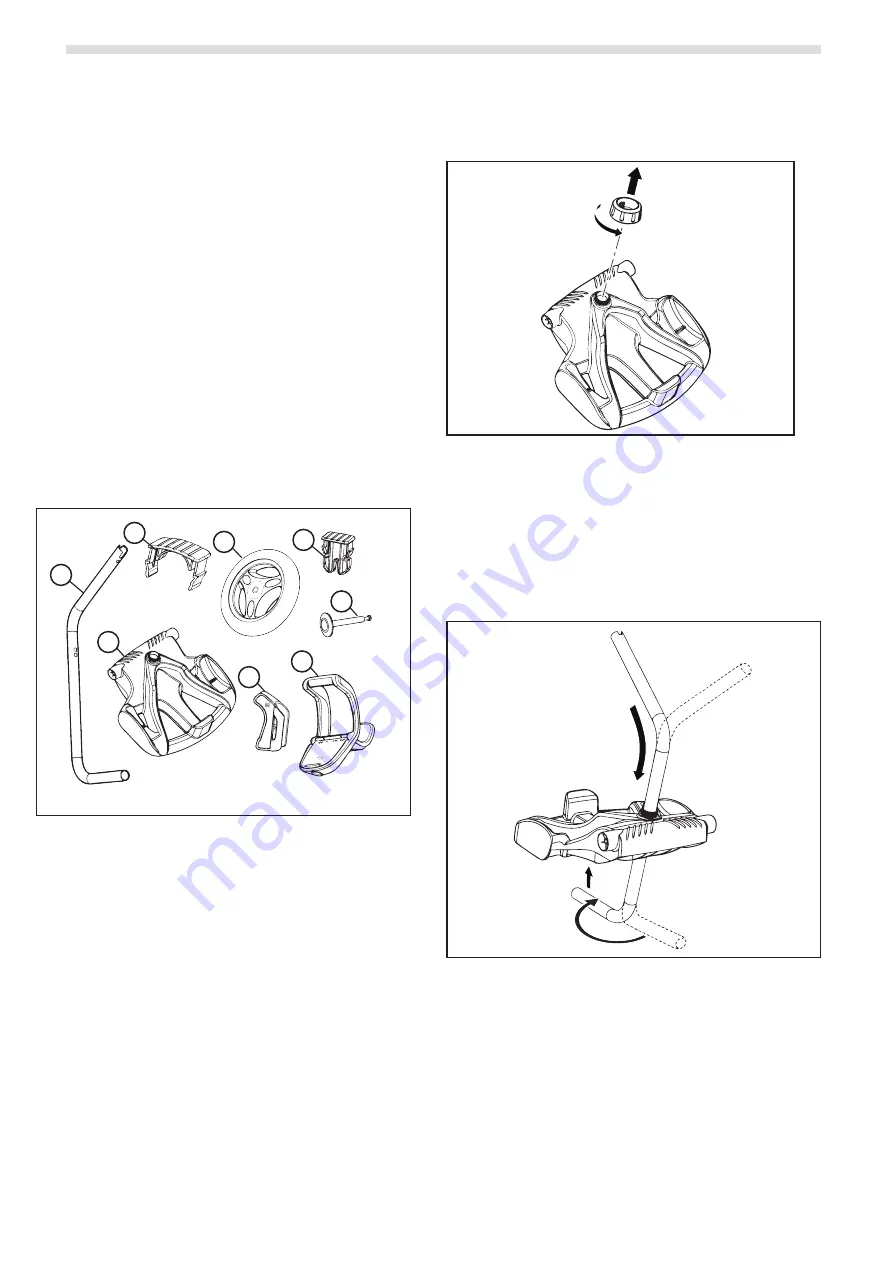
•  Transport and storage caddy components:

a.  handle frame
b.  support blocks (x 2)
c.  wheels (x 2)
d.  wheel locking clips (x 2)
e.  wheel axle / hubcap (x 2)
f. 

base unit

g.  cleaner hook

h.  caddy handle

x 2

A

B

C

D

x 2

x 2

E

x 2

F

G

H

Figure 1. 

Transport Caddy Assembly Components

When unpacking the cleaner and its components:

•  Check to make sure each component is in the box.

•  Check cleaner and components for damage 

during transport.

•  If there are any missing parts or damage, contact 

Technical Support at 1300 186 875

3.2 

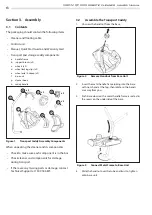
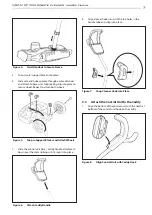
Assemble the Transport Caddy

1. 

Unscrew the handnut from the base.

Figure 2. 

Remove Handnut from Base Unit

2. 

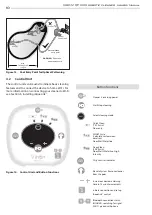
Insert the metal handle frame tubing into the base 

with notch end at the top, then rotate so the bends 

are away from you.

3. 

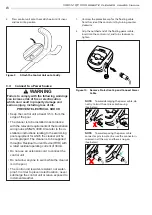
Push base down so the metal handle frame is seated in 

the recess on the underside of the base. 

Figure 3. 

Connect Metal Frame to Base Unit

4. 

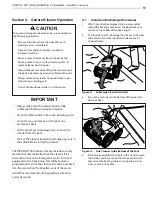
Slide the handnut over the tube and twist to tighten 

onto base unit.

Содержание VIRON QT 1000

Страница 1: ...lified in pool equipment by the jurisdiction in which the product will be installed where such state or local requirements exist In the event no such state or local requirement exists the maintainer m...

Страница 2: ...2 VIRON QT 1000 robotic cleaner owner s Manual...

Страница 3: ...5 1 Download the App 11 5 2 Sign Up and Log In 12 5 3 Configure the System 12 Section 6 iAquaLink Control 12 6 1 iAquaLink Control Home Screen 12 6 2 Start Stop Cleaning and Adjust Cleaning Time 12 6...

Страница 4: ...er Do not bury cord Locate cord so as to prevent it from being damaged by lawn mowers hedge trimmers and other equipment To reduce the risk of electrical shock do not use the robotic cleaner or contro...

Страница 5: ...ng the surface with a pool brush Ink from the pattern can also rub off during the installation process or when it comes into contact with objects in the pool AstralPool Group Australia Pty Ltd is not...

Страница 6: ...en unpacking the cleaner and its components Check to make sure each component is in the box Check cleaner and components for damage during transport If there are any missing parts or damage contact Te...

Страница 7: ...Snap in Support Blocks and Attach Wheels 7 Slide the control unit base caddy handle attachment down over the metal tubing until it snaps into place Figure 6 Attach Caddy Handle 8 Align cleaner hook pi...

Страница 8: ...e cleaner is to be supplied through a Residual Current Device RCD with a rated residual operating current of 30mA Do not use an extension cord to connect the control unit Do not allow anyone to swim w...

Страница 9: ...pool Start at the cleaner head and untangle any coils in the cable before storing the cleaner The VIRON QT1000 robotic cleaner includes a safety feature that automatically stops the cleaner if it is p...

Страница 10: ...14 Control Unit and Button Functions MODE SMART Cleaner is receiving power MODE SMART Start Stop cleaning MODE SMART Select cleaning mode MODE SMART Quick Clean 1h 15 min Floor only MODE SMART SMART C...

Страница 11: ...ART to begin the automated procedure The screen displays when the Elevate System is in operation NOTE To stop the procedure at any time press and release the button again 2 Next Press and HOLD MODE SM...

Страница 12: ...n the iAqualink app depending on which cleaner model you have WARNING Do not enter pool while the robotic cleaner is in water 6 1 iAquaLink Control Home Screen Start Stop Cleaning Remote Clean Mode El...

Страница 13: ...after every cleaning cycle 1 Tap the area titled Next Cleaning or go to System Settings and choose Schedules 2 To program a schedule select the day of the week 3 Select a start time to begin the clea...

Страница 14: ...PORTANT Cleaner power cable may become tangled if correct procedure is not followed after each cleaning cycle NOTE For optimal patterning and reduced tangling the floating cable should enter the water...

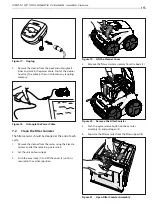
Страница 15: ...e end of each cycle 1 Remove the cleaner from the water using the Elevate System and let the remaining water drain 2 Set the unit on four wheels 3 Push the cover lock 1 and lift the cover 2 until it i...

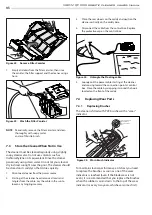
Страница 16: ...m the cable Lay the cable in the sun to loosen any tangling memory 3 Place the rear wheels on the caddy and position the cleaner vertically on the caddy base 4 Disconnect the cable from the control bo...

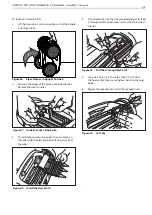
Страница 17: ...Brush 3 To install the new brush position the new brush on the roller with the cleaning blades facing away from the roller 3 Figure 28 Install the New Brush 4 Thread each tab into the slot provided an...

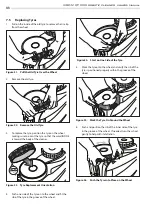
Страница 18: ...igure 33 Tyre Replacement Orientation 1 I N S I D E Towards Body I N S I D E I N S I D E 4 Push one side of the tyre on to the wheel and fit the rib of the tyre in the groove of the wheel 2 Figure 34...

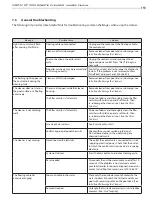
Страница 19: ...ll or dirty Dispose of debris and thoroughly clean the filter canister with mild soap and a soft brush Then re submerge the cleaner see Clean the Filter Canister The cleaner is not climbing walls The...

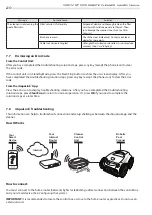
Страница 20: ...the on screen display After you have completed the troubleshooting solution steps press any key except the phone icon to clear the error code From the iAquaLink App Press the error icon to display tro...

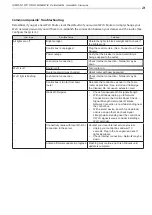
Страница 21: ...flashing Lost internet connection Check internet connection Network may be down Control box is too far from home router Relocate the control box as near to the home router as practical See Install an...

Страница 22: ...turer reserves the right to modify these specifications without notice Although the cleaning robots have been tested in a large variety of swimming pools AstralPool cannot be held responsible in the c...

Страница 23: ...23 VIRON QT 1000 robotic cleaner owner s Manual NOTES...

Страница 24: ...ster your warranty visit www astralpool com au warranty and complete your details Or scan the QR code to go directly to the registration page Record your cleaner details here for quick reference Model...

Отзывы: