- 11 -
4
Accessing the Network Camera
Before getting access to the Network Camera from user’s PC, it’s necessary to properly configure its network
setting. This camera uses 192.168.1.200 as the default IP address. If you would like to assign a new static IP
address, please install “CAM7 Series Device Search
”
from the CD-ROM, and then use this program to do that.
4.1
Find Camera
1.
Once installed on the PC, click on [
Start
Menu >>
All Programs
>>
Asoni
>>
Search Tooling
>>
Asoni CAM7
Series Device Search
] to open the software.
2.
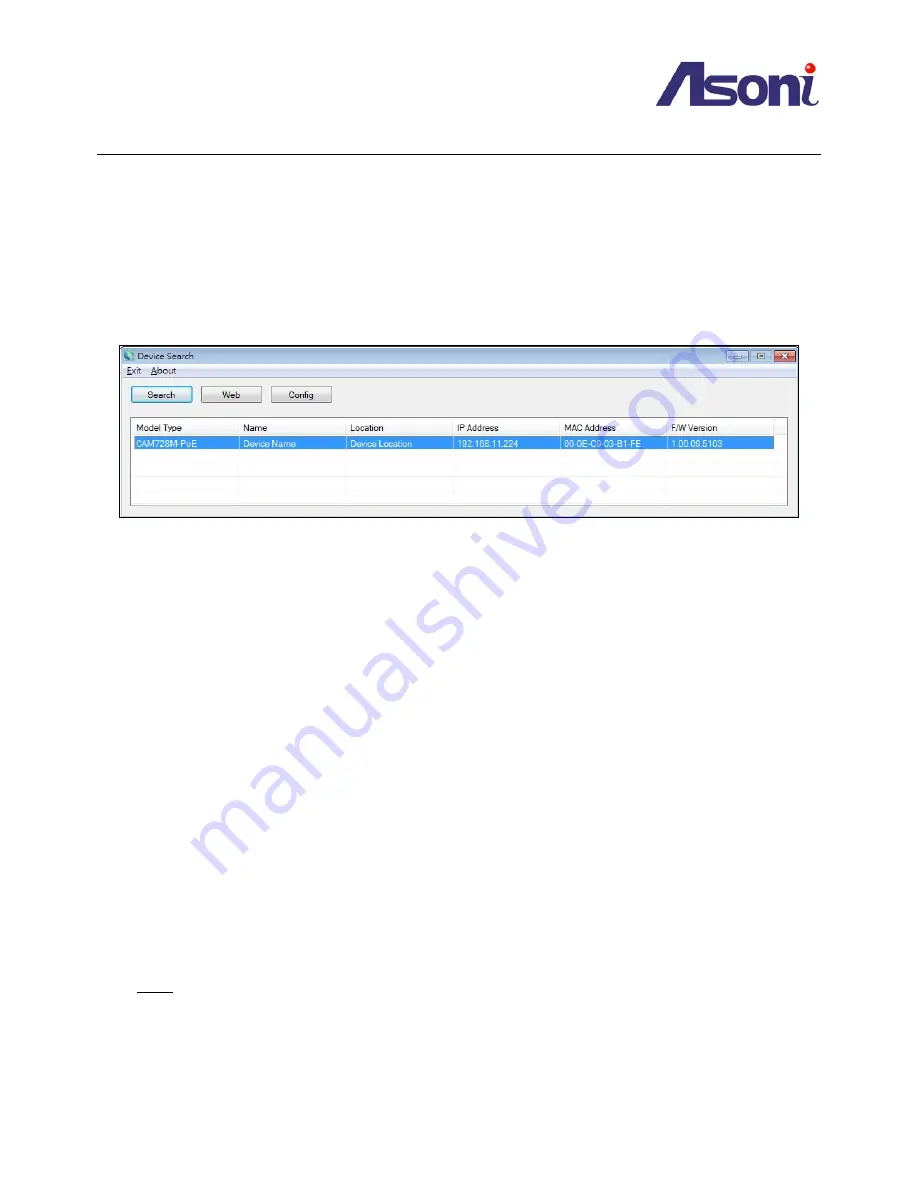
The software automatically (or by clicking on “
Search
”
button) displays cameras on the network. Identify
your camera by its MAC Address that is shown on the label of the camera.
3.
Click on “
Web
”
button or double-click on the identified camera item on the list to launch live viewing (it is
assumed that the network cable you’ve connected to your camera has provided a set of useable IP
address/subnet mask/Gateway), or click on “
Config
”
button to configuring IP information.
4.2
Before Assigning an IP Address
Before assigning an IP address, make sure the Network Camera is powered on and correctly connected to the
network.
Obtain a LAN IP address not yet used and its related configuration from your network administrator.
The following will be required:
1. IP Address
2. Subnet Mask
3. Gateway
MAC Address: Each Network Camera has a unique Ethernet address (MAC address) shown on the label of the
Network Camera.
Hints: When assigning an IP Address
User can find necessary IP information by checking the current IP information of user’s host PC via Windows
command “ipconfig”:
- Click on Windows screen: the
Start
Menu >>
All Programs
>>
Accessories
>>
Command Prompt
.
- Type “
ipconfig
” at the command prompt to show the current IP information of user’s host PC.


