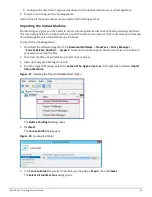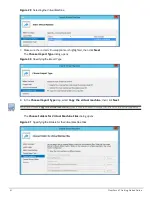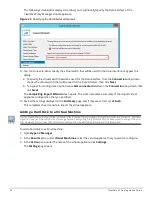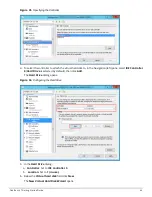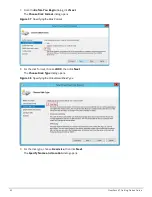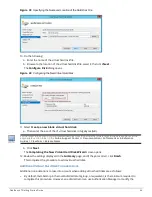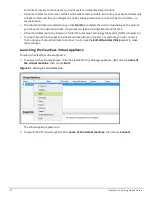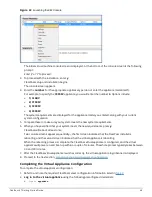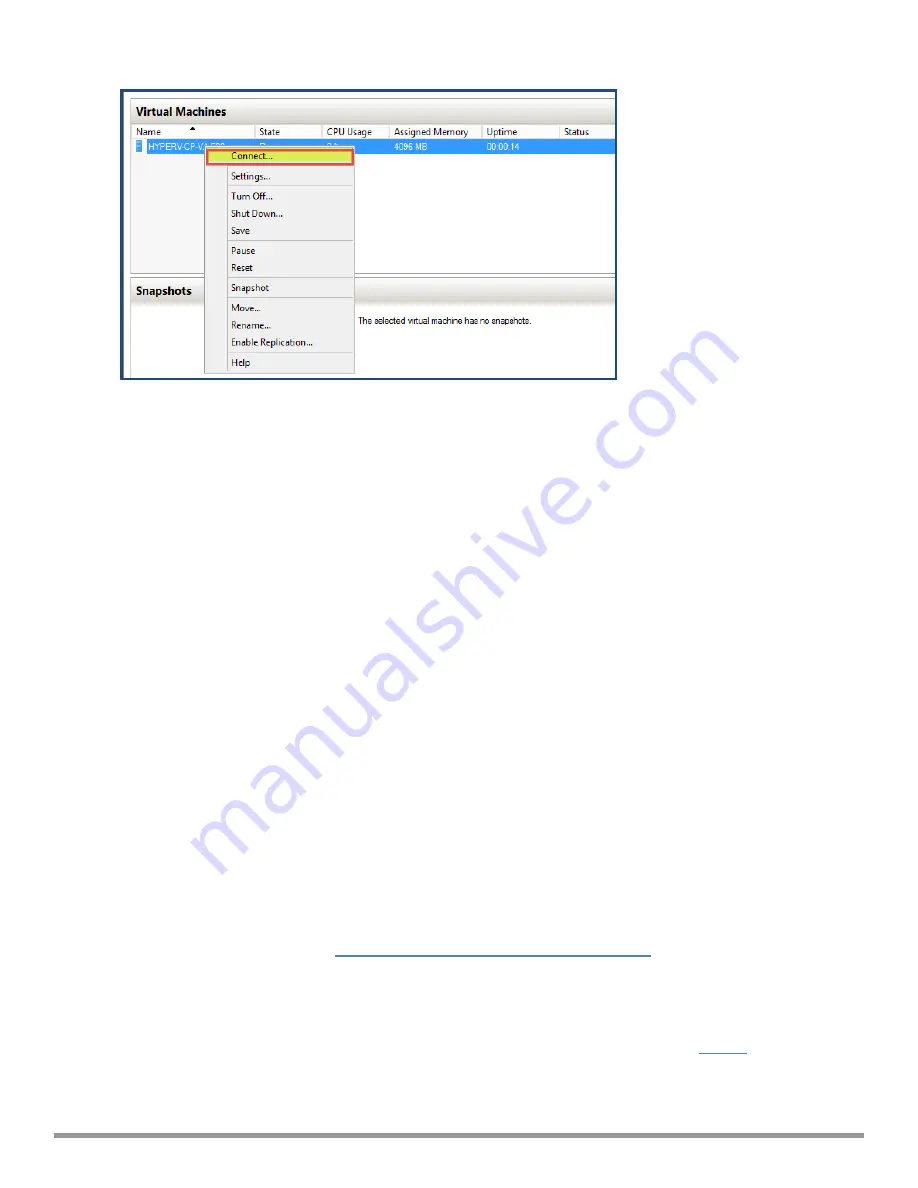
Figure 42
Launching the VM Console
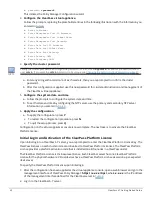
The initial virtual machine console screen is displayed. At the bottom of the console screen is the following
prompt:
Enter 'y' or 'Y' to proceed:
3. To proceed with the installation, enter
y
.
ClearPass setup and installation begins.
The console screen appears.
4. Enter the
number
for the appropriate appliance type (do not enter the appliance model itself).
For example, to specify the
C3000V
appliance, you would enter the number
4
. Options include:
n
1) CLABV
n
2) C1000V
n
3) C2000V
n
4) C3000V
The system requirements are displayed for the appliance model you entered, along with your current
system configuration.
5. Compare these to make sure your system meets the new system requirements.
6. When you have verified that your system meets the new requirements, press
y
.
ClearPass will reboot at least once.
Two console screens appear sequentially—the first screen indicates that the ClearPass Installer is
rebooting, and the second screen indicates that the virtual appliance is rebooting.
When the rebooting process is complete, the ClearPass virtual appliance is configured, and the virtual
appliance will power on and boot up within a couple of minutes. The whole process typically takes between
30 and 40 minutes.
7. After the ClearPass virtual appliance launches correctly, the virtual applicance login banner is displayed.
8. Proceed to the next section,
Completing the Virtual Appliance Configuration
.
Completing the Virtual Appliance Configuration
To complete the virtual appliance configuration:
1. Refer to and note the required ClearPass server configuration information listed in
Table 8
.
2.
Log in to the virtual appliance
using the following preconfigured credentials :
n
login:
appadmin
ClearPass 6.7 Getting Started Guide
48

