


The
Review Details
screen opens.
8. Review the information presented, then click
Next
.
The
Accept EULAs
screen opens.
9. Read the End User License Agreements (EULA) and click
Accept
, then click
Next
.
The
Select Name and Folder
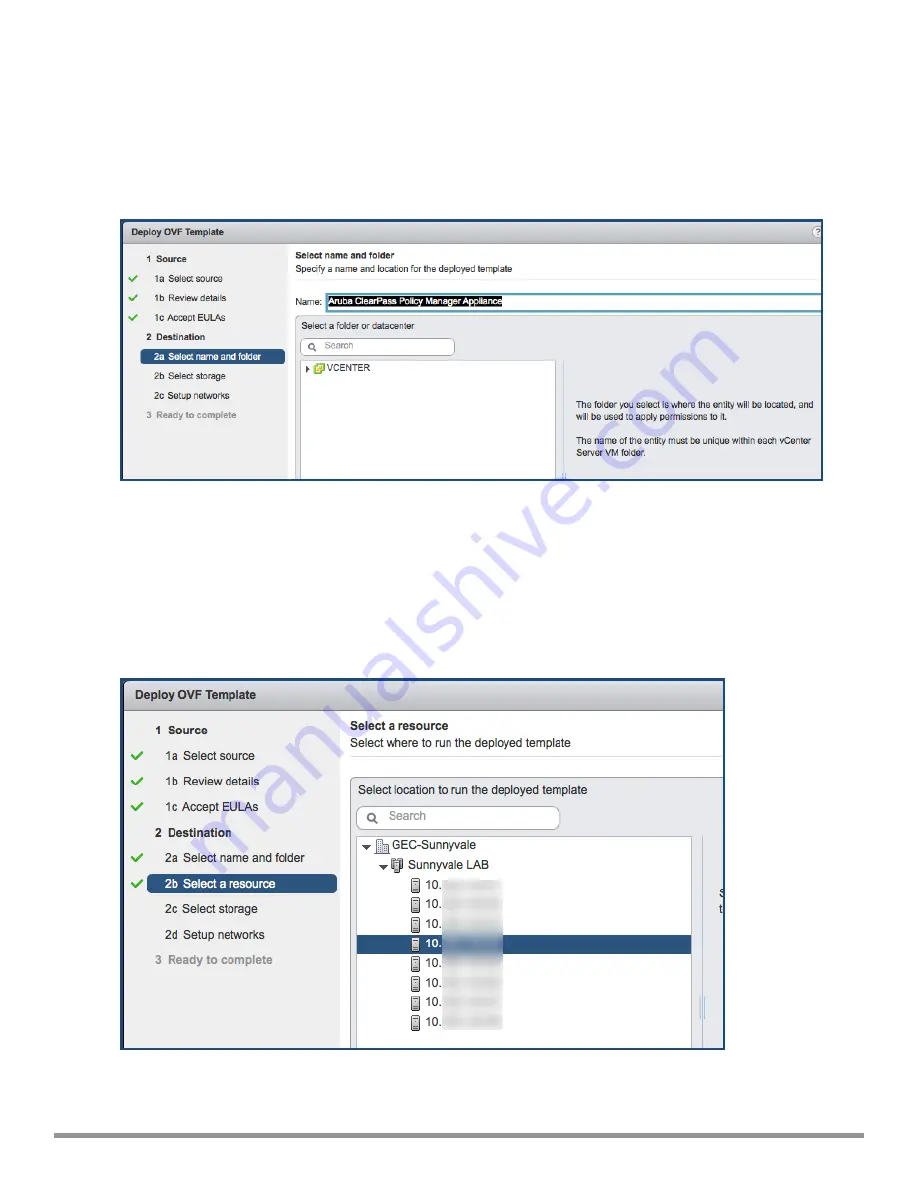
screen opens.
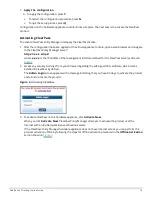
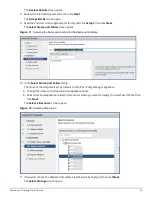
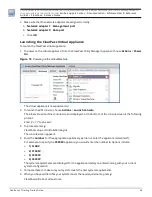
Figure 11
Selecting the Name and Location for the Deployed Template
10. In the
Select Name and Folder
dialog:
The name of the template is set by default to
ClearPass Policy Manager Appliance
.
a. Change the name to the desired virtual appliance name.
b. Select the virtual appliance folder or data center where you want to deploy the ClearPass OVF file, then
click
Next
.
The
Select a Resource
screen opens.
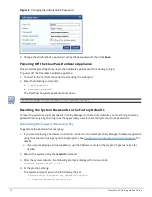
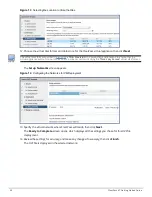
Figure 12
Selecting a Resource
11. If required, choose the VMware host where ClearPass will be deployed, then click
Next
.
The
Select Storage
screen opens.
ClearPass 6.7 Getting Started Guide
24