11
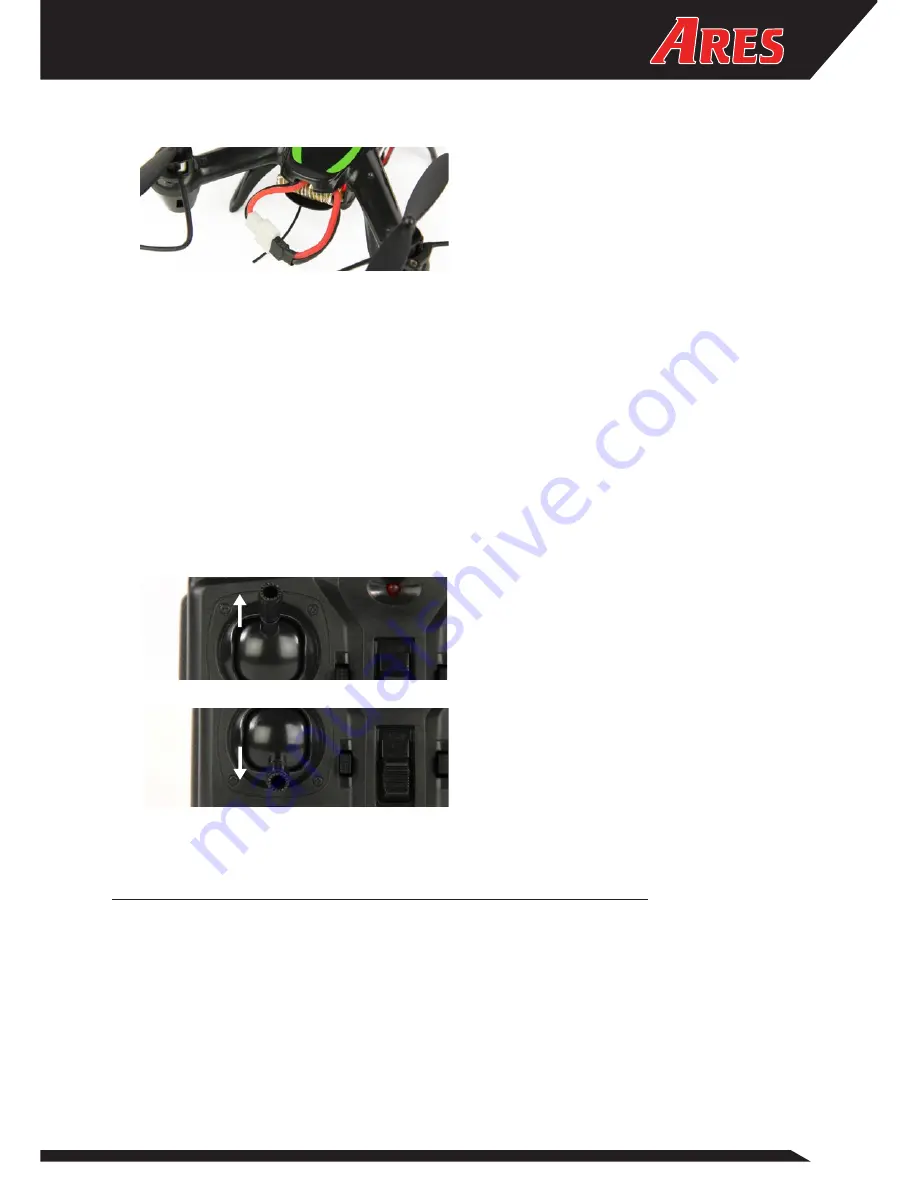
3. When the battery is connected the LED lights will enter a fast flashing
condition. Place the XView on a level surface to enable the on-board gyro to
be properly calibrated.
4. With the throttle stick in its lowest position, switch the transmitter ON. The
quad’s LEDs will now enter a slow flashing condition and the transmitter’s
light will also flash indicating that the XView and the transmitter are paired.
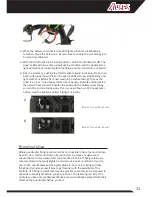
5. Arm the motors by pushing the throttle stick forward to its stop (Pic.A), then
back to its lowest point (Pic.B). The quad’s LEDs will now stop flashing and
light solid. Your XViewFPV is now ready to fly. Before taking off move the
quad to a clear / open space that’s free of people, animals and obstacles,
then stand clear yourself. Position the quad with the battery cover facing
you and the camera facing away. If you’ve never flown an R/C quadcopter
before, read the section entitled ‘Flying Your X-View’.
Flying Your XView
Where quadcopter flying is concerned it’s not possible to have too much space.
As such, we recommend that you fly your XView in a large enough area to
ensure that control is relaxed and you have time to think. If flying outside we
also recommend that early flights be carried out in calm conditions. If you’re
new to R/C quadcopters set the Agility Mode to ‘Low’ before flying and take
things gently to give yourself time to get familiar with the sensitivity of the
controls. R/C flying is a skill that requires practice to master, so be prepared to
undertake many flights before you get proficient. The following is a list of the
controls you have at your disposal. Make sure you familiarize yourself with their
effect on the quadcopter before you fly it.
(Mode 2 Transmitter Shown)
(Mode 2 Transmitter Shown)
A
B
Содержание AZSQ3300
Страница 24: ...www Ares RC com REV 001...


