3-20
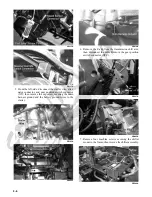
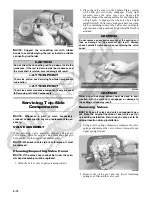
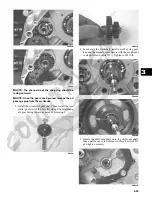
4. Loosely install the two nuts which secure the cylin-
der to the crankcase.
NOTE: The two cylinder-to-crankcase nuts will be
tightened in step 10.
CC023D
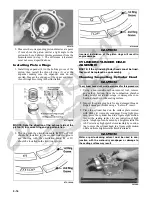
5. Install the coolant hose onto the crankcase union and
tighten the clamp.
C. Cylinder Head
D. Valve Cover
NOTE: Steps 1-5 in the preceding sub-section must
precede this procedure.
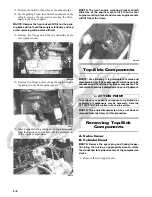
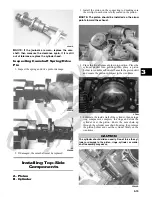
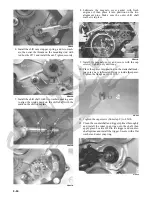
6. Place the chain guide into the cylinder.
CF058A
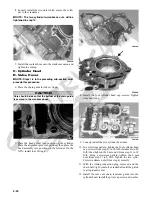
7. Place the head gasket into position on the cylinder.
Place the alignment pins into position; then place the
head assembly into position on the cylinder. On the
XTX, install four O-rings.
CC020D
CF289A
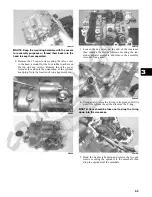
8. Install the four cylinder head cap screws. Tighten
only until snug.
CC272D
9. Loosely install the five cylinder head nuts.
10. In a crisscross pattern, tighten the four cylinder head
cap screws (from step 8) in 10 ft-lb increments to 40
ft-lb; then tighten the 8 mm nut (from step 9) to 18
ft-lb. Using a crisscross pattern, tighten the 6 mm
nuts (from step 9) to 8 ft-lb. Tighten the two cylin-
der-to-crankcase nuts (from step 4) securely.
11. With the timing inspection plug removed and the
chain held tight, rotate the crankshaft until the piston
is at top-dead-center.
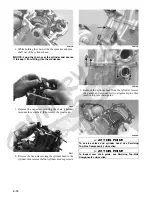
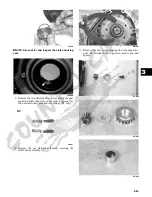
12. Install the rear cam chain tensioner guide into the
cylinder head. Install the pivot cap screw and washer.
CAUTION
Care should be taken that the bottom of the chain guide
is secured in the crankcase boss.
Содержание 2013 Prowler XT
Страница 1: ...Prowler XT XTX XTZ ...
Страница 3: ......
Страница 5: ......
Страница 149: ...4 16 NOTES ...
Страница 211: ...7 8 NOTES ...
Страница 232: ...8 21 8 NOTES ...
Страница 233: ... Printed in U S A Trademarks of Arctic Cat Inc Thief River Falls MN 56701 p n 2259 530 ...

