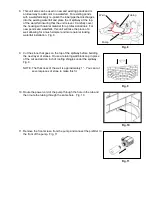
5. Connect the tubing to the inlet of the spillway using the adapter.
Slip the hose clamp on to the tubing but do not tighten it. Fig. 5
NOTE: The spillway has two ports to install the inlet. For installing
with this kit, using connection (a) is preferred. For other
installs use (b).
Fig. 5
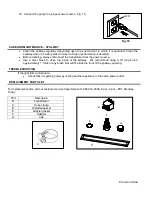
6. Tighten the hose clamp using a flathead screwdriver. Fig. 6
Fig. 6
7. Place the spillway onto the wall. Then continue building the rest of
the wall. Fig. 7
NOTE: You will need to cut the stone that goes on the top of the
spillway before building the next layer of stones.
Fig. 7
Connection method (a)
Connection method (b)


