GETTING STARTED
RTP-3280 Thermal Receipt Printer
11
4.
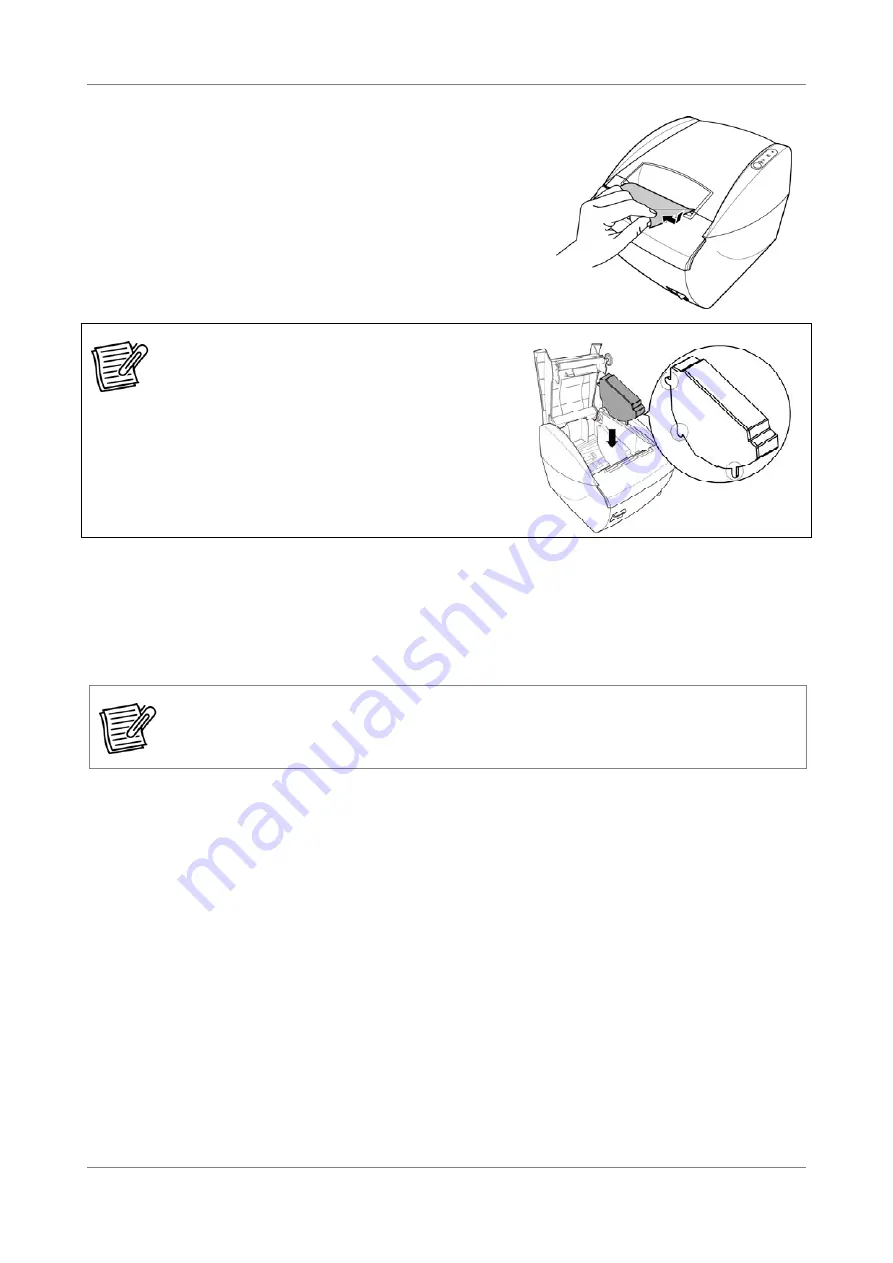
Tear off the excess paper if necessary.
Note:
In case the 2” printing is needed,
please install the separator into the printer
then load the 2” paper roll. The separator
is available as an option.
2.7 Printing a Test Label
Print a test label to check if your printer is working properly.
NOTE:
Before printing a test label, make sure all connections are properly connected and
there is enough paper roll in the compartment.
1.
Press and hold the
Feed
button and then turn on the power.
The printer prints out the current status, firmware version, and DIP switch
settings. After which, the printer pauses and the
Paper LED
flashes.
2.
Press the
Feed
button to continue printing the test label.
The printer prints out the built-in character set.
3.
After printing, the printer automatically cuts the paper. Pull out the paper.


