Tutorial
73
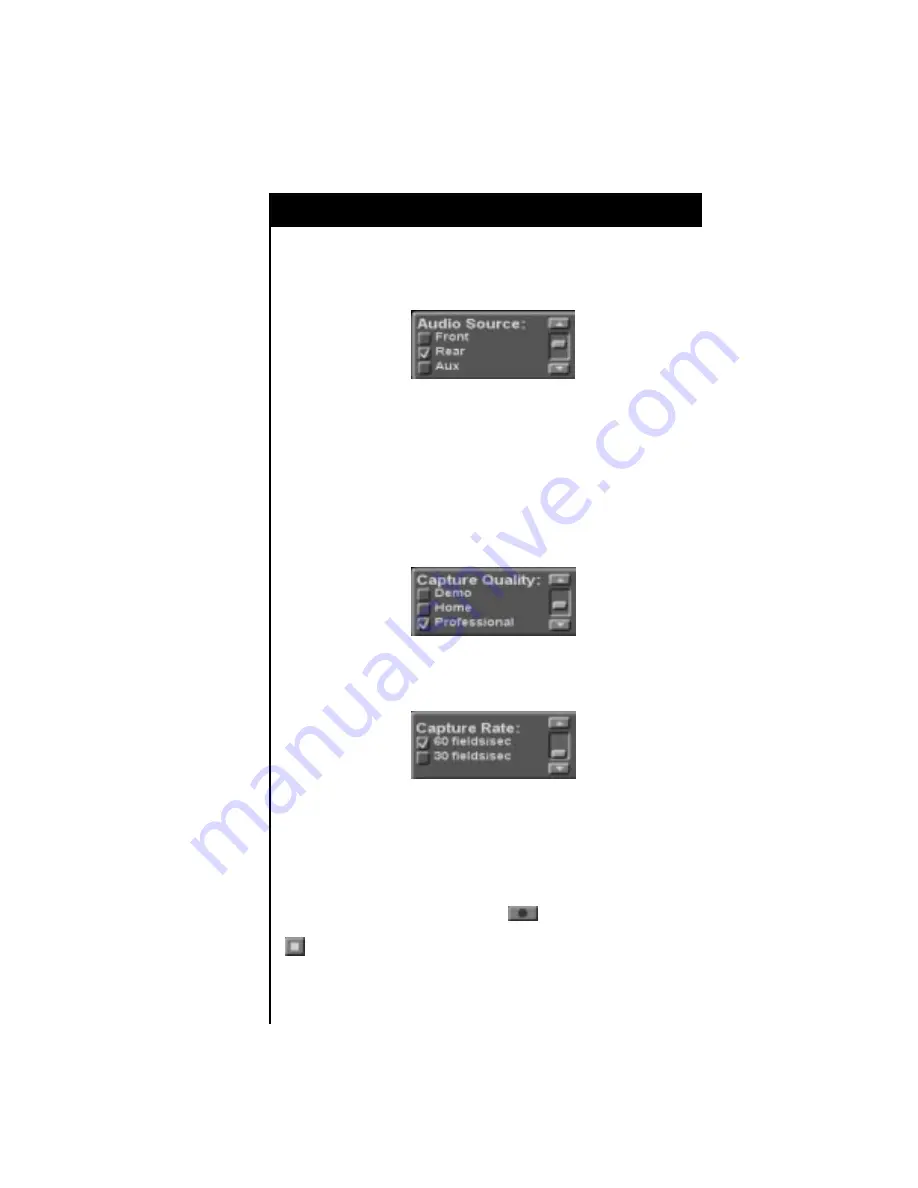
3. Now you will need to select your audio source (this is only necessary if
you’ve selected “Audio Only” or “Video & Audio” in Step 1). Select the
input to which you’ve connected your VCR (or other audio source
equipment).
4. Next you should select a capture quality for your video. The capture quality
settings listed here instruct the system to compress the video data at
different levels.
If you have purchased the ScreenPlay video editing unit, you will be able to
choose capture qualities ranging from Demo (lowest quality) to Broadcast.
If you have purchased the Sequel video editing unit, you will be able to
choose capture qualities ranging from Demo (lowest quality) to Corporate.
The capture quality you’ve selected will not be evident in the video you
view in the Capture screen.
5. (ScreenPlay only) If you have purchased the ScreenPlay video editing unit,
you can now choose a capture rate for your video. The options to choose
from are 60 fields/sec and 30 fields/sec.
As soon as you’ve made these settings, you are ready to begin capturing
material.
Press the Play button on the video deck connected to your video editing unit.
If you see your material on the ScreenPlay monitor, you’ve set up your system
correctly. If there’s no picture, check the connections between your video deck
and your video editing unit, and then repeat steps 1-5.
Just to see how things work, click on the button to capture some of
the video you already have playing. After ten or fifteen seconds, click on the
button.


