Operating Your Video Editor
57
Using the Graphics Screen
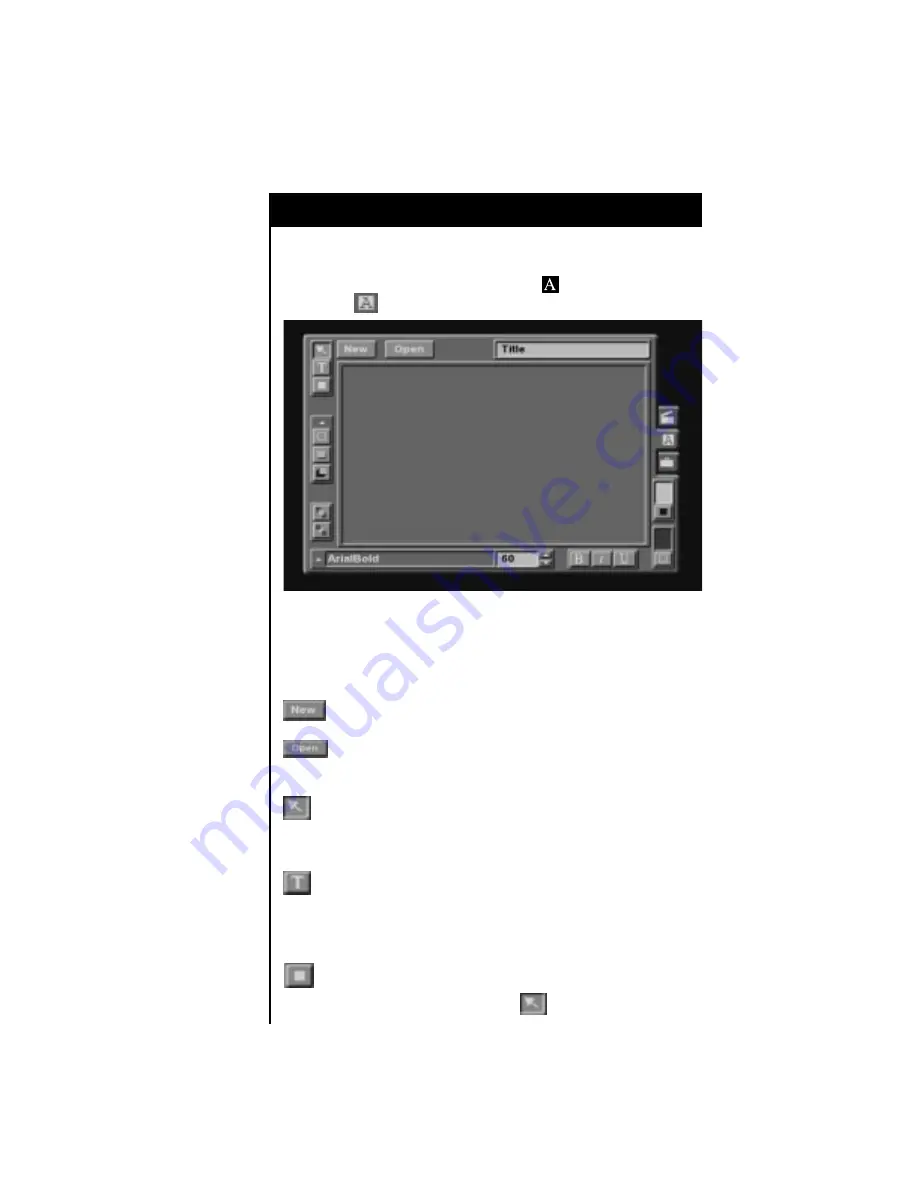
The Graphics screen allows you to create graphic elements for your project.
To access the Graphics screen, either press the key on the keyboard,
or select the tab on the screen.
The blank drawing area in the center of the screen is where you will preview
the appearance of your graphic and draw all of the elements which you wish
to add to your graphic.
Surrounding the drawing area are several drawing buttons. These are the
tools which you will select to create your graphic.
Select this button when you would like to save your current
graphic to the Graphics bin and begin working on a new graphic.
Select this button when you would like to work on a graphic
which has already been saved to your Graphics bin. You can also
open a graphic from the Graphics bin by double clicking on it.
This tool is used to select an item within the drawing area. First,
select this tool, then point and click on the item you would like to
select. You will notice four “handles” appearing around the item,
indicating that it is currently selected.
This tool is used to create text. First, select this tool, then click in the
drawing area where you want to add text. This creates a starting
point for the text. If you do not select an entry point for the text, the
text will automatically be entered on the center of the screen. Next,
you can type in the desired text.
This tool is used to draw rectangles. Simply select the tool, and then
you can draw a rectangle anywhere on the drawing area.
Rectangles can be resized using the tool.


