Network Configuration
57
Hardware Instruction Manual – DXLink™ Twisted Pair Transmitters/Receiver
Assign a Device Address (ID Mode)
The ID Pushbutton can be used in conjunction with the ID (Identify) Mode feature in NetLinx Studio. A momentary press of the ID
Pushbutton assigns a device address to the Transmitter or Receiver
(which
must
be bound to the Master).
The device
must
first be
placed in ID Mode in NetLinx Studio or the momentary press will be ignored.
NOTE:
The latest version of NetLinx Studio is available to download and install from www.amx.com. Refer to the NetLinx Studio online
help for instructions on using the application.
To set the device address on a Transmitter or Receiver:
1.
Check to be sure #3 Toggle on the bottom of the Transmitter or Receiver is set to ON.
2.
In NetLinx Studio’s OnLine Tree, select the Master to which the Transmitter or Receiver is bound.
3.
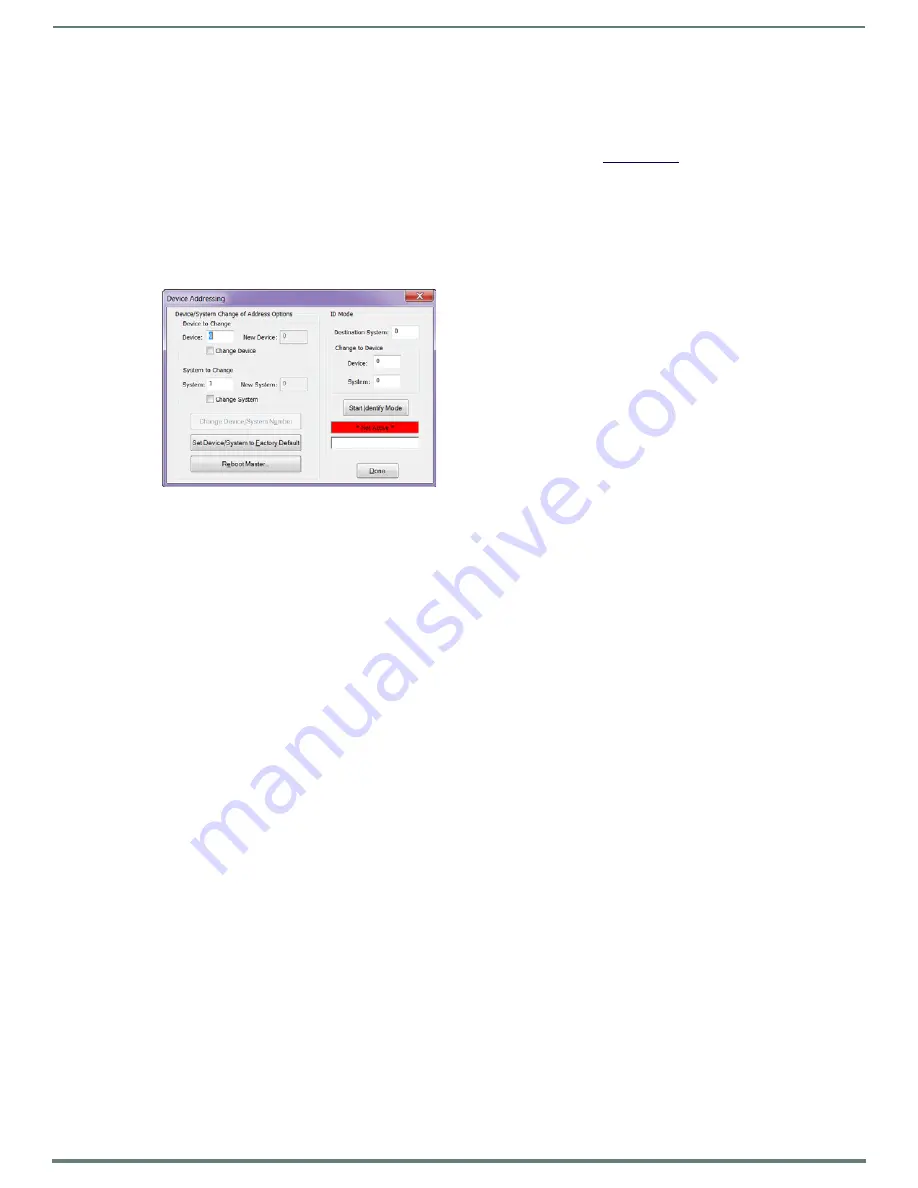
From the Diagnostic menu, select Device Addressing.
The Device Addressing dialog box opens.
4.
In the ID Mode section, enter the Device and System numbers that you want assigned to the device in the appropriate text
boxes.
5.
Click Start Identify Mode to place the named system in ID Mode.
The button changes to “Cancel Identify Mode” (click to cancel ID Mode).
The text box below the button displays a “Waiting...Press Cancel to Quit” message.
NOTE:
When in ID Mode, the entire system is put on hold while it waits for an event from any NetLinx device in the named system
(e.g., pressing the ID Pushbutton on the Receiver). The device that generates the first event is the device that will be “identified.”
6.
Briefly press and release the ID Pushbutton on the Transmitter or Receiver.
The Transmitter or Receiver will exhibit the following behavior:
Respond with an ID Mode address response.
Report its old address offline.
Report its new address online.
The OnLine Tree will refresh to display the new device address for the Transmitter or Receiver.
NOTE:
NetLinx Studio (v4.0 or later) provides the ability to auto-increment IP Addresses and Hostnames as well as Device and System
Numbers. Refer to the NetLinx Studio online help for details.
Reset the Factory Default Settings
During power up – if the ID Pushbutton is held until the Control/NetLinx LEDs toggle back and forth in unison approximately
10 times, then released when the faster blinking starts, the Transmitter or Receiver will reset to its factory default settings, which
affect the parameters but not the firmware version.
Factory Parameters*
Default static IP address of 192.168.1.2
Default dynamic (DHCP) address of 169.254.2.2
Default device number of 0
NDP mode (see page 98)
Unbound state
No IRL files
* For a complete list of factory parameters, see the table on page 55.
Instructions for the modules are given first followed by the instructions for the Wallplate TX and the Decor Wallplate TX, which
receive power over DXLink from the switcher.
IMPORTANT:
If a Transmitter or Receiver Module is receiving power from a switcher, disconnect the DXLink connector on the module
and reattach to apply power.


