Appendix C - Virtual NetLinx Master
100
Hardware Reference Manual – DXLink™ Twisted Pair Transmitters/Receiver
Appendix C - Virtual NetLinx Master
Overview Virtual NetLinx Master (Masterless)
A Virtual NetLinx Master can be created using your PC, which allows NetLinx Studio to facilitate direct file transfers to a DXLink
Transmitter or Receiver when a Master is not available.
Four basic procedures must be completed for Virtual Master file transfers:
Set the PC to a static IP address (see below).
Create a Virtual Master in NetLinx Studio (see page 101).
Prepare the DXLink Transmitter or Receiver by placing it in Static IP Mode, assigning a device ID, and setting the connection
type to TCP (see page 102).
Transfer the files using a Virtual Master TCP/IP connection (for IRL file transfers, see page 60; for Firmware file transfers,
see page 87).
Setting PC to Static IP Address
IMPORTANT:
When you change the PC’s settings to a static IP address, the address must be in the same subnet as the DXLink unit
(the default static IP address for DXLink Transmitters and Receivers is 192.168.1.2).
Important Information for PCs with Multiple Network Access Points
If the PC has more than one point of network access (multiple NIC cards or wireless networking), check to see if one of the
connections uses an IP address of 192.168.1.x before proceeding.
To check for multiple networks:
1.
Open the PC’s Start menu (at the lower left of the desktop on the Taskbar) and select Run.
2.
Enter cmd and click OK.
3.
At the prompt, enter
ipconfig /all
and press the Enter key.
4.
Check the IP Addresses under Connection.
If the PC or Laptop is currently using a connection with an IP address of 192.168.1.x, you will need to disconnect the connection.
To disconnect a network connection:
1.
Modem:
From the Start menu on the desktop taskbar, select Settings \ Network Connections.
Wireless:
From the Start menu on the desktop taskbar, select Control Panel \ Network and Internet \ Manage Wireless
Networks.
2.
Right-click the network connection and select Disable.
NOTE:
The following procedure uses the most current version of Windows available at the time of publication.
To set a PC to Static IP Mode:
1.
From the Start menu on the desktop taskbar, select Control Panel / Network Sharing Center.
2.
Click “Change adapter settings” (top left).
3.
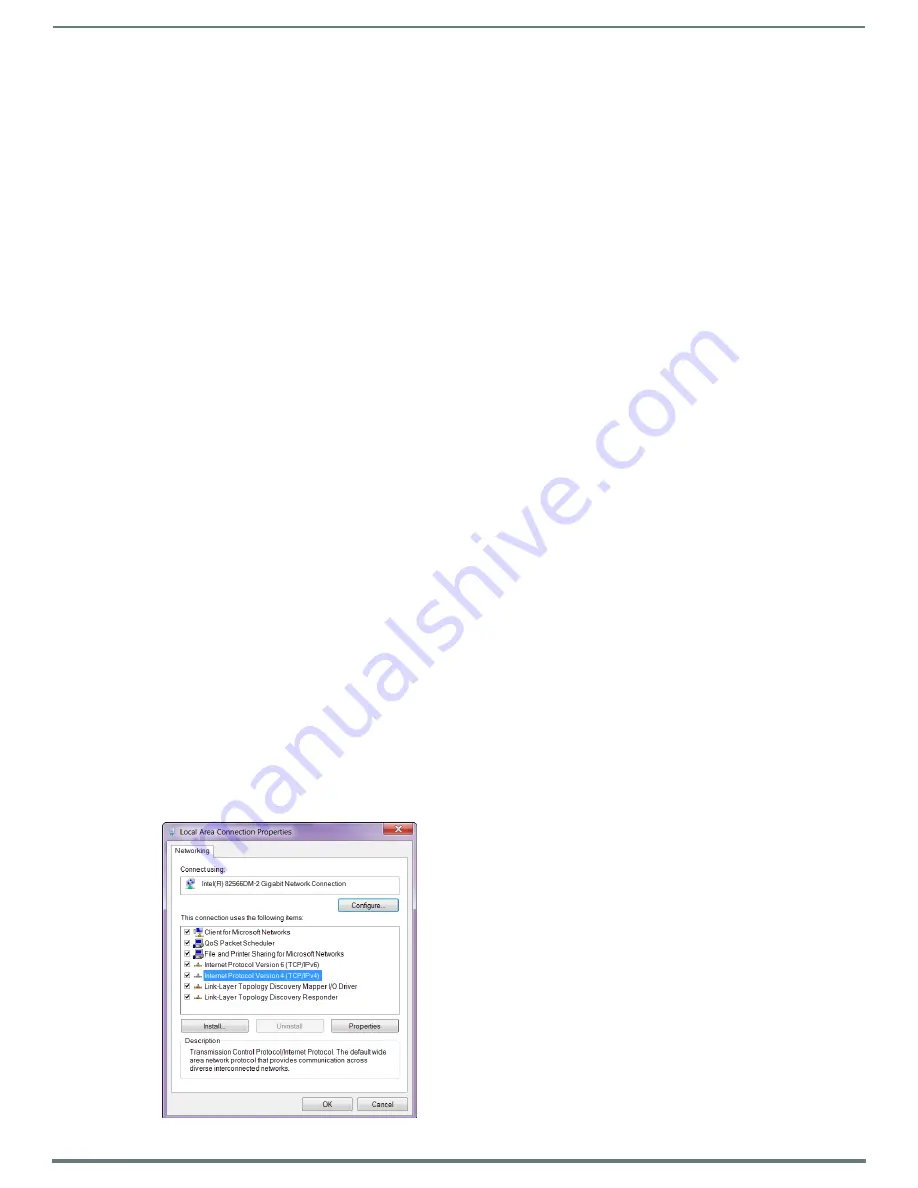
Right-click on Local Area Connection and select Properties.
The Local Area Connection Properties dialog box opens.


