User's Guide
4-10 Control Panel
Resetting Optimal Print Density
Holding down the Alt button and pressing the Paper Path button resets
the position of the printhead for optimal print density. Since the printer
per-forms this function automatically, you only need to use it if you
accidentally bump the printhead.
)
Note:
If automatic forms thickness detection is disabled, holding down
the Alt button and pressing the Paper Path button causes the printer to
reset the printhead to a user-defined position. Refer to
Set Print Density
later in this section.
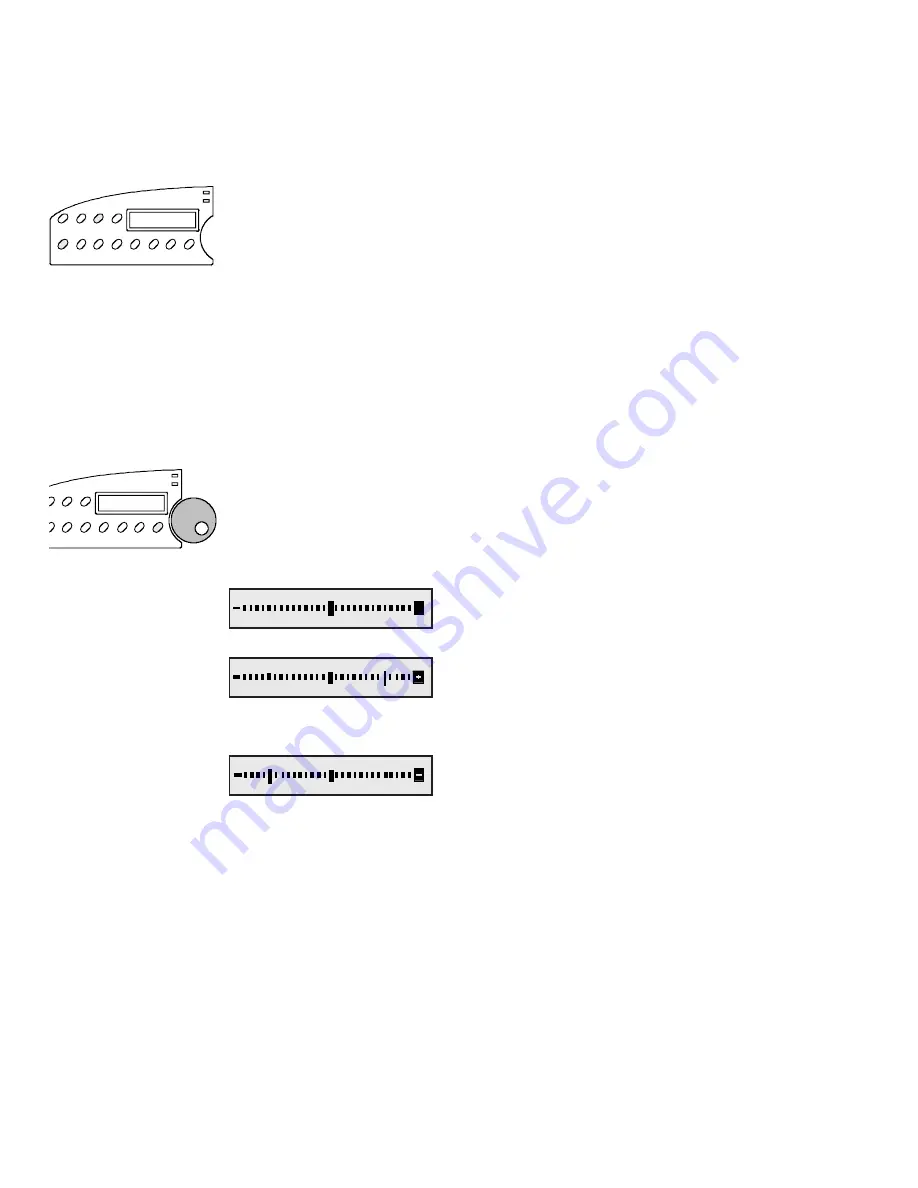
Fine Adjusting the Print Density
Each time you load a new form in the printer, the printhead automatically
moves a fixed distance away from the form. This fixed distance is
factory-set to provide optimal print density on most forms. You can fine
adjust this distance if you prefer a slightly lighter or darker print. To do
so:
Hold down the Print Density button until the
print density adjustment scale appears.
For darker print, turn the Select-dial
clock-
wise
. The offset indicator will move to the
right.
For lighter print, turn the Select-dial
counter-
clockwise
. The offset indicator will move to
the left.
The printer retains this adjustment even when turned off.
)
Note:
If you try to access the adjustment scale with automatic forms
thickness detection disabled, the message MANUAL PHGAP SET
appears instead. Refer to
Set Print Density
later in this section for
more information.
Alt
Paper
Path
Print Density
Содержание ACCEL-6300
Страница 1: ...AMT ACCEL 6300 Document No 387002 Rev E User s Guide P R I N T E R S E R I E S ...
Страница 3: ...User sGuide ii Preface ...
Страница 15: ...AMTDATASOUTHCORP 4765 Calle Quetzal Camarillo CA 93012 ...
Страница 23: ...User sGuide xxii Contents ...
Страница 27: ......
Страница 45: ......
Страница 63: ......
Страница 159: ......
Страница 165: ......
Страница 179: ......
Страница 235: ......
Страница 245: ......
Страница 255: ......


