27
Installation and Operation Manual
2. To copy the alarm monitor/contact groups and system tours settings from a timer that has already been programmed,
highlight the timer that is to be copied in the current timer list and tick the
Copy Current Timer
checkbox. Otherwise,
leave this checkbox unticked.
3. Click the
New Timer
button.
To delete a timer, follow the steps below:
1. In the current timer list at the top of the screen, highlight the timer that is to be deleted.
2. Click the
Remove Timer
button.
3. A confirmation message is displayed asking you to confirm the timer deletion. Click
Yes
to remove the selected
timer from the current timer list.
Calling Monitor/Contact Tables Using Timers
Using the centre section of the
Timers
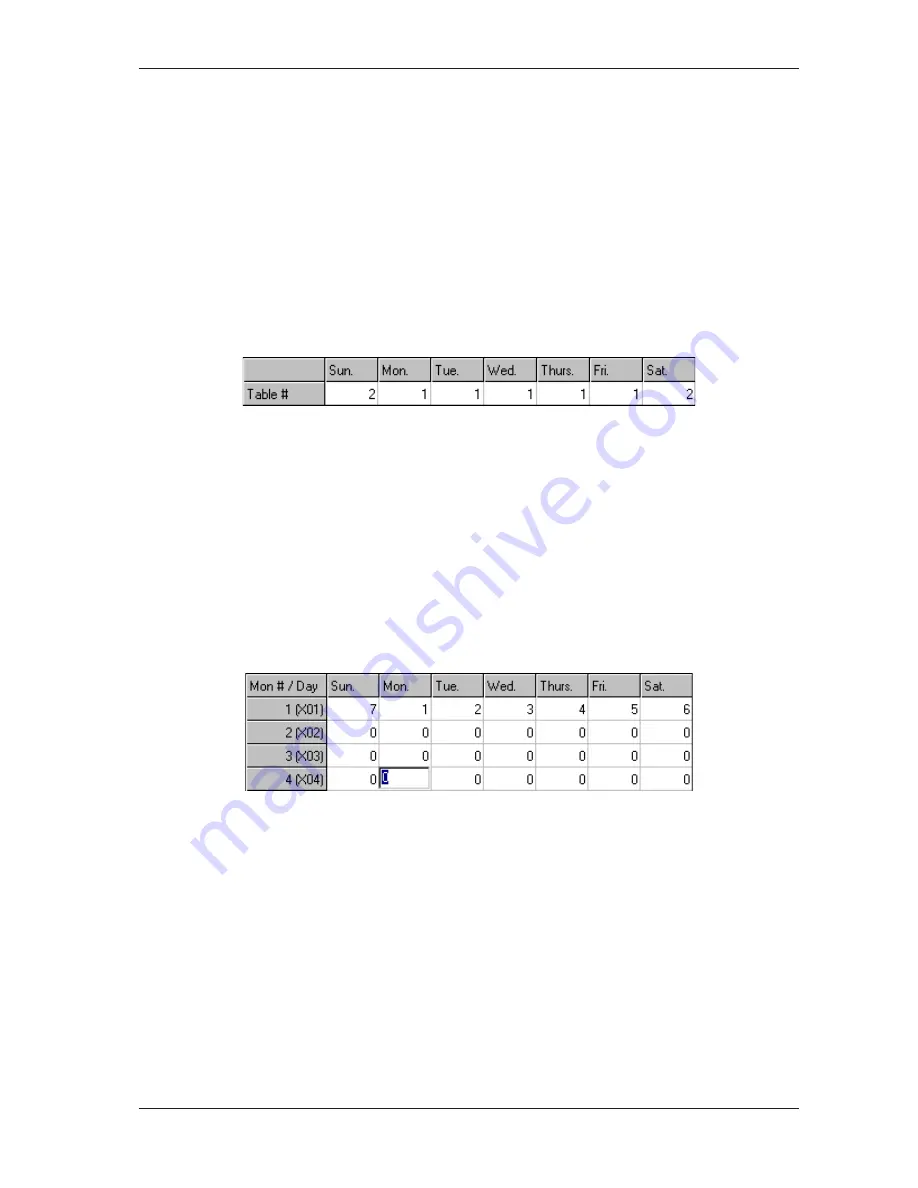
screen, it is possible to define which monitor/alarm contact association tables
are used at different times of the day and week. This means that is possible to specify that different monitors will display
incoming alarms at different times.
To call up a monitor/contact association table using an event timer, follow the steps below:
1. In the current timer list, highlight the time at which you want a monitor/alarm contact association table to be called.
2. In the centre section of the screen, double-click the desired day.
3. Enter the monitor/alarm contact association table number that is to be called on the selected day at the selected
time. Enter
0
to use the default association table, or enter 1–10 to call up a different association table.
4. Repeat steps 1-3 to call further tables using timers.
Note
Monitor/alarm contact association tables are configured using the
Alarm Association
screens. See pages 36-39 for
more details on these screens.
Calling System Tours Using Timers
Using the bottom section of the
Timers
screen, it is possible to call system tours on specific monitors at specific times
during a week.
To call up a system tour using an event timer, follow the steps below:
1. In the current timer list, highlight the time at which you want a system tour to be called.
2. In the bottom section of the screen, select the monitor which the tour is to be displayed on and the day it is to be
displayed by double-clicking in the appropriate table cell. For example in the figure above, the tour is to be shown on
a Monday on monitor 4 (X04).
It should be noted that the number of monitors displayed in this table depends on how the
Multi Matrix
screen was
completed. Monitors are listed by monitor identification number, with port reference shown in brackets. In the port
reference, the first character refers to the matrix to which the monitor is connected (X = primary unit, A-F = secondary
unit) and the second character is the video output port number on that matrix (1-16).
3. Enter the number of the system tour that is to be called.
4. Repeat steps 1-3 to create further timed tours.
Notes
•
When video loss detection is enabled in the
Options
screen, the monitor with port reference X16 is used by the
system to sample video and will therefore be unavailable for use with timers.
•
In this screen it is possible to use the drag down method to change multiple fields in a column to the same setting.
Enter the required text in the uppermost field and then click and drag the cursor over the fields below that are to be
set the same. Press the
Enter
key to copy the setting to the highlighted fields.


