25
Installation and Operation Manual
Switching - Salvos
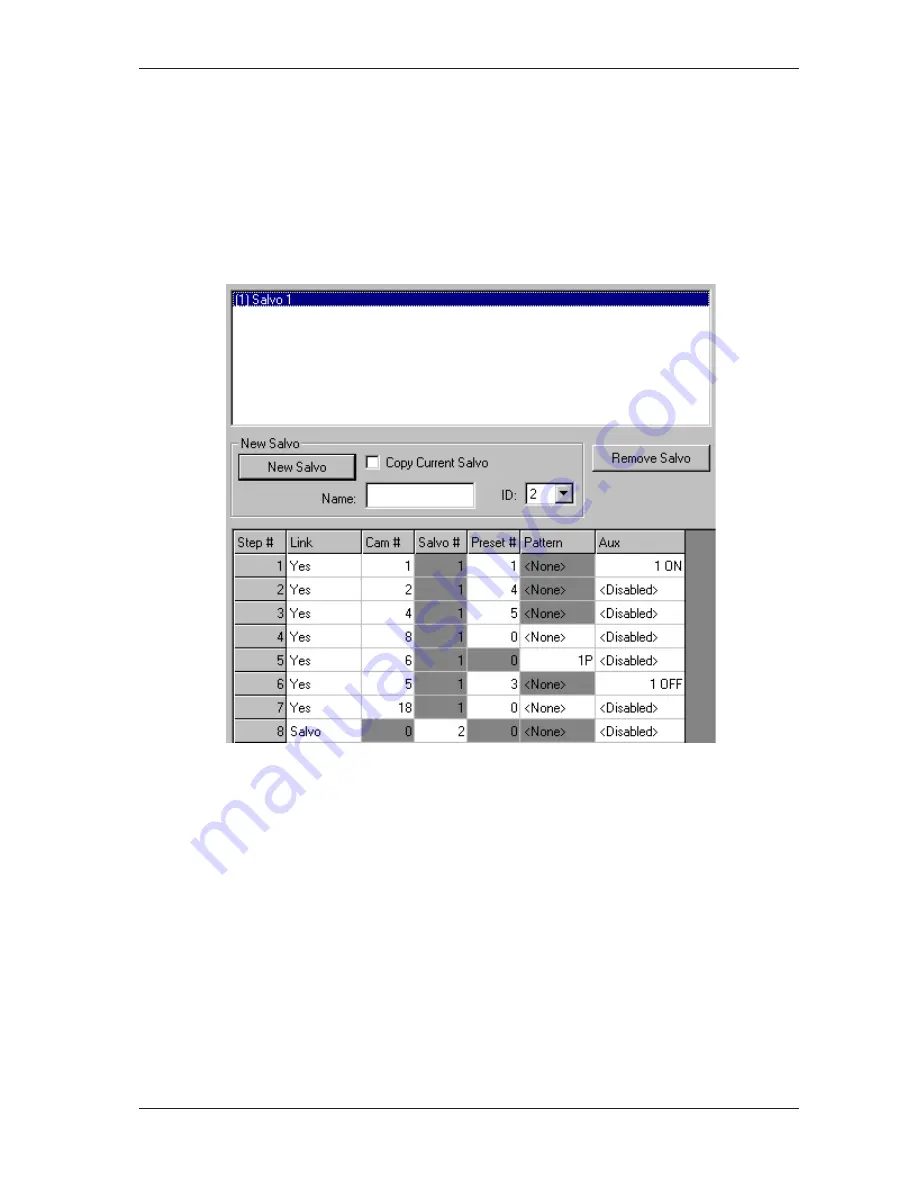
The
Salvos
screen is displayed by expanding the
Switching
node on the left-hand side of the display area and then
clicking on the
Salvos
node. This
screen enables programming of 64 system salvos. Each salvo is programmed for
simultaneous display of up to 16 cameras on a contiguous group of monitors. For example, if a system salvo containing
six cameras is called to monitor 10, the first salvo entry is shown on monitor 10, the second camera on monitor 11, and
so on, up to the last camera on monitor 15. Each camera view in the salvo can include a preset scene or a pattern and
an auxiliary action. Also, other system salvos can be nested within one another.
Note
On monitors connected to secondary units, it is only possible to recall cameras connected to the same secondary unit.
If a salvo is recalled on a secondary monitor and a camera in that salvo is not available, a message (“INVcccc”) is
displayed on the monitor to indicate that an invalid camera was selected.
\
Creating a New Salvo
To create a new salvo, follow the steps below:
1. In the
Name
text field, enter a name for the salvo.
2. Using the
ID
drop down list, select an ID for the salvo. This is the number that will be entered on a system keyboard
in order to recall the salvo.
3. If the new salvo is to be a copy of a salvo that has already been programmed, highlight the salvo that is to be copied
in the current salvo list and tick the
Copy Current Salvo
checkbox. Otherwise, leave this checkbox unticked.
4. Click the
New Salvo
button. The salvo is created and the entries in the salvo can now be edited.
Deleting a Salvo
To delete a salvo, follow the steps below:
1. In the current salvo list at the top of the screen, highlight the salvo that is to be deleted.
2. Click the
Remove Salvo
button.
3. A confirmation message is displayed asking you to confirm the salvo deletion. Click
Yes
to remove the selected
salvo from the current salvo list.


