


6
Step 2:
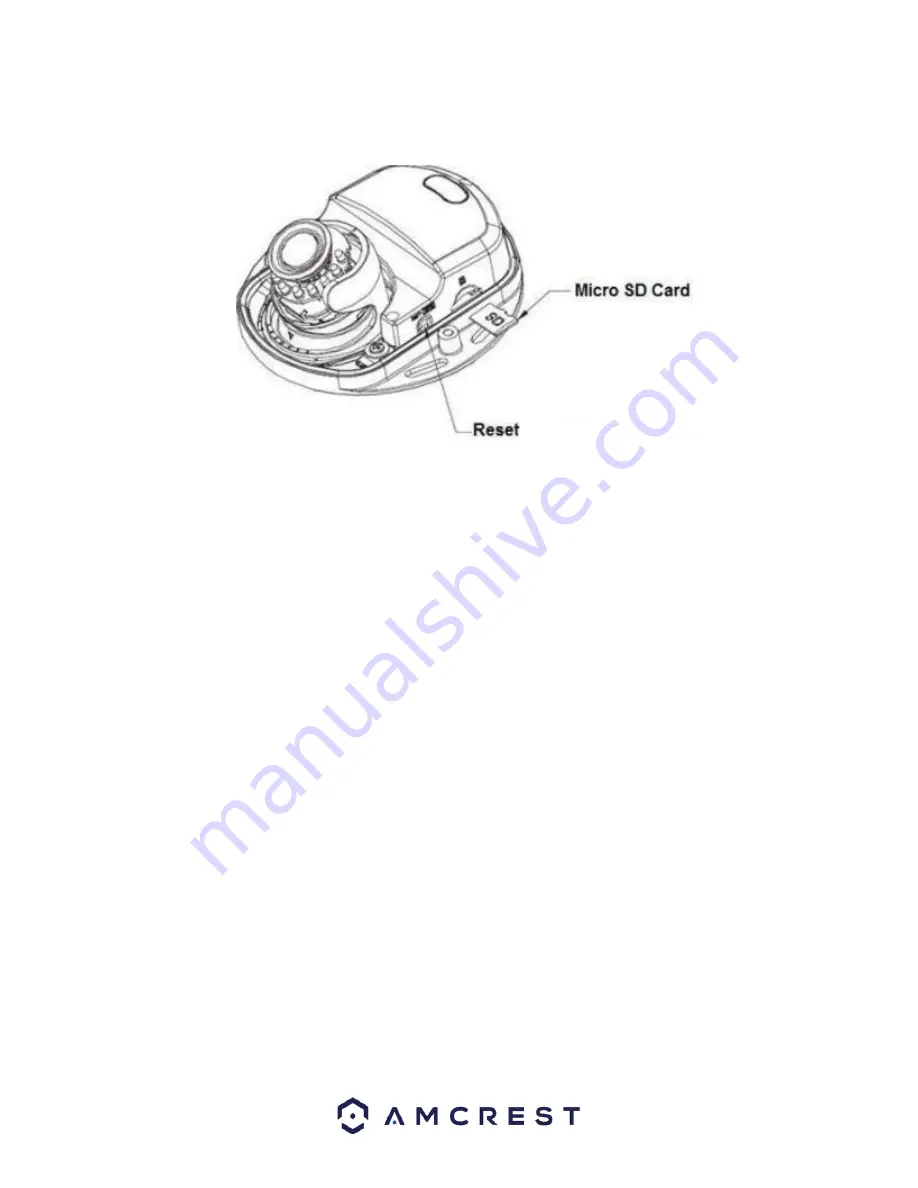
Install a microSD card into the camera (optional). The microSD card is on the side of the camera next to the
factory reset button. The camera can support up to 256GB.
Step 3:
Place the included installation position map on the ceiling or wall according to the outlet location and drill
the installation holes according to the holes on the position map. Insert the expansion bolts (wall anchors) into the
holes.
Step 4:
Connect any wiring and align the installation holes on the bracket of the camera to the wall anchors and
secure the camera to the installation surface using a Phillips head screwdriver.
Step 5:
Place the dome enclosure back onto the camera and secure it using the included torx wrench.
Access & Setup
This section will provide information on how to setup and access your camera through the following methods:
•
Local PC (Web User Interface (Web UI), Amcrest Surveillance Pro, etc.)
•
Amcrest View Pro app
•
Amcrest Surveillance Pro
•
Amcrest Cloud
Default Username and Password
To login to the system for the first time, use one of the following default username/password combinations. Once
you have successfully logged in, it is highly recommended to change the password for security reasons.
Username
: admin
Password
: admin
Note:
Logging in for the first time will prompt the user to change the password to the admin account.
How to Setup the Camera
To make your experience with your Amcrest camera easy and simple, we've provided multiple ways to set up,
view, and operate your camera depending on your needs. Please follow the instructions on this page to set up your
camera in the way that works best for you.


