21
-EN
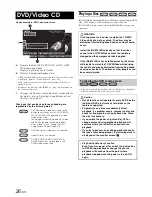
Presetting Stations Manually
1
Tune in a desired radio station you wish to store in
the preset memory by manual or automatic seek
tuning.
2
Touch
[P1/2]
to change the function guide.
3
Touch and hold any one of the preset buttons
[P.SET 1]
through
[P.SET 6]
for at least 2 seconds.
The selected station is stored.
4
Repeat the procedure to store up to 5 other stations
onto the same band.
To use this procedure for other bands, simply select the
band desired and repeat the procedure.
A total of 30 stations can be stored in the preset memory (6
stations for each band; FM1, FM2, FM3, MW and LW).
•
If a preset memory has already been set in the same preset number, it
will be cleared and the new station will be memorized.
Presetting Stations Automatically
The tuner can automatically seek and store 6 strong stations in the
selected band in order of signal strength.
After selecting the desired band, touch and hold
[A.MEMO]
for at least 2 seconds.
The tuner automatically seeks and stores 6 strong stations into
[P.SET 1]
to
[P.SET 6]
in order of signal strength.
When the automatic storing has been completed, the tuner goes
to the station stored in
[P.SET 1]
.
•
If no stations are stored, the tuner will return to the original station
you were listening to before the automatic storing procedure began.
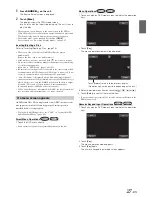
Tuning to Preset Stations
You can tune in the preset stations in memory on each band using the
preset number.
1
After selecting the desired band, touch
[P1/2]
to
change the function guide.
2
Touch any one of the preset buttons
[P.SET 1]
through
[P.SET 6]
that has a station stored to it.
The preset station is received.
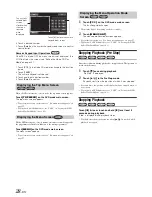
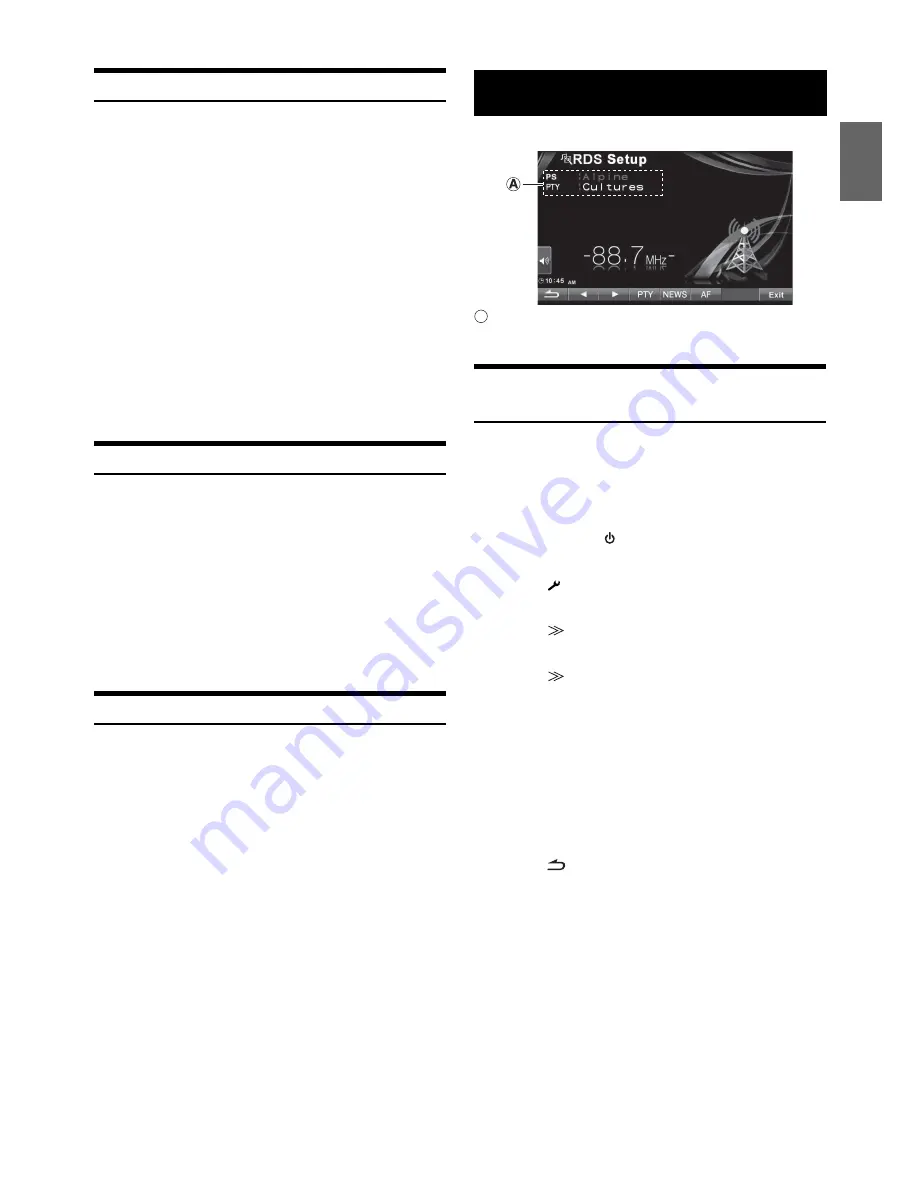
Display example for RDS main screen
Displays the Radio text (When a Radio station that
transmits text messages).
Turning AF (Alternative Frequencies) On
or Off
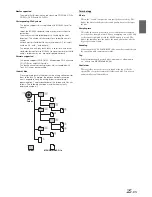
The RDS (Radio Data System) is a radio information system using the
57 kHz subcarrier of regular FM broadcast. The RDS allows you to
receive a variety of information such as traffic information, station
names, and to automatically re-tune to a stronger transmitter that is
broadcasting the same programme.
1
Press
SOURCE/
on the unit.
The Source Select screen is displayed.
2
Touch
[
]
on the main source screen.
The Setup Select screen is displayed.
3
Touch
[
]
of Source Setup.
The Source Setup screen appears.
4
Touch
[
]
of RDS Setup.
The display changes to the RDS mode screen.
5
Touch
[AF]
to select the AF (Alternative Frequency)
ON or OFF mode.
When ON is selected, the “AF” indicator lights up.
•
RDS Setup mode will not be displayed when the band of radio is set
to MW or LW.
•
When the AF ON mode is selected, the unit automatically tunes to a
strong signal station in the AF list.
•
Use the AF OFF mode when automatic re-tuning is not required.
6
Touch
[
]
to return to the previous screen.
•
Touching
[Exit]
will turn off the Setup screen, and return to previous
main screen.
Tips
•
If the unit receives the PTY31 (Emergency Broadcast) signal, the unit
will show “Alarm” in the display only when PTY31 is set to on. For
operation, refer to “Setting PTY31 (Emergency Broadcast)
Reception” (page 43).
•
The RDS digital data includes the following:
RDS Operation
PI
Programme Identification
PS
Programme Service Name
AF
List of Alternative Frequencies
TP
Traffic Programme
TA
Traffic Announcement
PTY
Programme Type
EON
Enhanced Other Networks
A

