Qu Mixer Getting Started Guide
16
AP10025 iss2
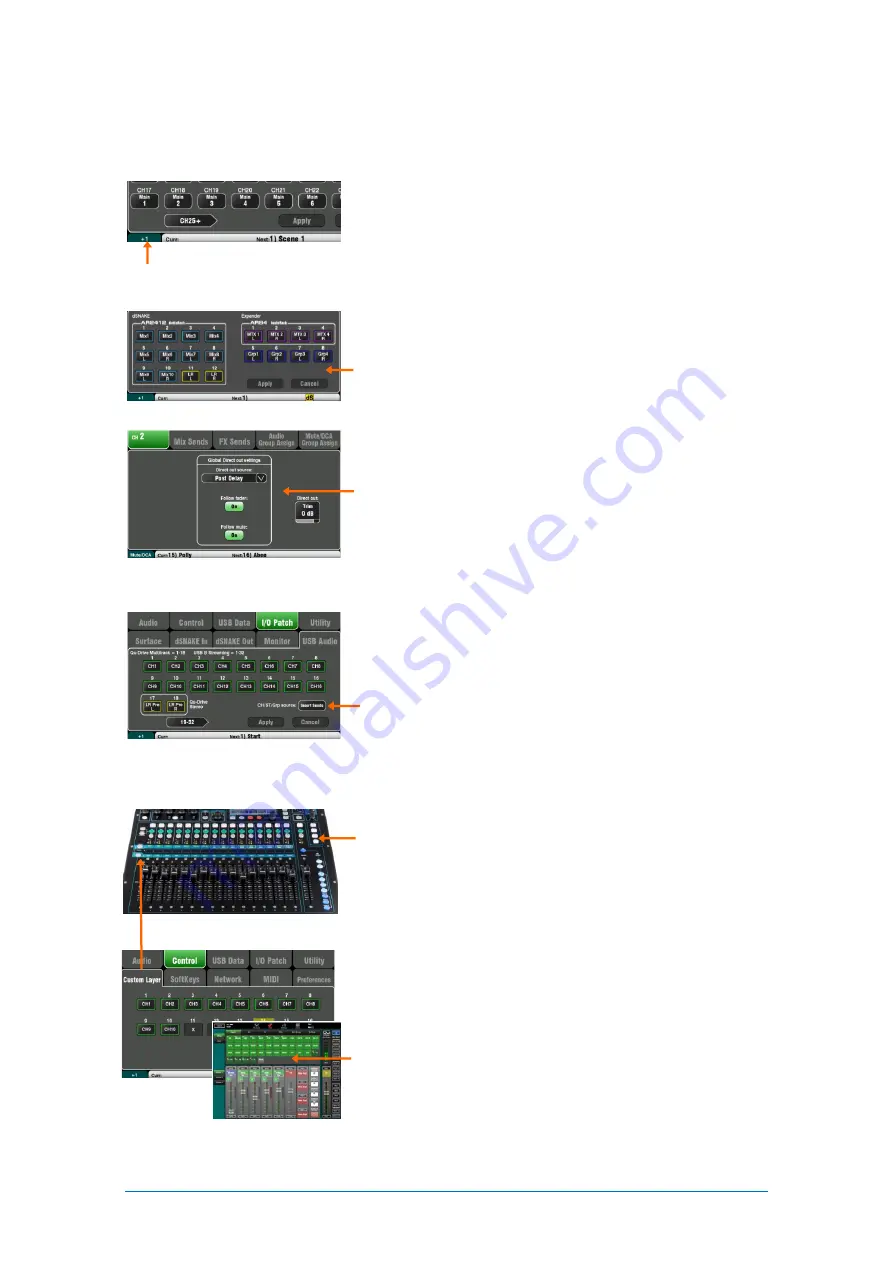
Patching – The reset default patch is a simple one-to-one
mapping of local sockets to the channels, and a traditional
patch of outputs suitable for the typical PA application.
However, Qu offers flexible patching letting you route signals
anywhere you want.
Many of the patching screens use the
Fn
key as a ‘+1’
increment to let you quickly step through a range of sockets.
Most require confirmation to
Apply
or
Cancel
the changes
you make.
Patch the Alt Out and AES outputs – Use the
Setup / I/O
Patch Surface
screen to patch any of the available Qu output
sources to these mixer rear panel sockets. Alt Out can provide
a useful stereo recording or zone feed with front panel rotary
control.
Patch the dSNAKE remote outputs - Use the
Setup / I/O
Patch / dSNAKE Out
screen to patch Qu outputs to any of the
connected AudioRack sockets.
Choose the Direct Output application - Think about how you
want to use the channel direct outputs for example for USB
recording, ME-1 personal monitoring, channel Ducker trigger
or single channel FX. Set your source preference in the
Routing
screen of any input channel. This setting is global
and affects all direct outputs.
Patching to the optional ME-1 personal monitor system -
Go to the
Setup / I/O Patch / Monitor
screen to patch Qu
outputs to the 40 ME-1 sends. It is typical to send the input
channel direct outputs. Recommended direct out setting is
post delay, pre fader, post mute.
Patch the USB outputs – Use the
Setup / I/O Patch / USB
Audio
screen to patch any of the Qu outputs to the
Qu-Drive
multitrack and rear panel
USB B
streaming port. These share
the same patch. USB streaming uses all 32 outputs (24 on Qu-
16). Qu-Drive recording is fed from the first 18 outputs. Qu-
Drive stereo recording is fed from outputs 17-18.
Live show multitrack recording typically uses the channel
Insert Sends so that live mixing does not affect the recording.
You may wish to change this to Direct Outputs for studio
recording and other applications.
Assign the SoftKeys – The SoftKeys can be user assigned for
various functions such as mute, tap tempo, scenes, Qu-Drive
transport and more. Assign these using the
Setup / Control /
SoftKeys
screen. Use the rotary to scroll through the list of
options. Confirm using the
Apply
button.
Assign the Custom Layer – A third fader strip layer can be
user assigned for any combination of channel, FX, mix, DCA
and MIDI select. This can give you quick access to just the
channels you are using for your show. Assign these using the
Setup / Control / Custom Layer
screen. Use the
Fn
key as a
‘+1’ increment to let you quickly step through a range of
assignments.
Assign the Qu-Pad app Custom Layers – If you are using the
iPad app for wireless mixing you can assign up to 3 custom
layers to present the fader strips and SoftKeys you are using in
the order you prefer. Select the Setup icon in the top toolbar.
+1 increment
SoftKeys
Custom Layer
Содержание QU
Страница 24: ...Qu Mixer Getting Started Guide 24 AP10025 iss2...


