


20
21
3�3�6
Contacts importing, exporting and sharing
This phone enables you to import or export contacts between phone, SIM
card, micro SD card and phone storage.
From the Contacts screen, touch the
Menu
key to open the options menu,
touch
Import/export
, then select
Import from SIM card
,
Export to SIM
card
,
Import from phone/SD storage
,
Export to phone/SD storage
or
Share visible contacts
.
To import/export a single contact from/to your SIM card, select the contact
you want to import/export, and touch the
icon to confirm.
To import/export all contacts from/to your SIM card, mark
Select all
and
touch the
icon to confirm.
You can share a single contact or contacts with others by sending the
contact's vCard to them via Bluetooth, Gmail, etc.
Touch a contact you want to share, touch the
Menu
key and
Share
from
the contact details screen, then select the application to perform this action.
3�3�7
Displaying contacts
You can configure which group of contacts, for each account, you want to
display in the Contacts list. Touch the
Menu
key and touch
Contacts to
display
from contacts list screen, then you can choose contacts to display.
Touch the
Menu
key and
Settings
, you can sort list by the given name or
family name, as well as view contact names as given/family name first.
3�3�8
Joining/Separating contacts
(1)
To avoid duplication, you can add any new contact information to existing
contacts in a single action.
Touch the contact which you want to add information to, touch the
Menu
key and touch
Edit
, then touch the
Menu
key again and touch
Join
.
(1)
Only applicable for phone contacts.
At this time, you are required to select the contact whose information you
want to join with the first contact. The information from the second contact
is added to the first one, and the second contact will no longer be displayed
in the Contacts list.
To separate contact information, touch the contact whose information you
want to separate, touch the
Menu
key and touch
Edit
, then touch the
Menu
key again and touch
Separate
, touch
OK
to confirm.
3�3�9
Accounts
Contacts, data or other information can be synchronized from multiple
accounts, depending on the applications installed on your phone.
To add an account, touch the
Menu
key and
Settings
from the Home
screen, then touch
Add account
.
You are required to select the kind of account you are adding, like Google,
Corporate, etc.
As with other account set-ups, you need to enter detailed information, like
username, password, etc.
You can remove an account to delete it and all associated information from
the phone. Open the
Settings
screen, touch the account you want to delete,
touch the
Menu
key and select
Remove account
, then confirm.
Turn on/off the sync & Auto-sync
Touch an account to enter the account screen, mark/unmark the
checkbox(s) to turn on/off the account’s auto-sync. When activated,
all changes to information on the phone or online will be automatically
synchronized to each other.
Sync manually
You can also synchronize an account manually on
Accounts
screen, touch
an account in the list, then touch the
Menu
key and select
Sync now
.
4
Messaging, Gmail/Email,
Google Hangouts
4�1
Messaging �����������������������������������������
You can create, edit and receive SMS and MMS with this mobile phone.
To access this feature, touch
from the Home screen, then select
Messaging
.
To view messages stored in your SIM card, touch the
Menu
key
from the Messaging screen, then touch
Settings/Manage SIM
messages
.
4�1�1
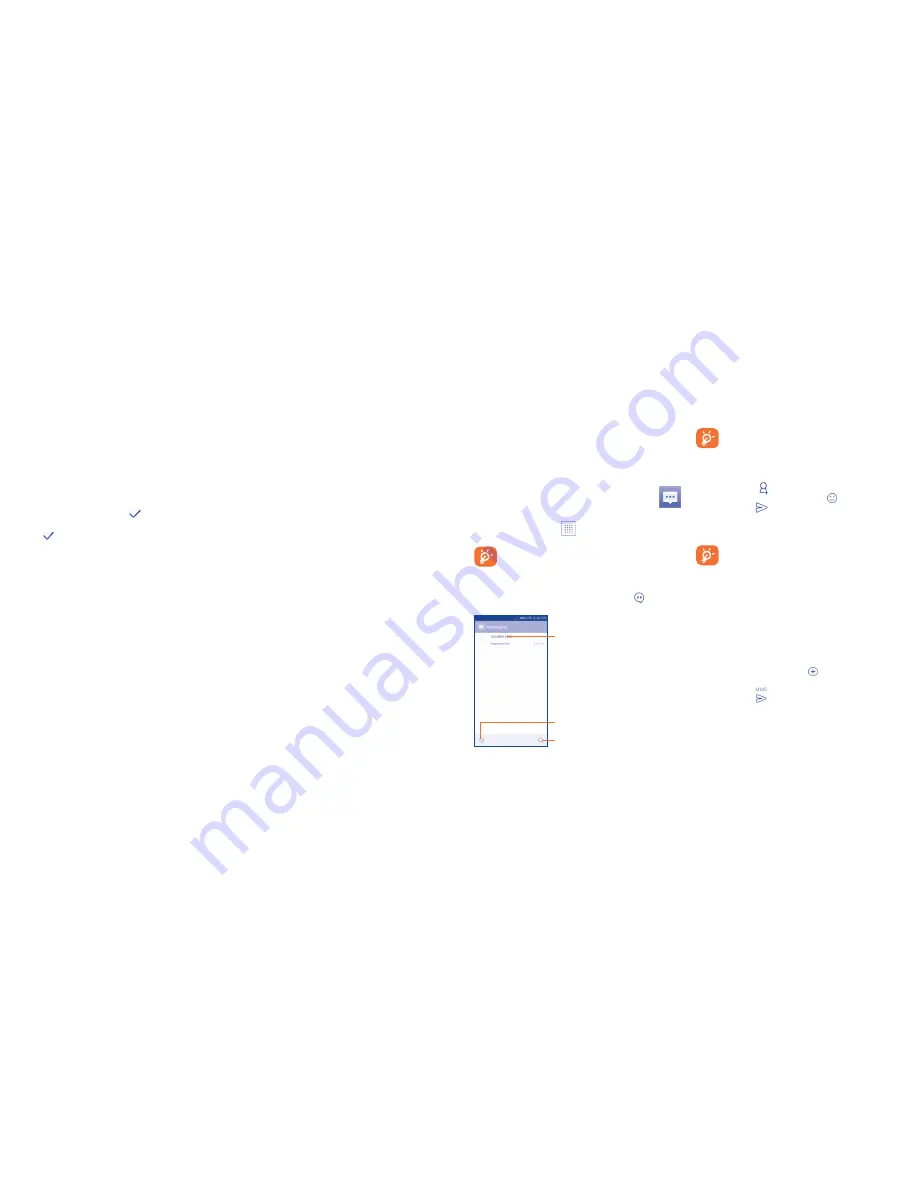
Write message
On the message list screen, touch the new message icon
to write text/
multimedia messages.
Touch to create a new message.
Touch to search in all messages.
•
Touch to view the whole message thread.
•
Touch & hold to activate delete mode.
For saved contacts, touch the photo to open the Quick Contact
panel to communicate with the contact. For unsaved contacts,
touch the photo to add the number to your
Contacts�
Sending a text message
Enter the mobile phone number of the recipient in the
Type Name or
Number
bar, or touch
to add recipients and touch the
Type message
bar to enter the text of the message. Touch the
icon to insert emotions.
When finished, touch
to send the text message.
An SMS message of more than 160 characters will be charged as several
SMS. A counter will be on the right of the text box to remind you how many
characters are allowed to be entered in one message.
Specific letters (accent) will also increase the size of the SMS,
this may cause multiple SMS to be sent to your recipient.
Sending a multimedia message
MMS allows you to send video clips, images, photos, animations, slides and
sounds to other compatible mobiles and Email addresses.
An SMS will be converted to MMS automatically when media files (image,
video, audio, slides, etc.) are attached or subject or email addresses are
added.
To send a multimedia message, enter the recipient's phone number in the
Type Name or Number
bar, touch
Type message
bar to enter the text of
the message. Touch the
Menu
key to open the options menu, touch
Add
subject
to insert a subject. Touch the
icon to attach picture, video,
audio and so on.
When finished, touch
to send the multimedia message.
Содержание one touch Pop
Страница 1: ...User Manual A846L English CJA619601AAA...


