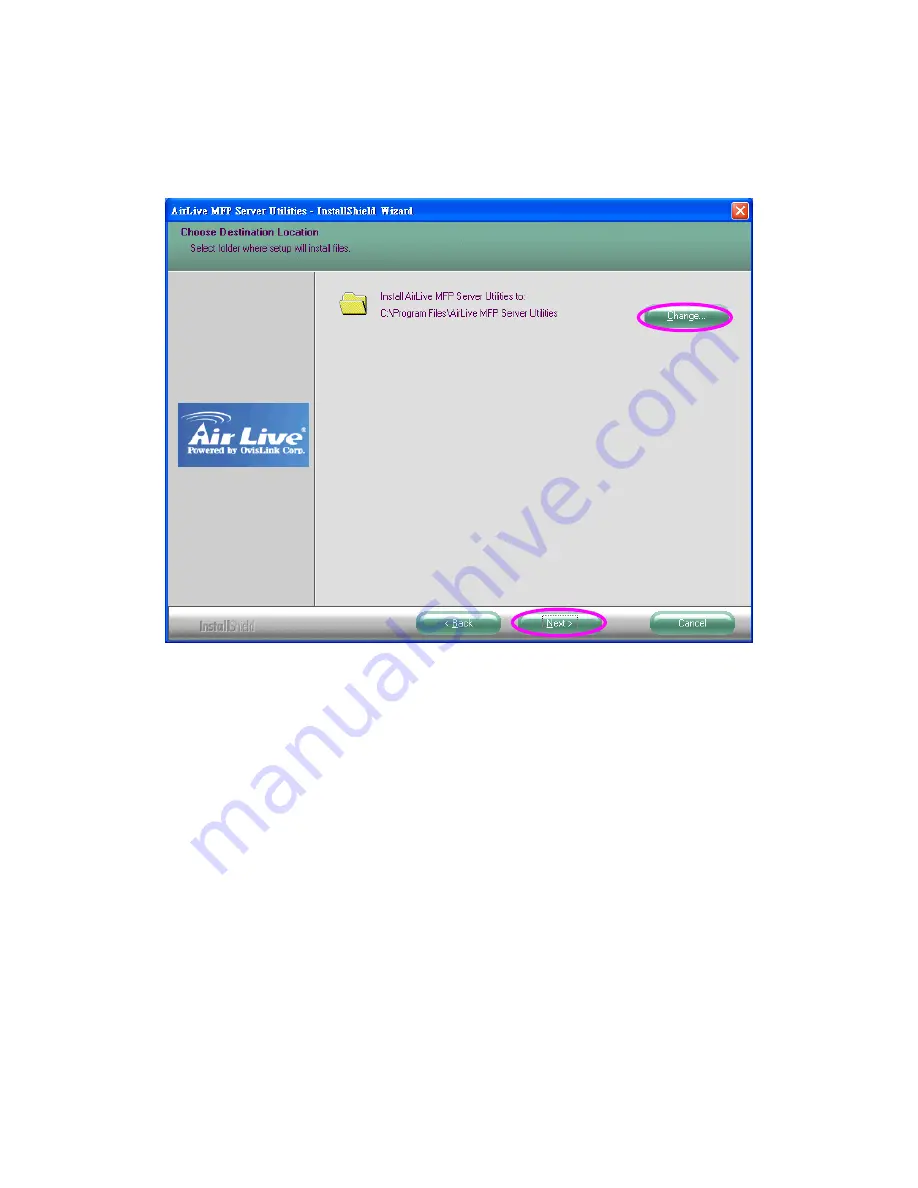
5. Click “Next” to install the MFP Server utilities in the default folder or click
“Change” to specify the destination folder where you would like to install
the MFP Server utilities.
6. The MFP Server Utilities are being installed.
7. The “Configuration” screen is displayed. If you want to configure the MFP
Server, please click “”Next” directly. Or you can select “No, I will configure
the MFP Server later” and click “Next” to complete the installation.
The following steps are for the MFP Server Configuration.
82
AirLive MFP-101U User’s Manual
Содержание MFP-101U
Страница 1: ...MFP 101U Multi function Printer Server User s Manual ...
Страница 11: ...3 The MFP Server Utilities InstallShield Wizard is displayed click Next 7 AirLive MFP 101U User s Manual ...
Страница 23: ...19 AirLive MFP 101U User s Manual ...
Страница 25: ...21 AirLive MFP 101U User s Manual ...
Страница 39: ...4 The setup is finished 35 AirLive MFP 101U User s Manual ...
Страница 85: ...4 The MFP Server Utilities InstallShield Wizard will be displayed Click Next 81 AirLive MFP 101U User s Manual ...
Страница 90: ...12 The settings are finished click Finish to apply new settings 86 AirLive MFP 101U User s Manual ...
Страница 91: ...13 Click Finish to complete the installation 87 AirLive MFP 101U User s Manual ...
Страница 95: ...4 Select Local printer and click Next 91 AirLive MFP 101U User s Manual ...


