


4.
Web Management
AirLive AirMax4GW User’s Manual
114
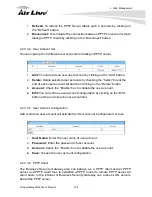
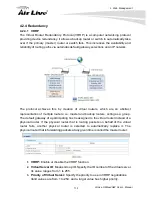
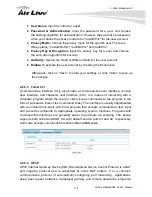
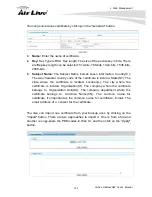
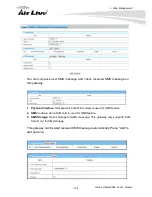
4.2.3.5.3 GRE Tunnel Definition
1.
Add:
You can add one new GRE tunnel by clicking on the “Add” button.
2.
Delete:
Delete selected tunnels by checking the “Select” box at the end
of each tunnel list and then clicking on the “Delete” button.
3.
Tunnel:
Check the “Enable” box to activate the GRE tunnel.
4.
Edit:
You can edit one tunnel configuration by clicking the “Edit” button at
the end of each tunnel list.
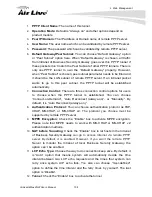
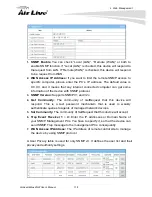
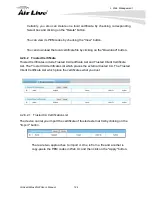
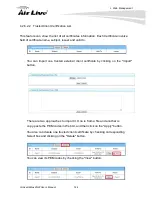
4.2.3.5.4 GRE rule Configuration
1.
Tunnel:
Enable or disable this GRE tunnel
2.
Tunnel Name:
The name of this GRE tunnel.
3.
Tunnel IP:
The gateway IP address of Business Security Gateway.
4.
Peer IP:
Enter the IP address of remote peer that you want to connect.
5.
Key:
Enter the password to establish GRE tunnel with remote host.
6.
TTL:
Time-To-Live for packets. The value is within 1 to 255. If a packet
passes number of TTL routers and still can't reach the destination, then this
packet will be dropped.
7.
Default Gateway/Peer Subnet:
You can choose “Default Gateway” option
or “Peer Subnet” option here. When “Default Gateway” is chosen, all traffic
from Intranet of Business Security Gateway goes over this GRE tunnel if
these packets don’t match the Peer Subnet of other GRE tunnels. There is
only one GRE tunnel to own the “Default Gateway” property. However, when
“Peer Subnet” is chosen, peer subnet parameter needs to be filled and it
should be the LAN subnet of remote GRE server. If an Intranet packet wants
to go to this peer subnet, the GRE tunnel will be established automatically.