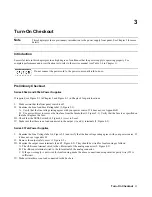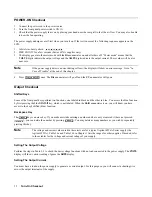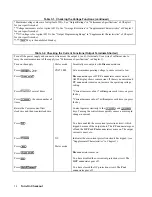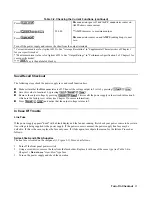
Turn-On Checkout
36
Series 657xA Supplies
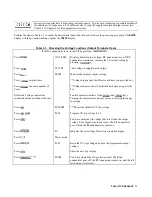
Hazardous voltage can remain inside the power supply even after it has been turned off. Fuse
replacement should be done only by qualified electronics personnel.
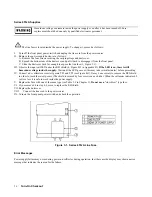
The line fuse is located inside the power supply. To change it, proceed as follows:
I.
Turn off the front panel power switch and unplug the line cord from the power source.
II. Remove the power supply dustcover as follows:
A. Remove the four screws securing the carrying straps and dustcover.
B. Spread the bottom rear of the dustcover and pull it back to disengage it from the front panel.
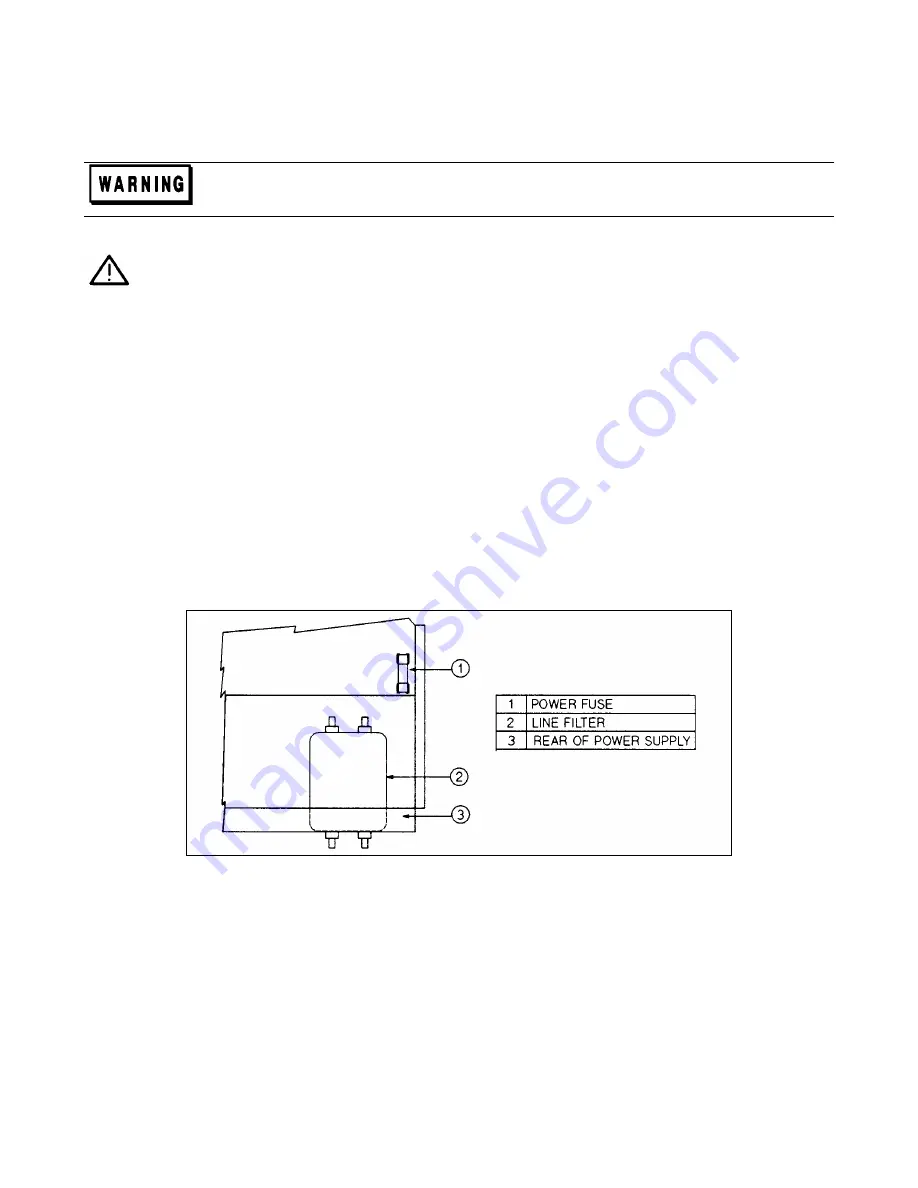
C. Slide the dustcover back far enough to expose the line fuse (1, Figure 3-1).
III. Observe the input rail LED under the RFI shield (4, Figure B-3 in Appendix B).
If the LED is on, there is still
hazardous voltage inside the supply.
Wait until the LED goes out (this may take several minutes) before proceeding.
IV. Connect a dc voltmeter across test points TP1 and TP2 (see Figure B-3). It may be necessary to remove the RFI shield
in order to reach these test points. (The shield is secured by four screws on each side.) When the voltmeter indicates 60
volts or less, it is safe to work inside the power supply.
V. Replace the fuse with one of the same type (see Table 1-4 in Chapter 1).
Do not use a
"slow-blow" type fuse.
VI. If you removed it in step b, be sure to replace the RFI shield.
VII. Replace the dustcover.
VIII.
Connect the line cord to the power source.
IX. Turn on the front panel power switch and check the operation.
Figure 3-1. Series 657xA Line Fuse
Error Messages
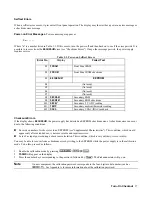
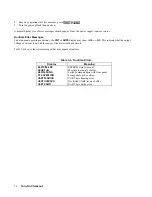
Power supply failure may occur during power-on selftest or during operation. In either case the display may show an error
message that indicates the reason for the failure.


